Most of us here are already quite familiar with the ADB (Android Debug Bridge). Heck, I'd even wager that many of us use it on quite a regular basis---adb pushing and pulling files, adb rebooting, running shell commands, and so on. Most new users, however, have not had such exposure. And let's face it: For youngsters born after the emergence and popularization of the GUI, command line interfaces can be rather intimidating. So if you're a seasoned veteran who knows ADB like the back of your hand, this article is not for you. But if you're a new user looking to learn a little more about this great tool, read on!
The Android Debug Bridge, which comes as part of the Android SDK, allows for communication between your desktop computer and target device. So what can you do with ADB? Quite a bit. As alluded to earlier, you can push files to the device from the client PC, pull device from the device to the client PC, you can reboot (to Android, bootloader, or recovery), record a logcat, obtain a bug report, execute many standard Linux commands, and much, much more.
The biggest problem for new users becomes knowing what commands can be executed and remembering the proper syntax. Luckily, these commands and their syntax are all pretty understandable. For example, take a look at the following commands in proper syntax:
- adb start-server : This command starts the adb daemon on your desktop computer and allows your computer to interact with your device. Note that this command isn't essential, as executing any other ADB command will automatically start the daemon.
- adb kill-server : As you would expect, this kills the adb daemon.
- adb logcat : This generates a logcat, which is quite useful when figuring out where things are going wrong. You can redirect the output into a text file by using ">". For example, you can type "adb logcat > logcat.txt" to record your logcat as logcat.txt.
- adb bugreport : Generates a simple bug report. Just like logcat, you can redirect this into a text file using ">"
- adb install <local apk name> : Installs an APK from your desktop computer directly to your device.
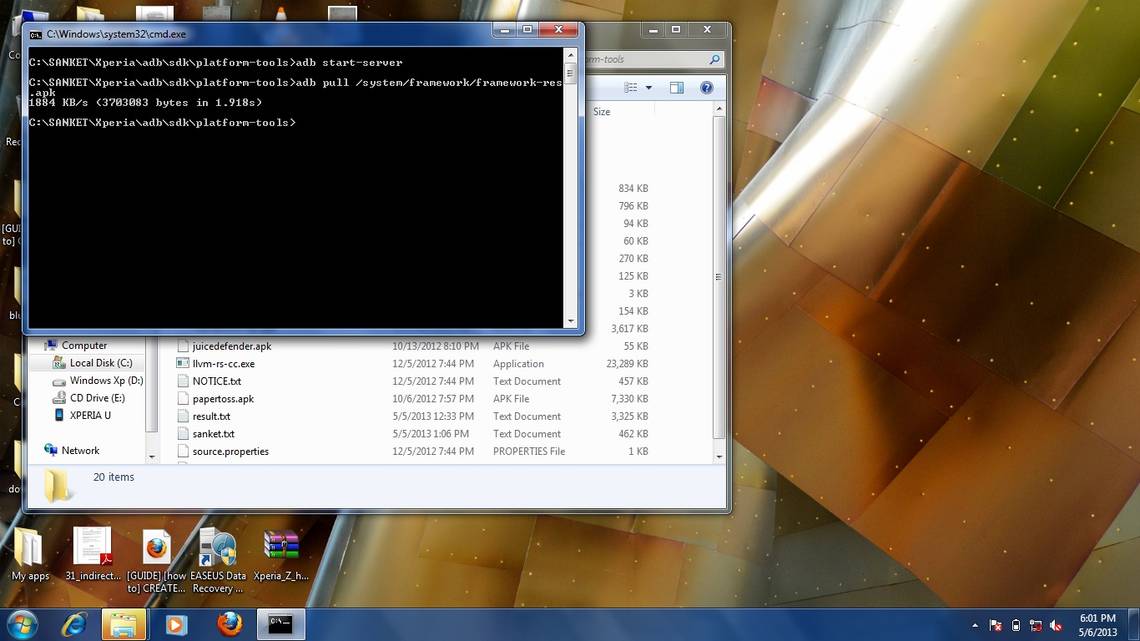
- adb pull <source path and filename> <destination path and filename> : Pulls the specified file and deposits it into the specified folder with the specified name.
- adb push <source path and filename> <destination path and filename> : Functions like adb pull, but in reverse.
The above, however, is not nearly comprehensive. These are just some of the more common commands that you'll encounter.
For those looking to learn a few more, or those who would simply like to see a visual output of these commands in action, XDA Recognized Contributor doctor_droid has created a basic guide that covers everything a beginner needs to know in order to accomplish basic tasks through ADB.
Doctor_droid has also includes a direct link to the required ADB binaries for Windows users so that you don't have to download the SDK for the sole purpose of getting ADB up and running. While the installation procedures are strictly for Windows users, the rest of the guide is equally valid for Linux and Mac users.
If you're a new user looking to learn a little more about ADB, or even if you're a seasoned vet looking to make sure you know all of the common commands, head over to the guide thread to learn more.