Like with other business laptops, you can in fact upgrade the HP EliteBook 840 G9 on your own after purchase. HP even has a video guide for how you can do this. As small as it seems, it is important. When you purchase a new laptop, you might not want to stick to the RAM and storage at checkout through the retailer. It could be expensive to upgrade through the retailer, and you might save money by doing it on your own.
In the case of the HP EliteBook 840 G9, the maximum RAM is 64GB DDR5 and the highest storage comes in with a 2TB PCIe NVMe TLC SSD. So, granted that you have a lot of patience and buy the right parts from retailers like Amazon or Crucial, you can follow our guide that will explain how you can upgrade the RAM and Storage on the HP EliteBook 840 G9.
Preparing to upgrade
Before jumping into upgrading these components, you'll have to be aware of a few things. First, always power off the system and unplug it from power. Then, ground yourself by touching a metal surface and moving away from fabric or pets. You'll also want to make sure that you've backed up your data and have a Windows installation drive ready so you can reinstall Windows on your new SSD.
Other than that, you'll have to grab a few tools. First is a P1 Phillips head screwdriver, to help you get into the bottom of the laptop. The second tool is a spudger, to help you release the bottom of the laptop. We included some of these below.
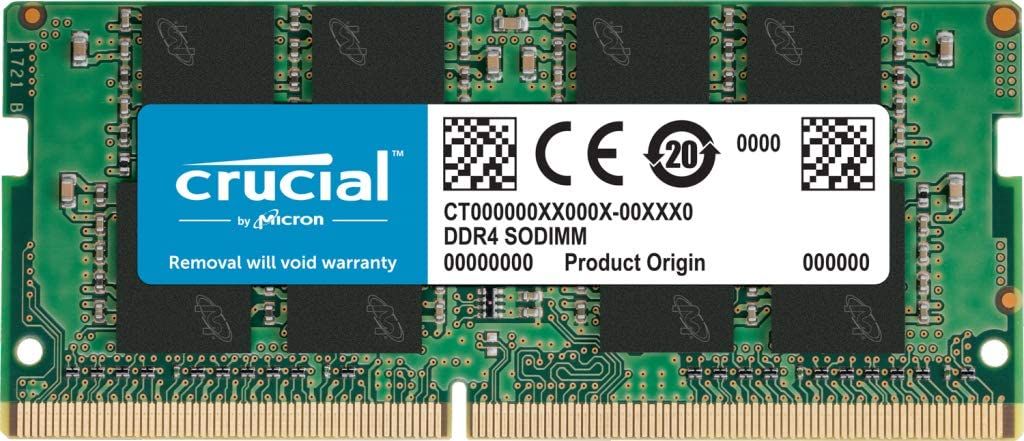
You'll also want to make sure that you've purchased DDR5 4800 SODIMM laptop RAM sticks, and make sure they're matching in size (as an example, using 2 8GB RAM sticks) to get the best dual-channel performance. As for the SSD, make sure it is a PCIe-4x4 2280 SSD. Do check if it is a 2280 SSD, as the smaller 2230 sizes will not fit into the laptop properly.
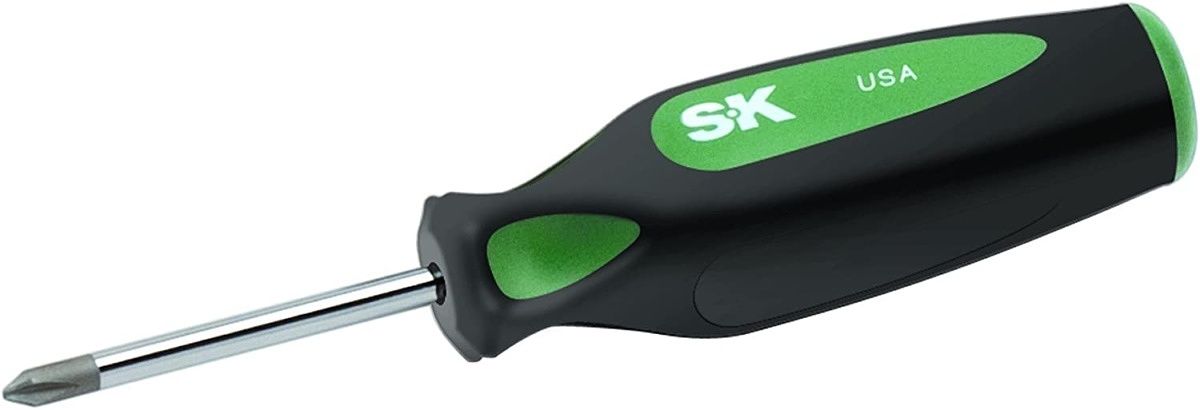
SK Hand Tool 79205 P1 Phillips Cushion Grip Screwdriver
This Phillips head screw driver will help you get into the back of your HP laptop
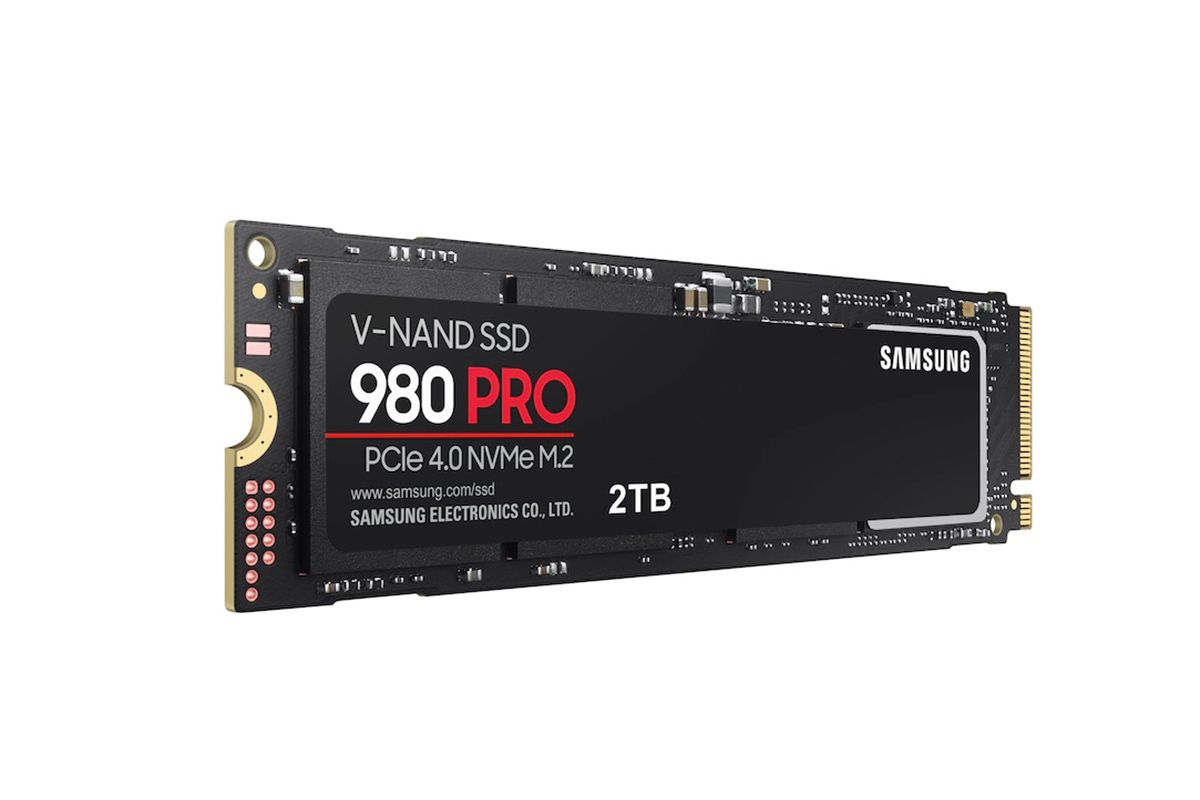
Samsung 970 EVO Plus SSD
The Samsung 980 PRO is an incredibly fast SSD capable of read speeds up to 7,000MB/s thanks to support for PCIe 4.0.
Upgrading the RAM on the HP Elitebook 840 G9
With those basic materials, you can now start upgrading the RAM in the HP Elitebook 840 G9. Again, please check to see that the laptop is off and unplugged from power first, though. Then you can jump into our steps below.
- Turn the laptop over so the top lid is facing the bottom of the surface you're working on.
- Turn the laptop around so the hinge is facing away from you and the vent is facing the top.
- Look for five captive P1 Phillips head screws to remove. There are two on the left, one in the top middle, and two on the right. The screw on the top right is under a cover. You'll have to puncture the cover with a screwdriver.
- Remove the screws with a P1 screwdriver and place the screws in the same orientation that you took them out, in a separate space away from your laptop.
- Separate the cover by using a pry tool to separate the rear, right, and left edges of the cover from the laptop.
- Pry up the cover by lifting the rear edge of the base enclosure and then slide the tabs on the front edge out from the cutouts in the top cover.
- With the cover off, remove the battery connector from the system board. It's a white wire in the middle of the laptop.
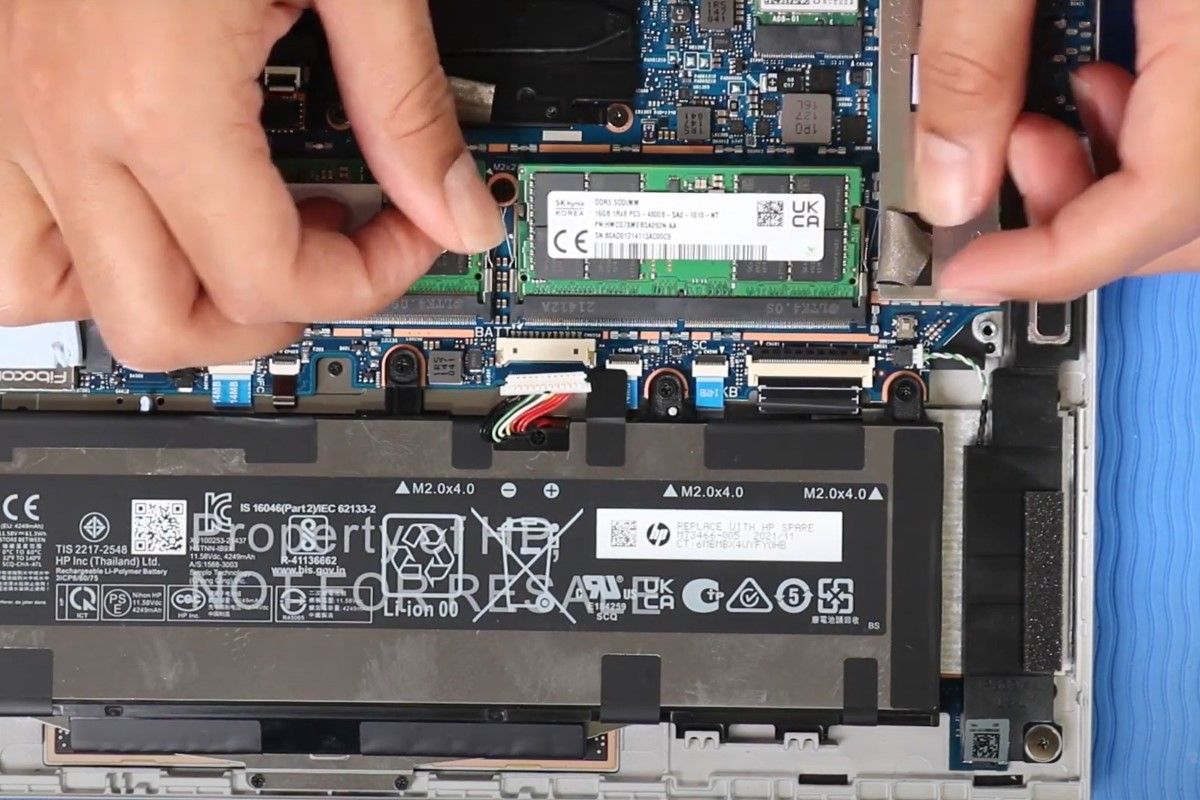
- Look to the right side of the laptop and peel back the two pieces of black mylar that cover the memory module shield.
- Pull the tabs on the memory shield up to separate the shield from the retention clips on the system board.
- With the shield removed, push both arms out simultaneously to remove the memory module to the spring tension position. Grasp the memory module by the edges and pull gently to remove it.
- Repeat for the second memory module.
- Align the notches on the new RAM modules with the key in the memory module slot on the system board. At an angle gently insert the memory module into the slot on the system board and press the memory module down to secure it. Listen for a click sound to confirm it is secure.
- Press the memory shield into the retention clips on the system board and press down along the edges to secure it and smooth it back over the black mylar that covers the shield.
- Plug back the battery into the system board.
- Replace the bottom lid by toeing the tabs on the front edge of the base enclosure into the cutouts in the top cover and lower it into position, Apply pressure to reattach the cover. Replace and tighten the screws.
After you follow these steps above, you should have successfully replaced the RAM. You also might want to upgrade storage while the bottom is open, and we have more on that below.
Upgrading the storage on the HP Elitebook 840 G9
Upgrading storage on the HP Elitebook 840 G9 is an easy process. Just like upgrading the RAM, you need to remove the bottom cover and a heat shield. Keep in mind, that you should clone the original SSD first, or back up your files. A new drive will not have an operating system installed. So, you'll need installation media. All that said, here are the steps to upgrade.
- Repeat steps 1-7 as we mentioned above.
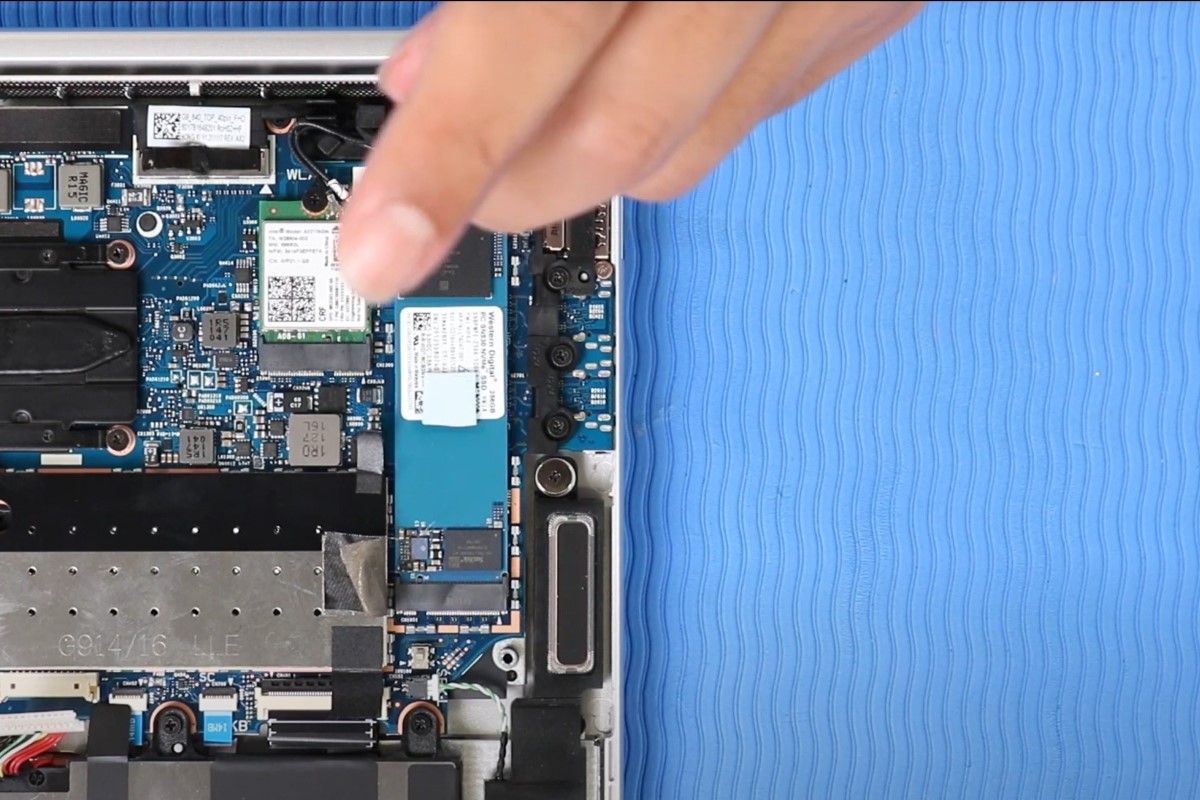
- Look to the top right of the laptop and peel back the mylar that partially covers the M.2 solid-state drive shield.
- Pull the tab on the M.2 solid state drive up to separate the clips from the system board and remove.
- Remove the P1 Phillips head screw that secure the solid state drive, allowing it to release to the spring tension position. Due to the thermal pad, you'll need to lift the drive up. Grap it by the edges and pull gently to remove it.
- Align the notch in the M.2 solid state drive with the key in the M.2 solid state drive slot on the board. At an angle insert the M.2 solid state drive on the board.
- Replace the P1 screw.
- Place the M.2 solid-state drive shield and press down along the edges to secure it to the system board.
- Smooth over the black mylar.
- Plug back the battery into the system board.
- Replace the bottom lid as described in step 15 above.
Upgrading the RAM and storage on the HP Elitebook 840 G9 is an easy task. You just need some patience to get the benefit of long-term performance, and more storage room for your critical files. It's not always possible on some of the best HP laptops, either, so do feel good about your Elitebook 840 G9 purchase.

HP EliteBook 840 G9
The HP EliteBook 840 G9 is a 14-inch laptop powered by Intel P-series processors and featuring a sleek subdued design.
Source: HP


