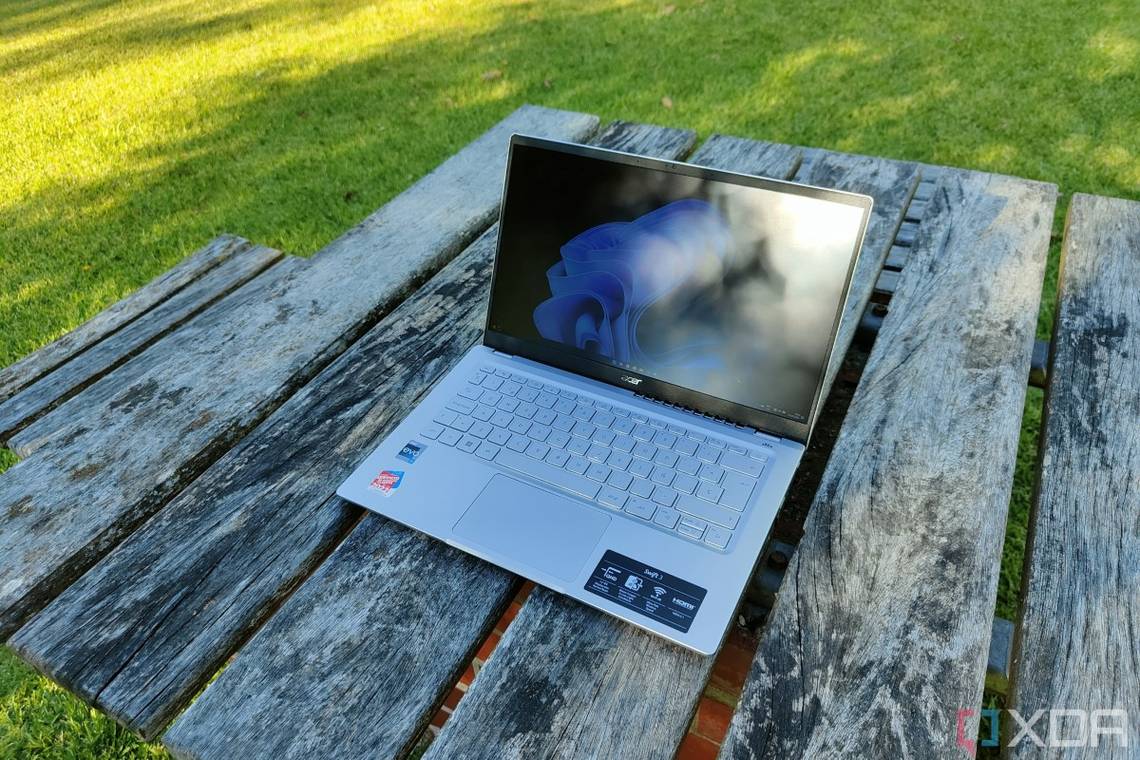
The Acer Swift 3 is a very popular laptop, and this year's iteration is quite good. As we said in our review, the Acer Swift 3 is a fast laptop thanks to the 12th-generation Intel Core P-series processors, and it comes with up to 16GB of RAM and a 1TB SSD. But for some users, that may not be enough, so you may be wondering if you can upgrade the RAM and storage on the Acer Swift 3. The answer is no and yes, for each of those things.
The RAM on the Acer Swift 3 is soldered onto the motherboard; unfortunately, you can't upgrade it. However, the storage is provided by M.2 SSDs, which means you can upgrade to a larger drive if you want to. In fact, the Acer Swift 3 has two M.2 slots, so you can upgrade it without having to replace the built-in SSD.
How to upgrade the storage on the Acer Swift 3 (2022)
If you want to upgrade the storage on your Acer Swift 3, you're going to need some tools to get inside it. We recommend the iFixit Essential Electronics Toolkit, which gets you everything you need for basic electronics repairs, including precision drivers, prying tools, and more. You're also going to want an anti-static wrist strap to prevent electrical discharges while working on the laptop.
And, of course, you're going to need a new SSD to install. There are a few options you can go with, but one of the fastest drives around is the Samsung 980 Pro, which uses PCIe Gen 4 and gets you speeds up to 7,000 MB/s. There are cheaper options, including the regular Samsung 980, but if you want speed, the 980 Pro is for you.

Samsung 980 Pro 1TB
The Samsung 980 Pro is a fast PCIe 4.0 SSD that promises read speeds up to 7,000MB/s and write speeds up to 5,000MB/s.
Something else you're going to want to do if you want to replace the existing SSD is back up your data. You can use your own local storage or a cloud drive to back up important files. You're also going to want to prepare a Windows installation media so you can install the OS on the new SSD. Check out our guide on how to install Windows 11 to learn how to create installation media. If you're just adding a new drive to the laptop, this shouldn't be needed.
Once you have those tools, you can get inside the laptop and replace the SSD. Here's how:
- Power off the laptop and unplug it from the outlet. Flip the laptop so the base is facing up and the hinge is facing away from you.
- Remove the 10 screws holding the bottom cover in place. You'll need to use a Torx T6 or TR6 screwdriver, the latter of which is included in the toolkit we linked above.
- If needed, use the plastic prying tool to detach the bottom cover from the base of the laptop, then remove it.
- There are two SSD slots inside the laptop. One is at the bottom, next to the battery, which is where you'll find the pre-installed SSD, and the other is hidden behind a cover under the laptop's fans. If you want to remove the original SSD, keep reading, but if you're only adding a new drive, you can skip to step 8.
- To remove the SSD installed in the laptop, use a Philips head screwdriver to remove the screw holding it in place. Then, pull the SSD away from the M.2 slot, without removing the silver sheet on top of it. Make sure not to pull the SSD directly upwards.
- Insert the new SSD at a slight angle, aligning the notch on the connector with the notch in the M.2 slot.
- Tighten the screw to hold the SSD in place. Don't overtighten the screws, or you may damage the system.
- If you want to access the secondary SSD slot, use a prying tool to lift the black connectors at the edges of the silver ribbon cable below the fans, then remove the cable from the slot.
- Remove the screw necessary to hold the SSD in place, then follow steps 6 and 7 above to install the new SSD.
- Once the new SSD or SSDs are installed, place the bottom cover back on the laptop, and tighten the 10 Torx screws to hold it in place. Be careful not to overtighten them.
And that should be it. Once you have the new SSD installed, you can get to using your laptop. You may want to refer back to our guide to install Windows 11 again if you removed the original SSD, but otherwise, you should be good to go.
If you haven't yet, you can buy the Acer Swift 3 using the link below. But if being able to upgrade the RAM is too important to you, then you may want to check out some other laptops. Business laptops are a category that usually offers a lot of upgradability, though it still depends on the model you choose.

Acer Swift 3
The Acer Swift 3 is a fast laptop with solid specs. You can also upgrade the SSD if you want more speed, but the RAM is soldered.