
You might know Continuity Camera as the feature that allows you to use your iPhone's rear cameras as your Mac's webcam, and you can use it with these great iPhone mounts. However, before that iteration of Continuity Camera, Apple made it possible to scan documents to your Mac with your iPhone's camera. Though it might not be as flashy as Continuity Camera for webcams, you can still do it, and it's a surprisingly useful feature.
Let's say that you're taking notes or making a presentation, and you need to upload a document that's sitting right in front of you. Instead of taking a low-quality photo on your phone or using a dedicated scanner, you can upload the document directly to your Mac. The document isn't saved to your iPhone at all, but rather, your great smartphone is just a conduit for your Mac. For people who frequently digitize documents for work or school, this use for Continuity Camera is indispensable. Here's how to do it.
What is Continuity Camera?

Continuity Camera allows you to use the camera on any of your iDevices to capture an image. So whether you're an iPhone user running iOS or using an iPad running iPadOS, this will work. Grab a document that you want to scan. You can then either save it as a file on your Mac or attach it directly to an email, iMessage, or a note. In order to use Continuity Camera, you'll need a Mac (of course) and an iPhone, iPad, or iPod Touch. The Continuity Camera is ideal for those who don’t want to buy or use a dedicated scanner.
Basic Requirements
Before we begin, there are a few pre-requisites that you need to check for:
- Your Mac should be running on macOS Mojave or newer.
- The iPhone or iPad you plan to use to scan the documents should be running iOS 12 or later.
- Connect both the Mac and the iPhone or iPad to the same Wi-Fi network and turn on Bluetooth on both devices.
- Both the Mac and iPhone/iPad should be logged in with the same Apple ID.
Once you’ve made sure that your devices satisfy these conditions, we can move on to the process of using Continuity Camera on your Mac.
How to scan documents on a Mac using Continuity Camera
You can use the Continuity Camera in a host of apps like Finder, Notes, Mail, Messages, and even in third-party apps like the Microsoft Office Suite. The steps to use the feature in all of these apps are the same.
- Open the app where you want to use Continuity Camera to scan a document on your Mac.
-
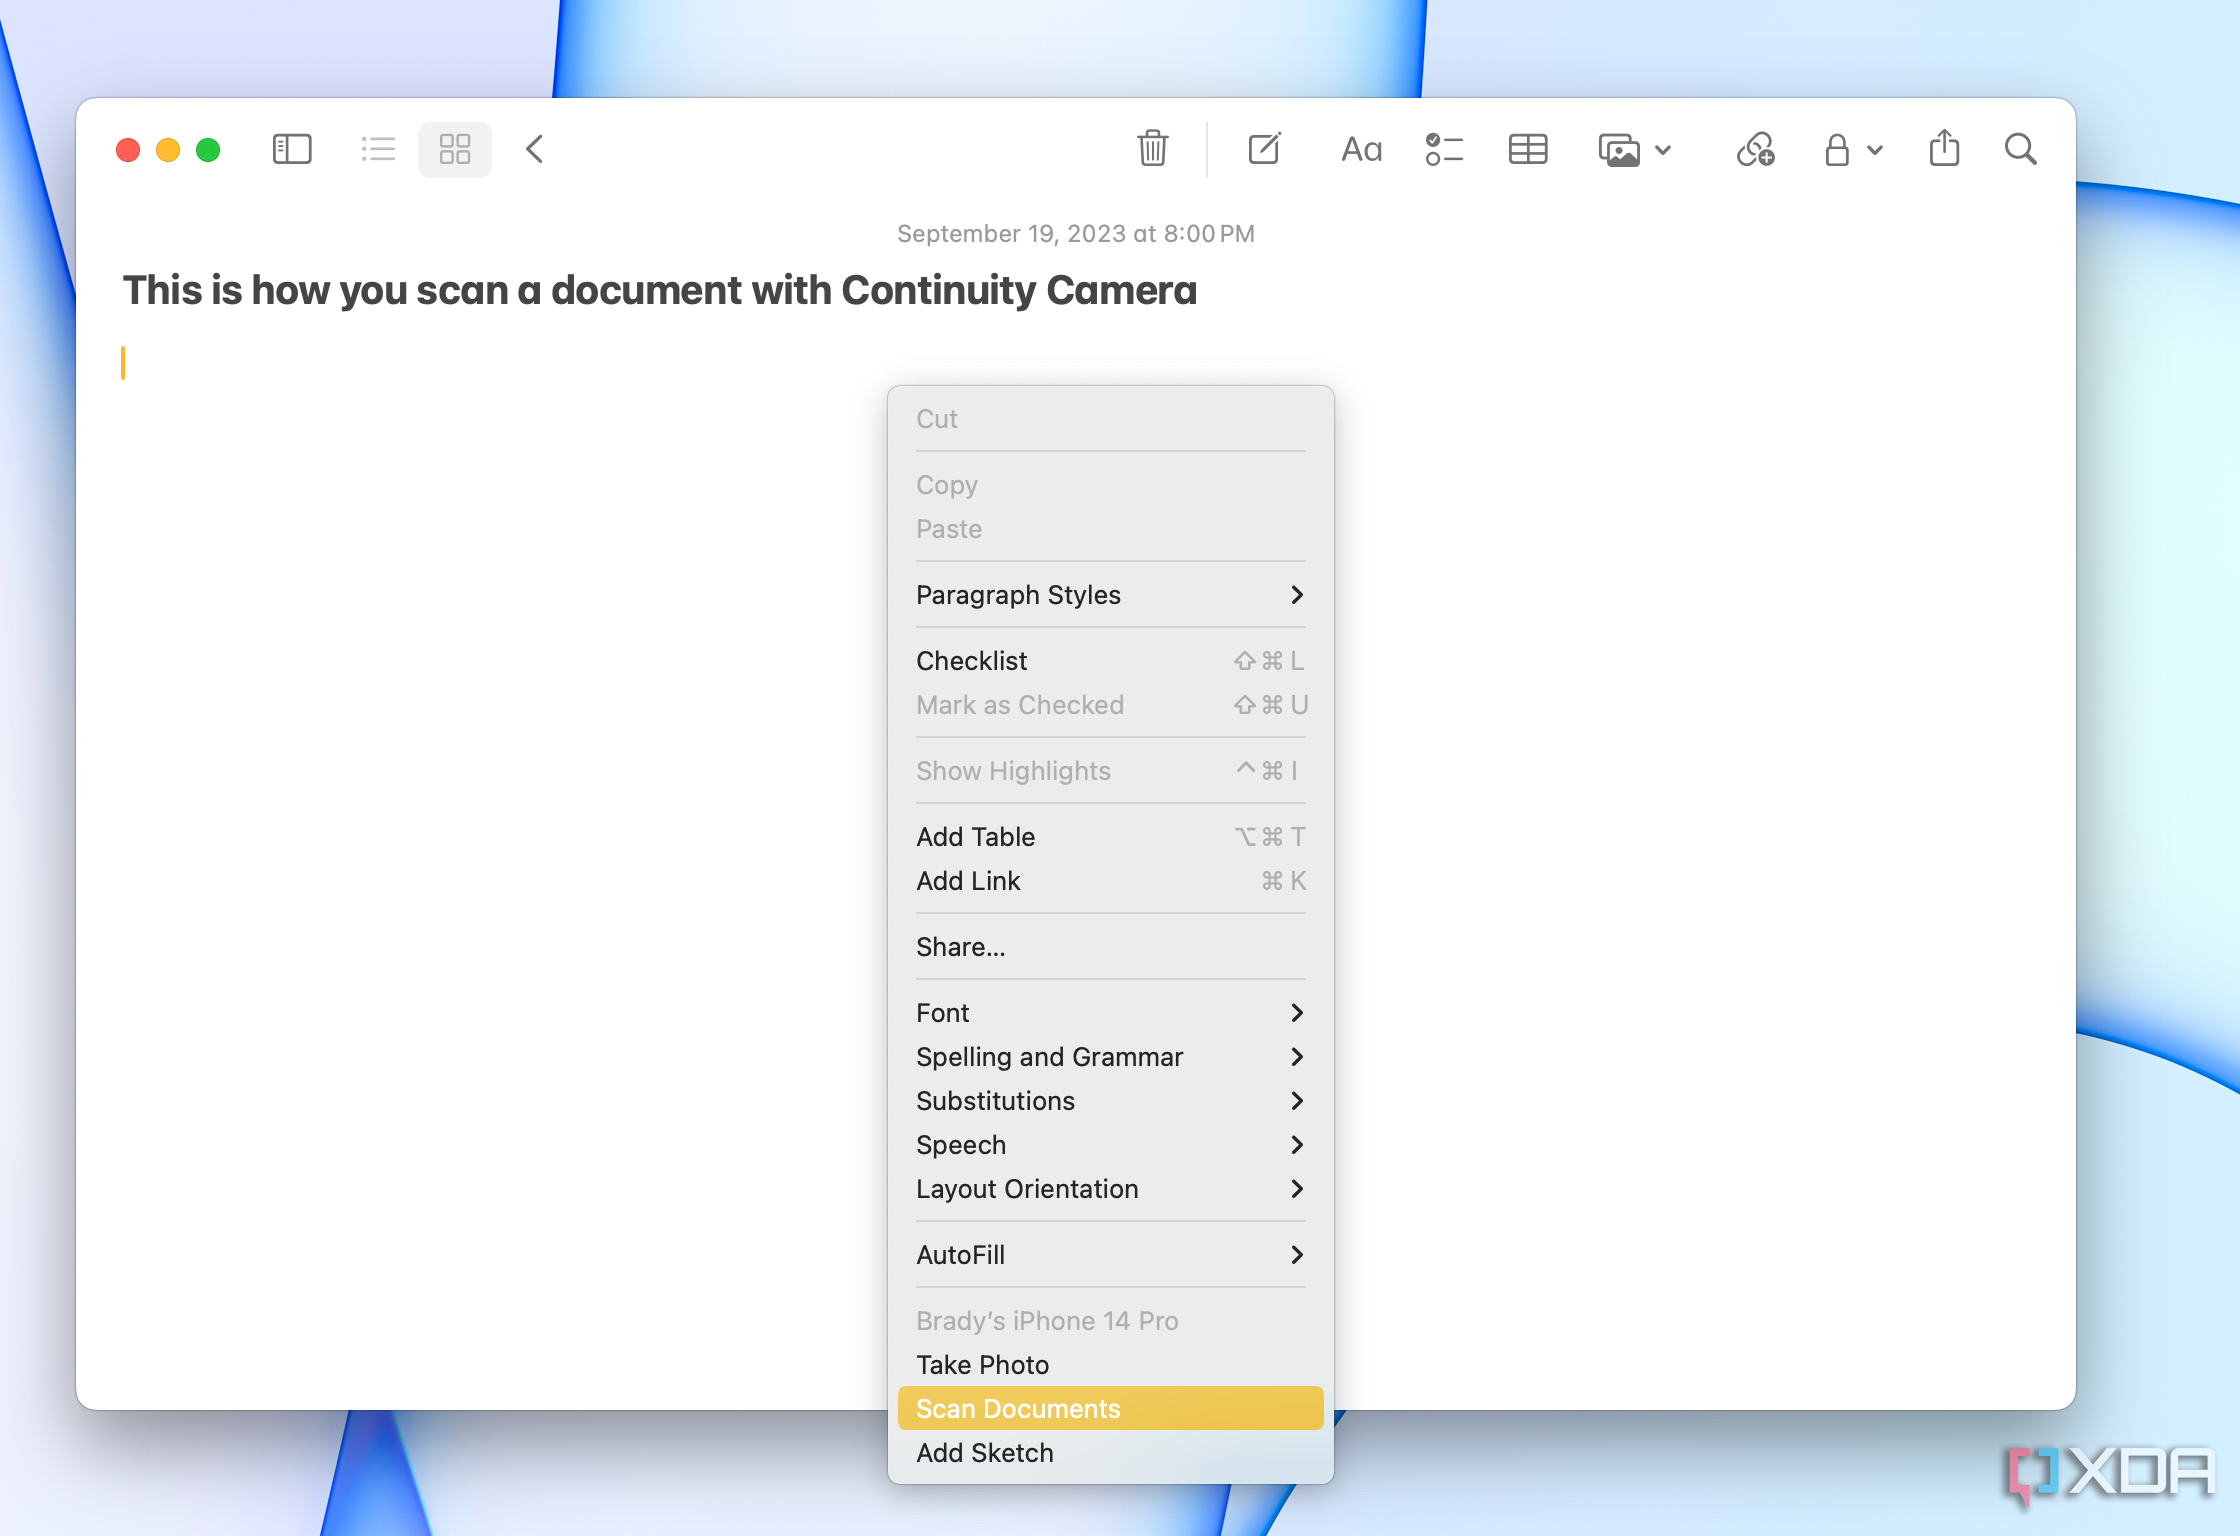
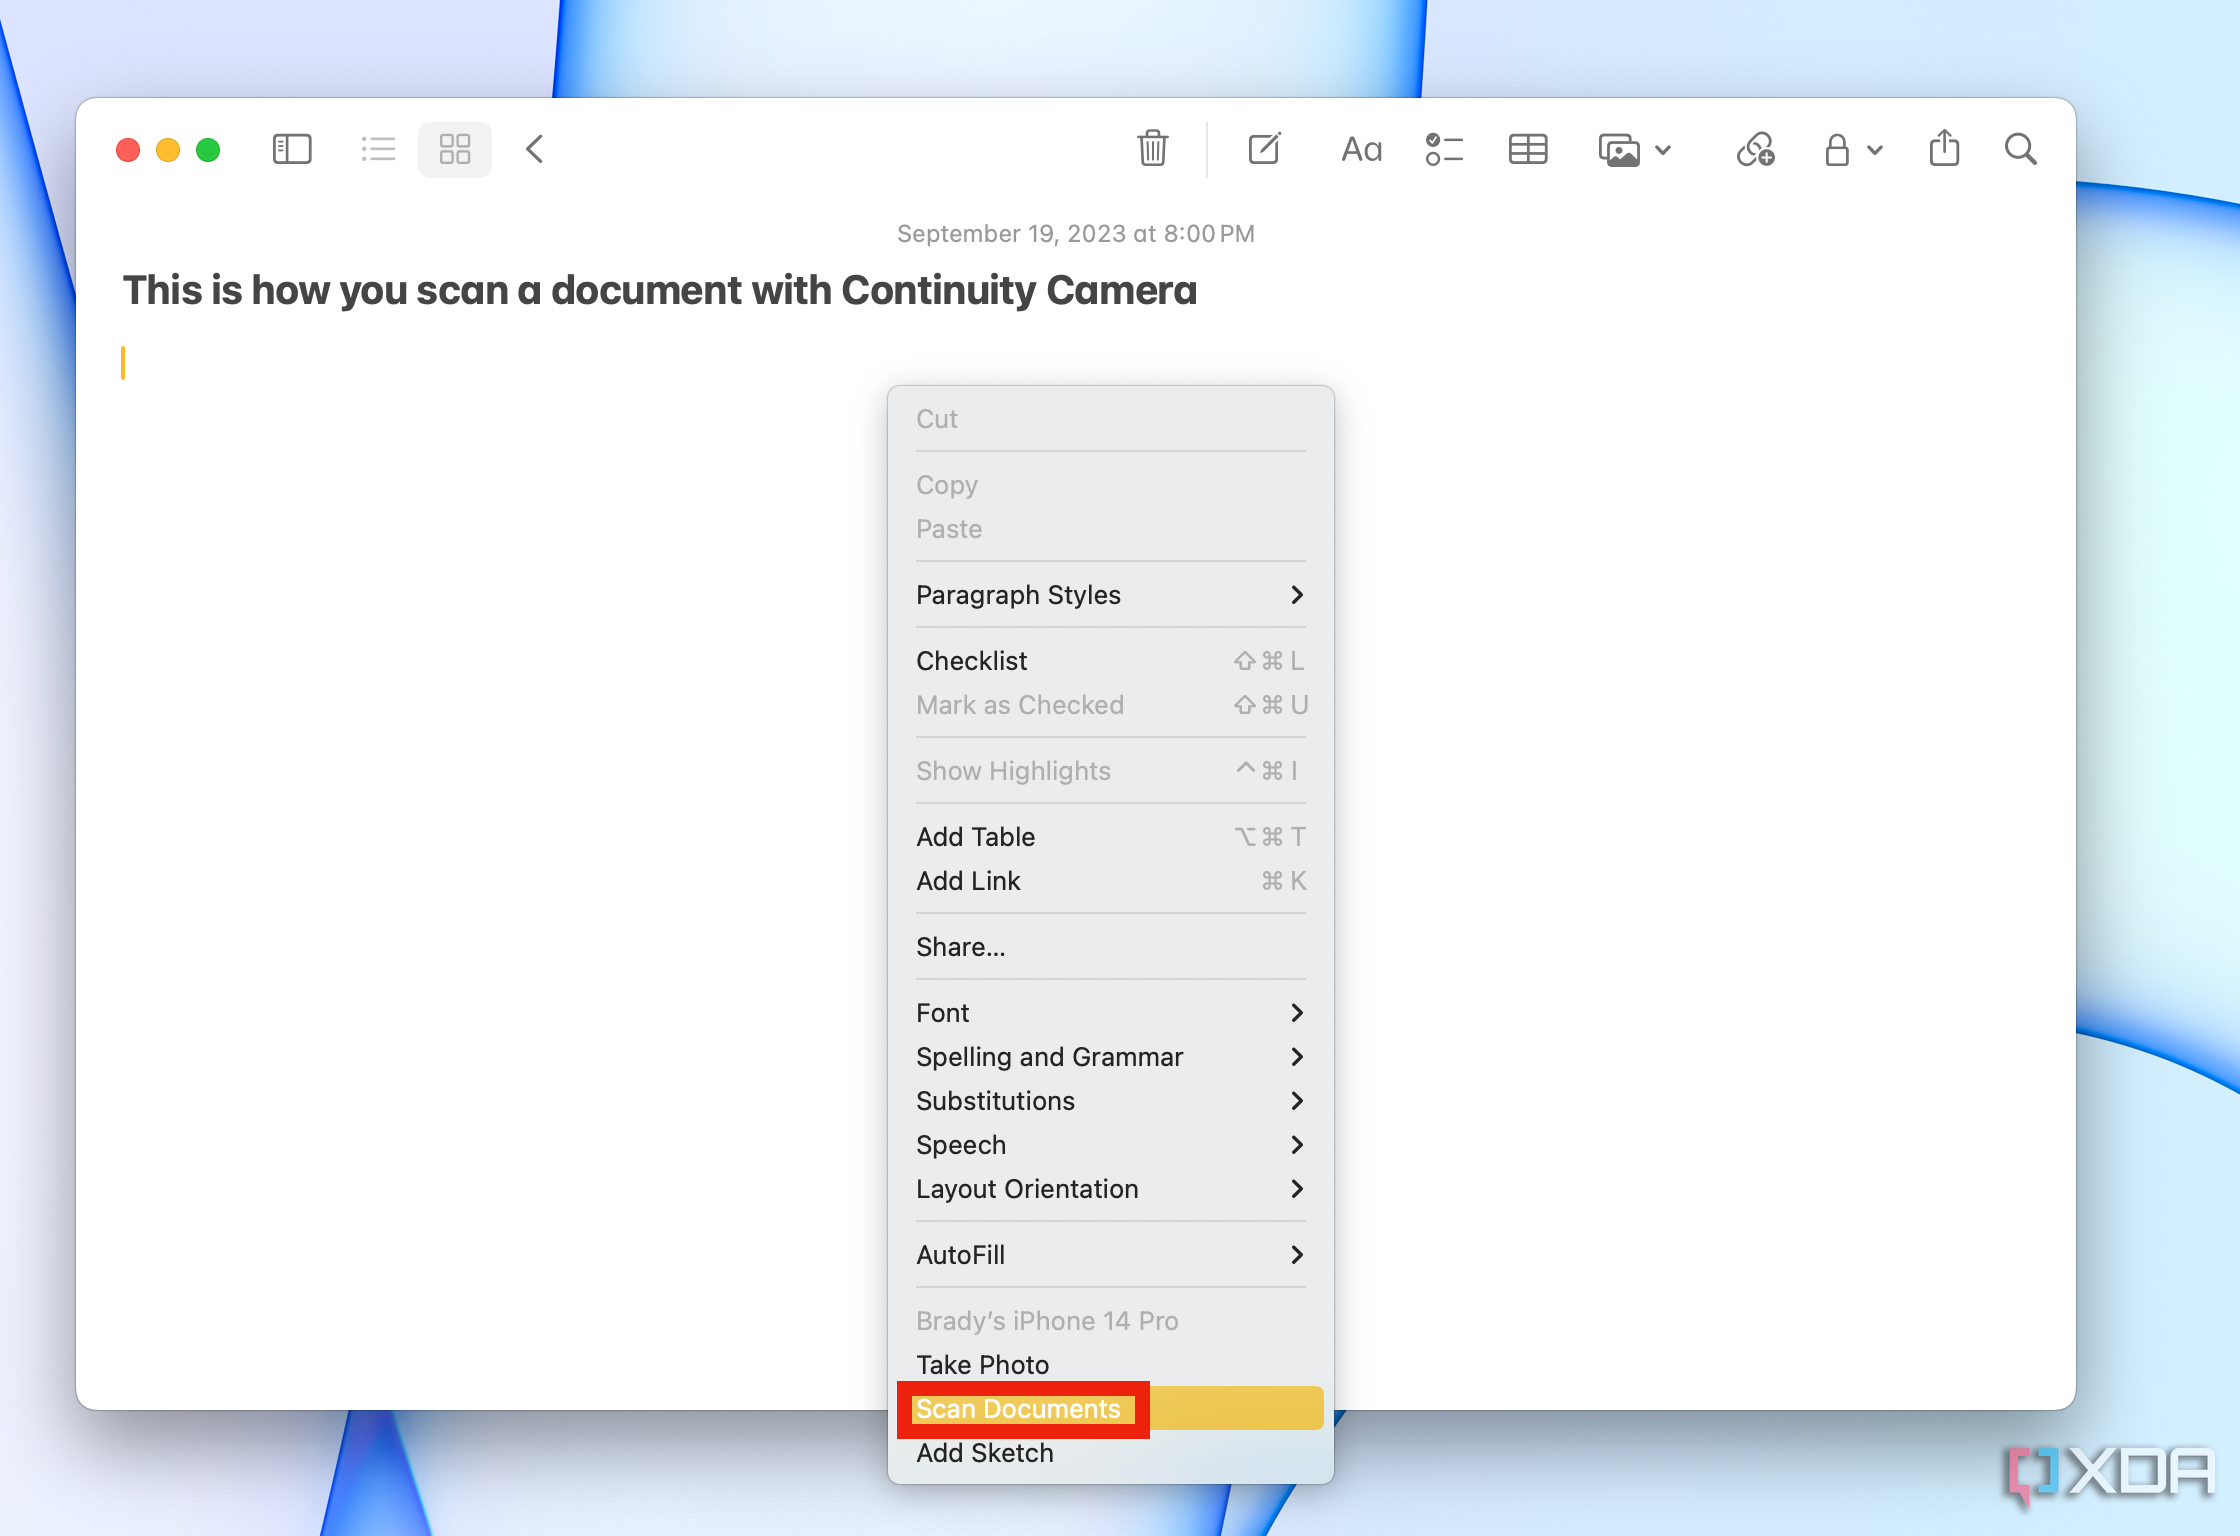
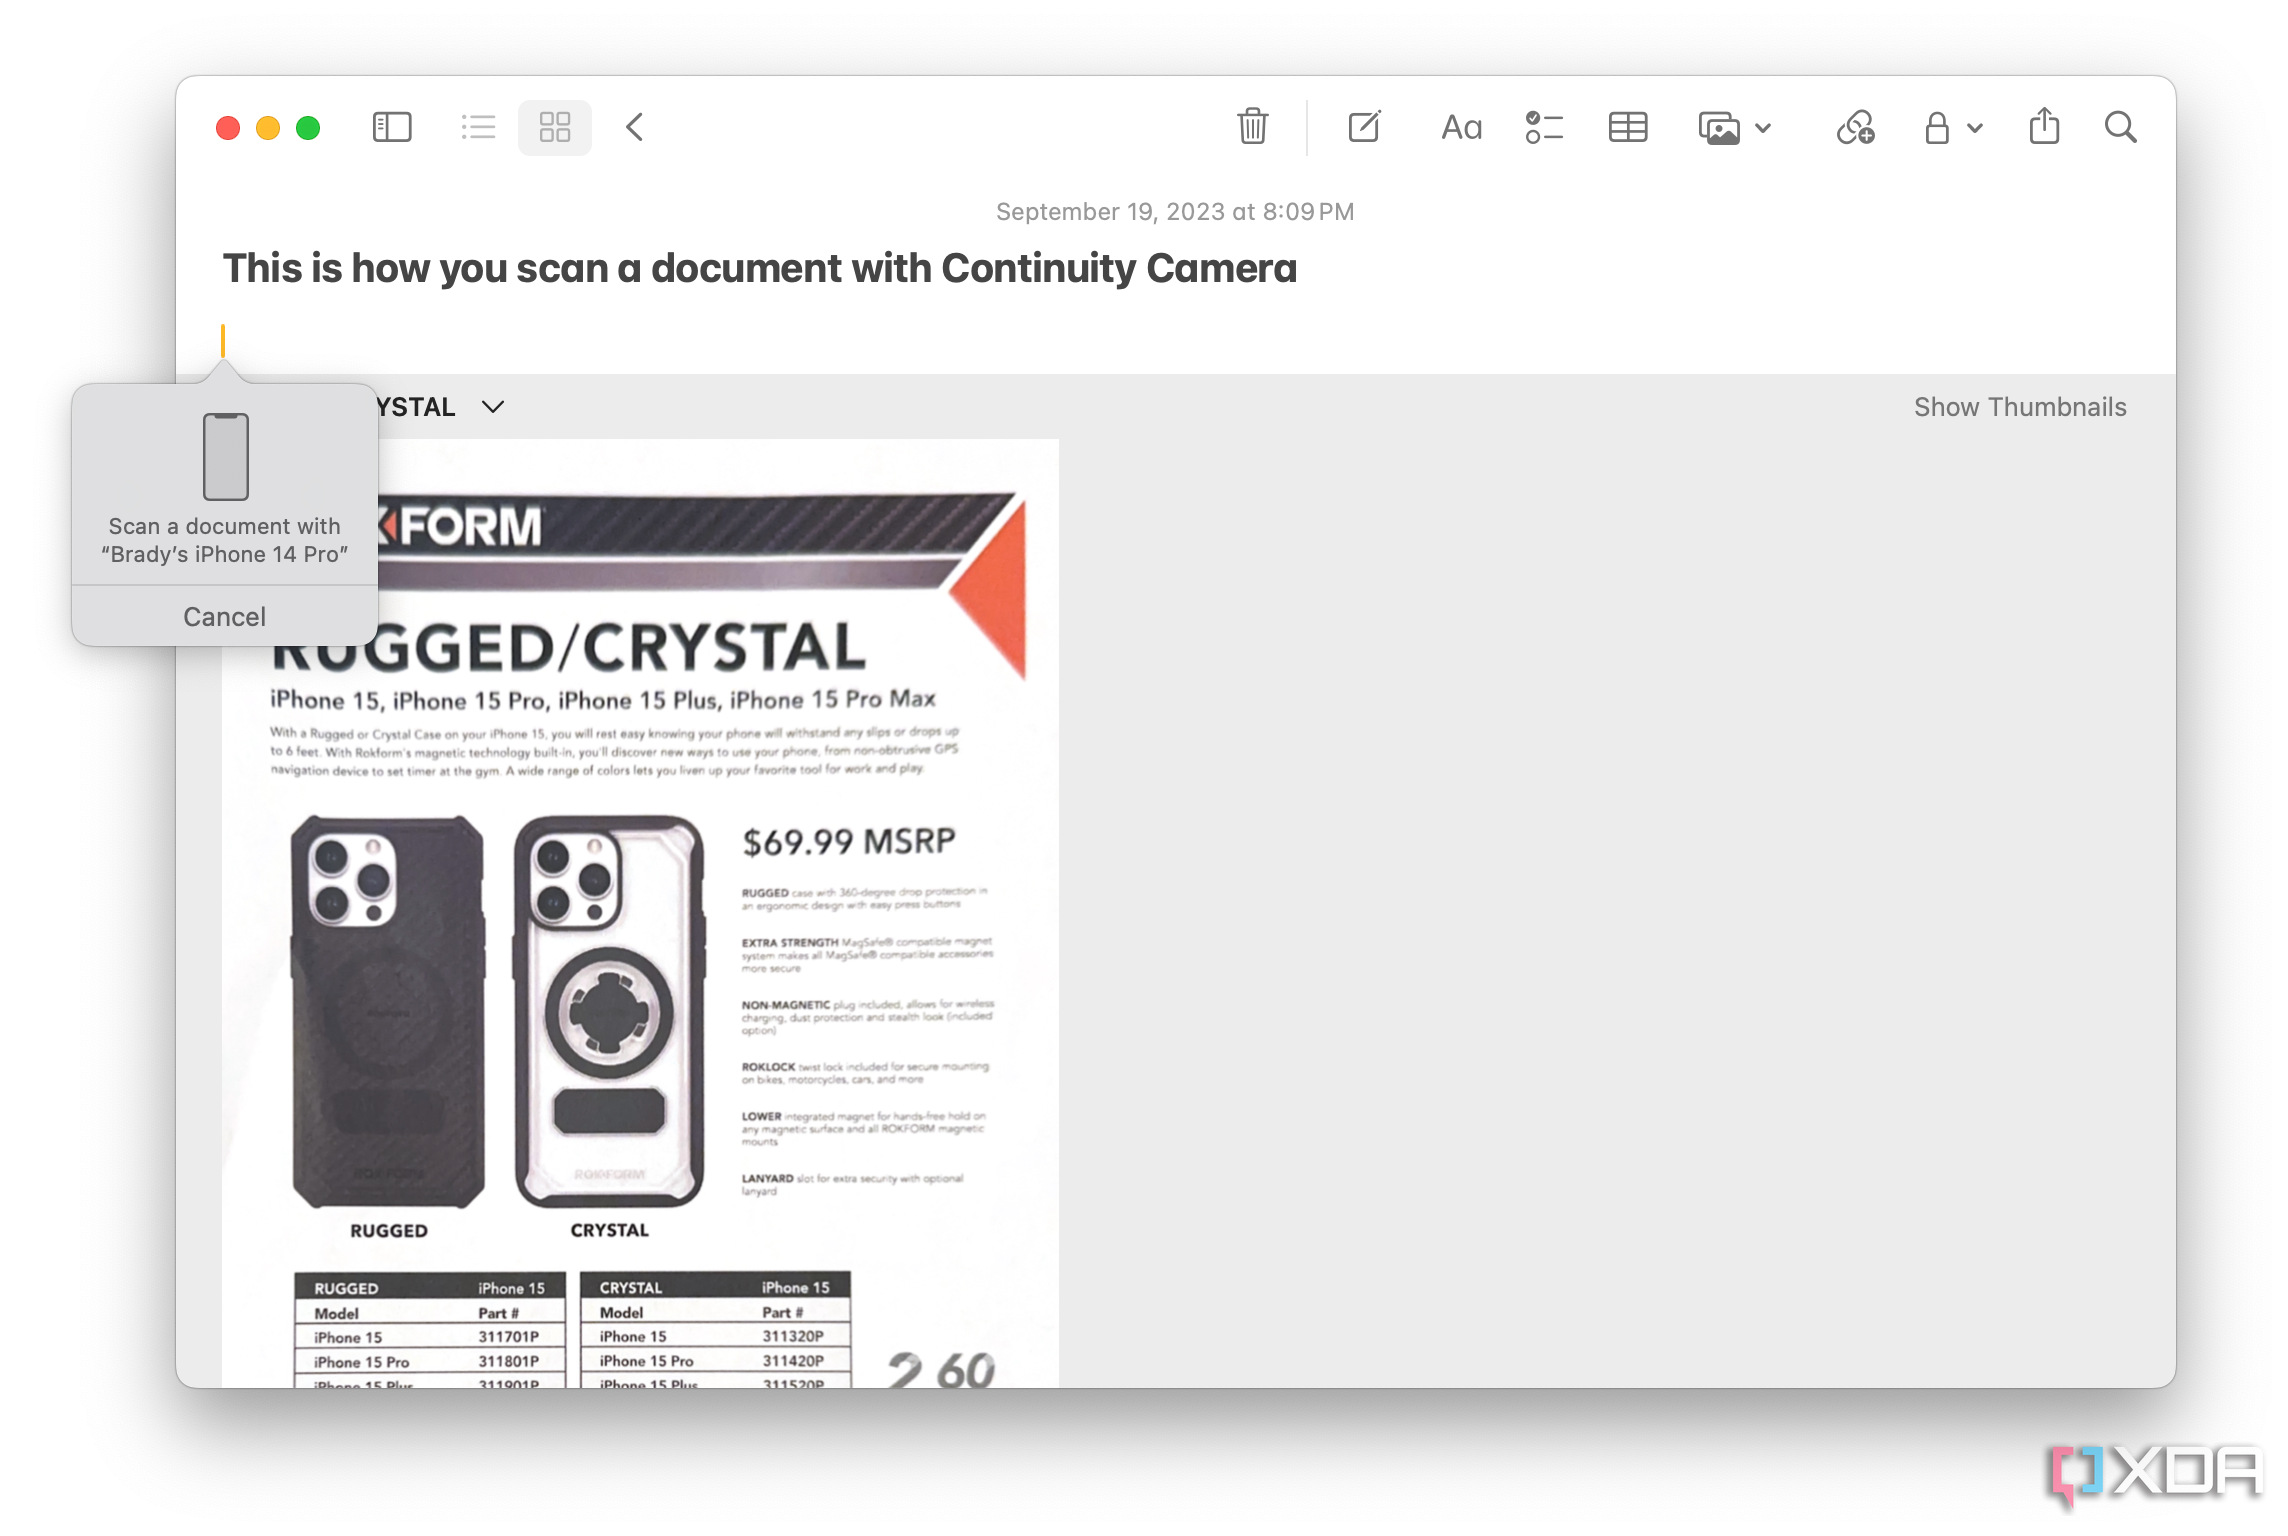
Right-click or Control-click within the text field of the app or in the window where you want the scanned document to be added. This brings up the contextual menu.
-
Select the Scan Documents option. Doing so should instantly open the camera viewfinder on your iPhone iPad. This option is visible under Your iPhone in some apps.
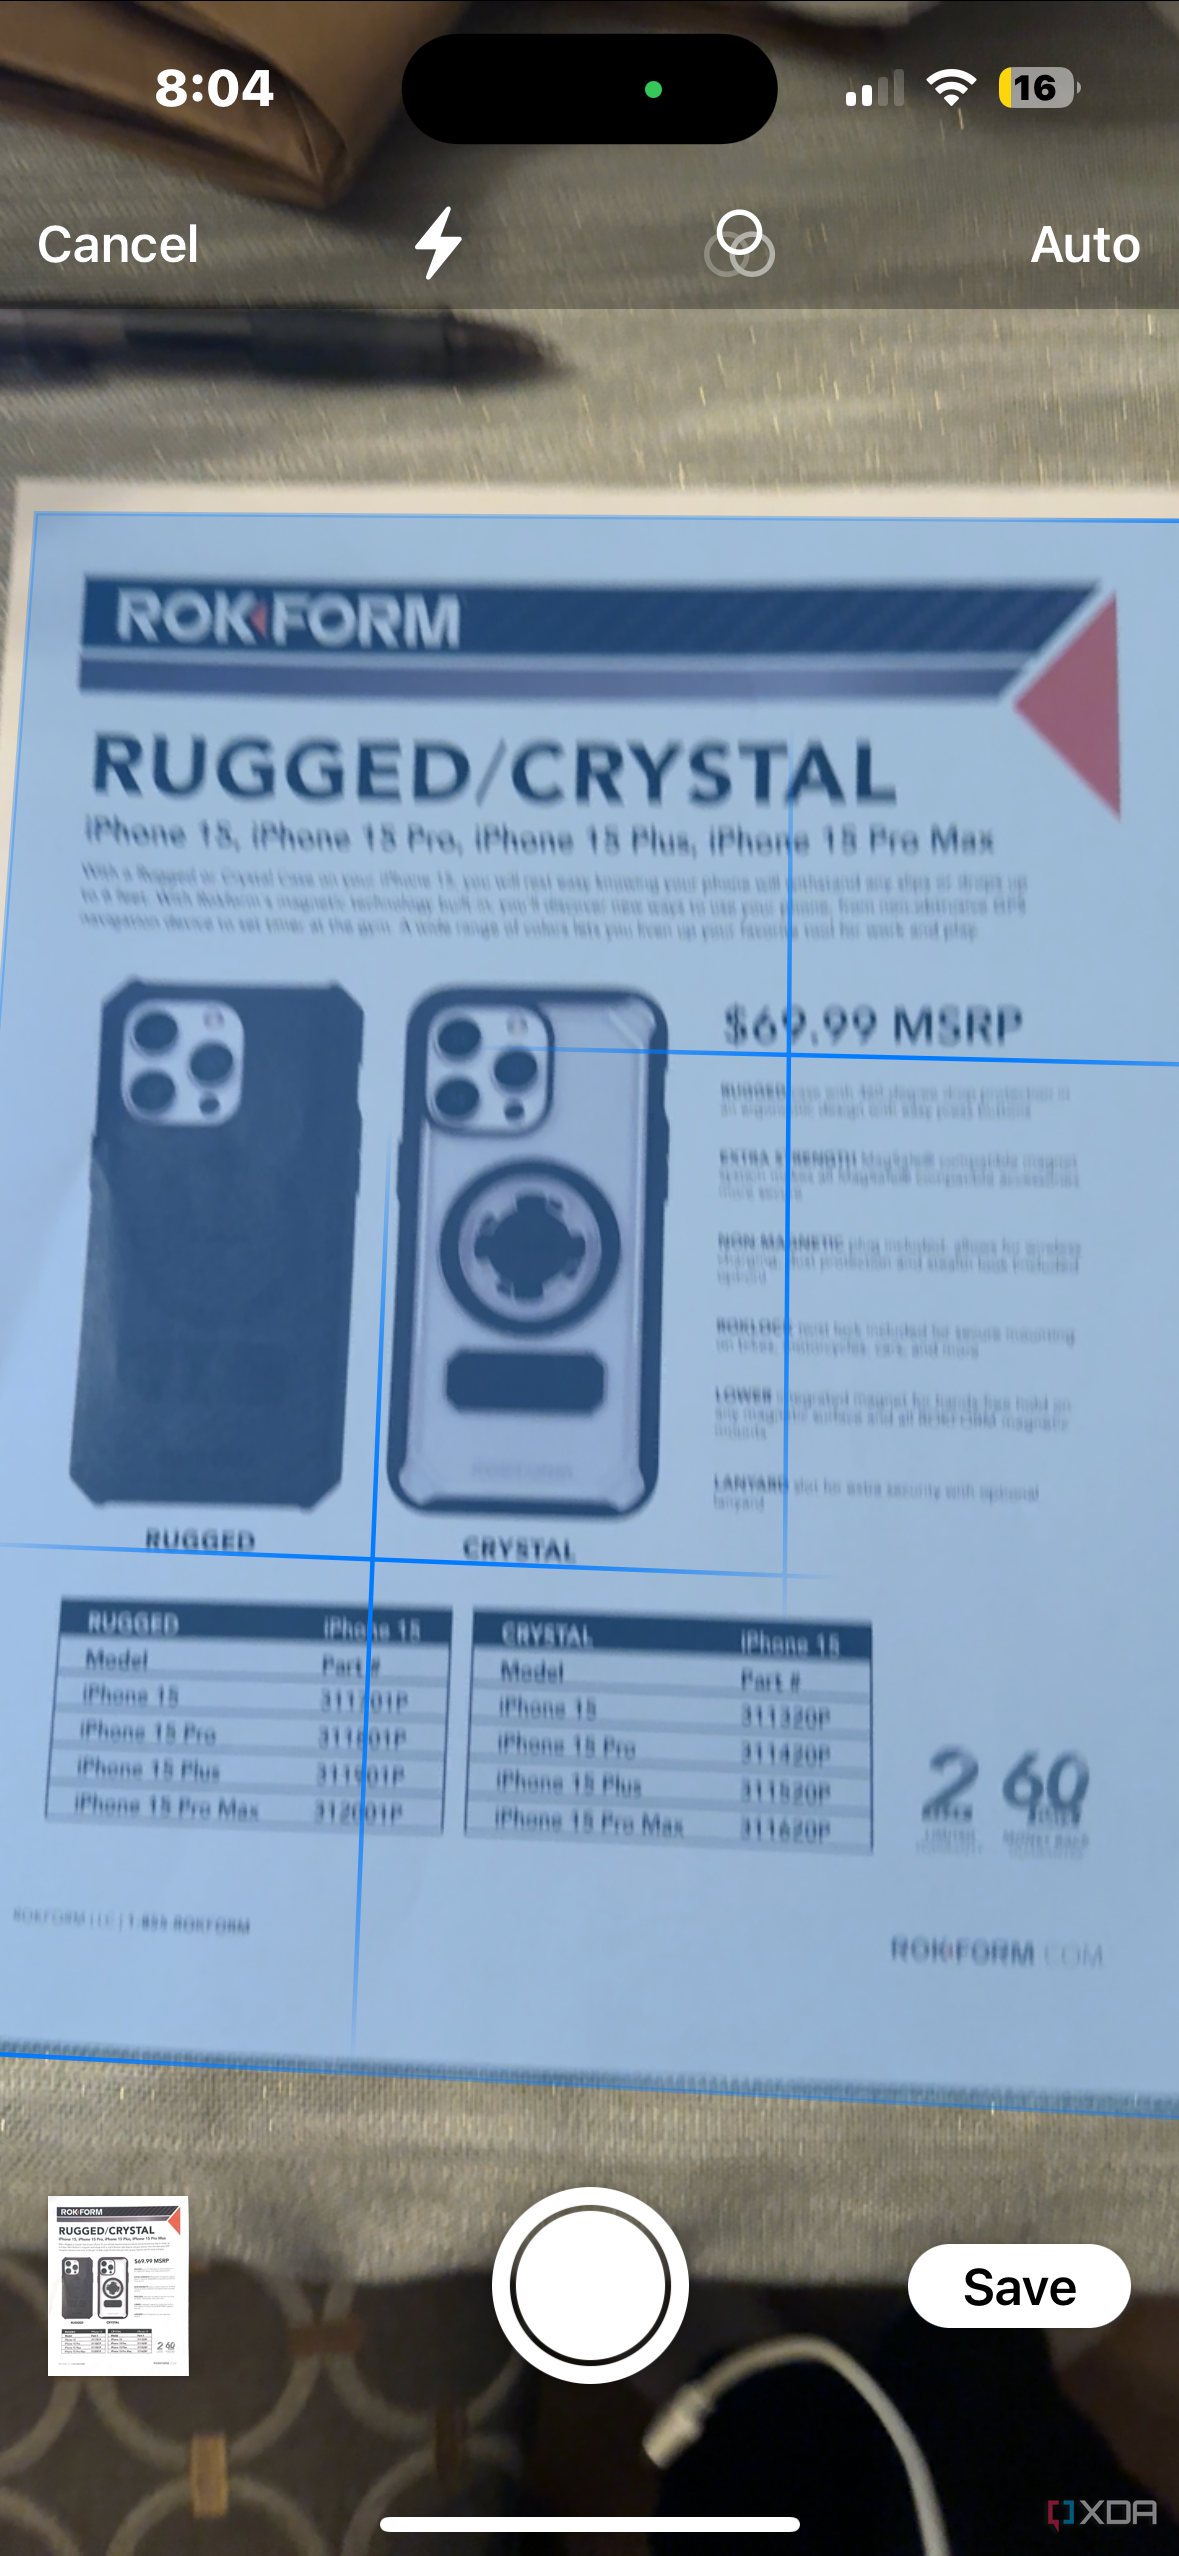
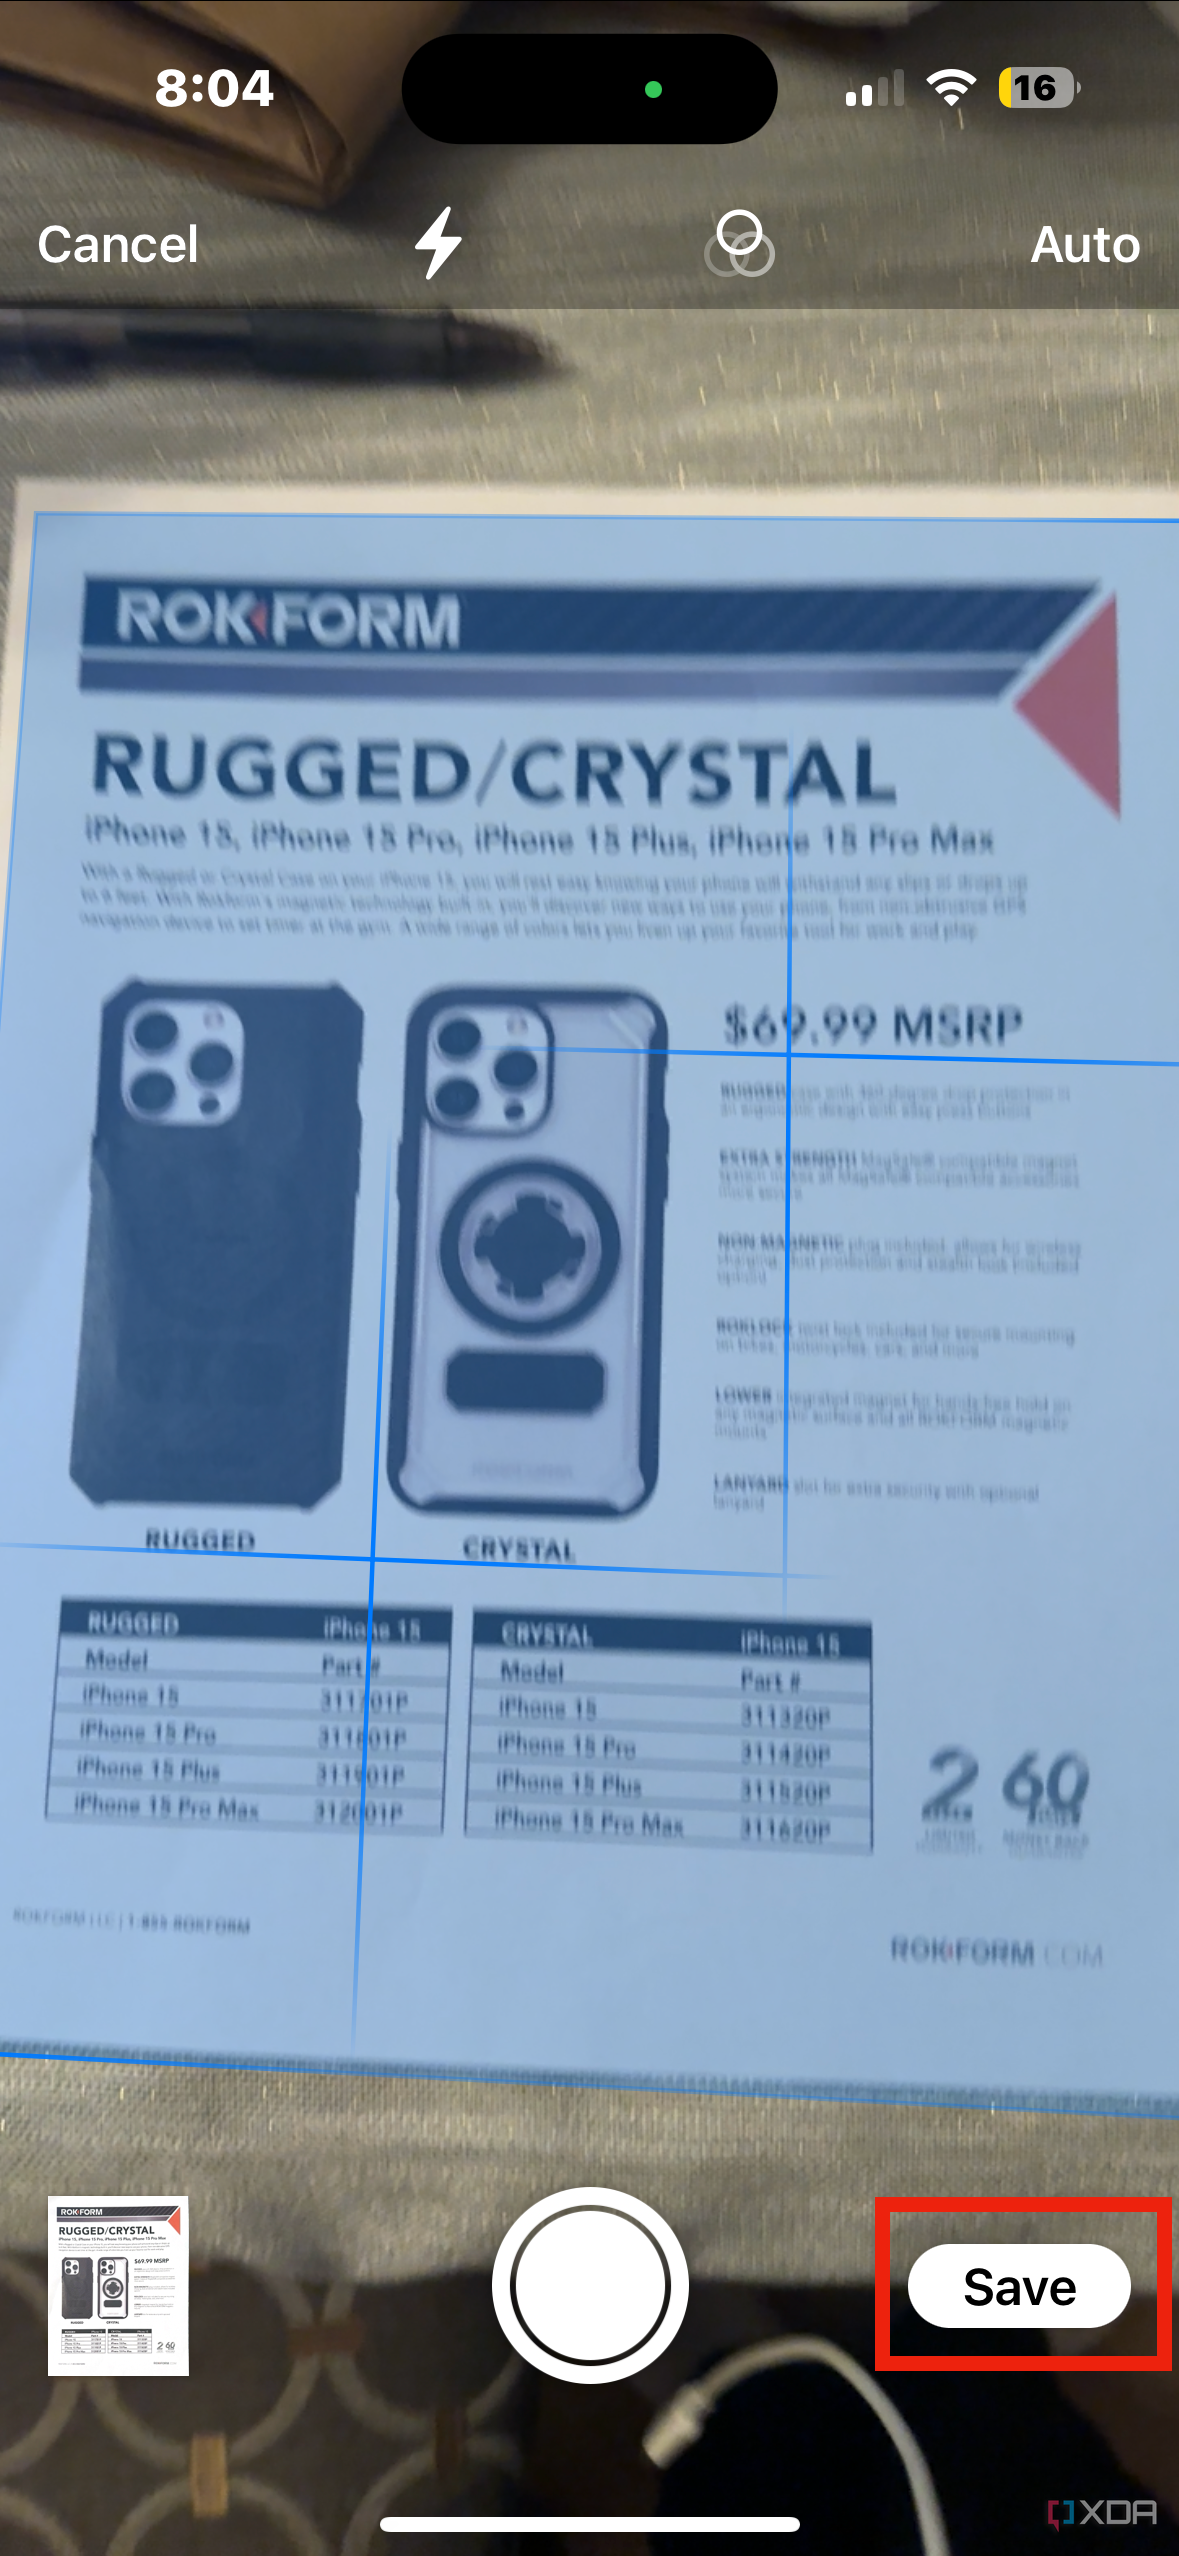
- Place the document you wish to scan in front of your iPhone/iPad. The viewfinder will automatically detect documents and scan them by cropping out the surrounding area.
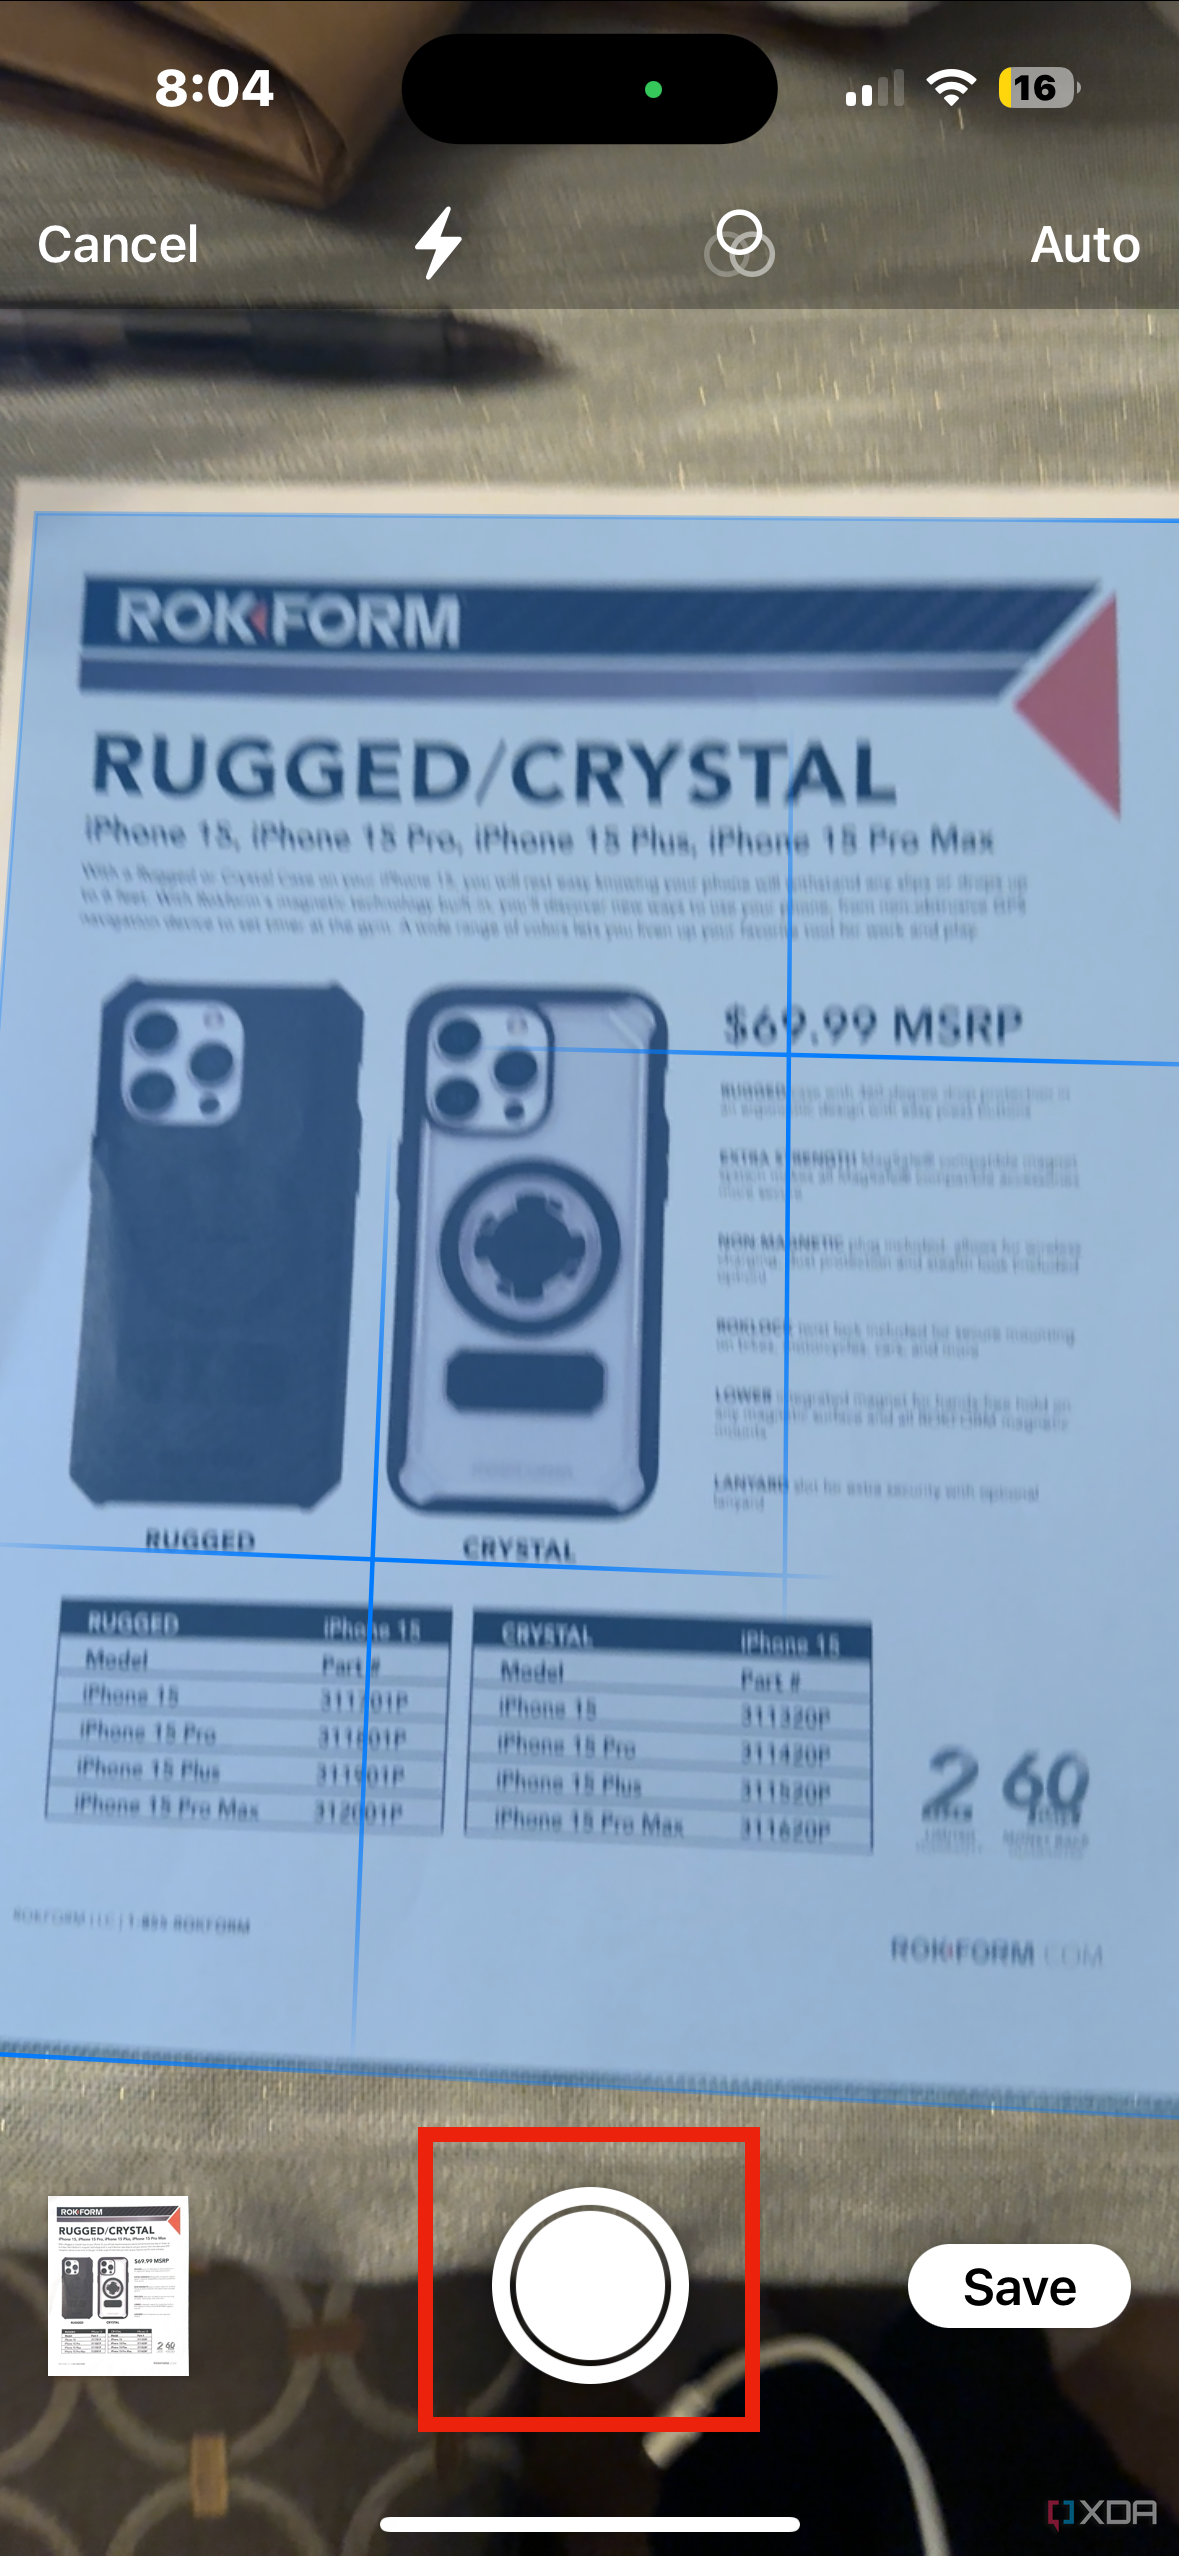
- You can frame the document as per your liking and hit the Shutter button to complete the scan.
-
You can scan multiple pages/documents one after the other. Select Save once you're done scanning all the required documents.
-
Your scanned documents will now appear on your Mac as a PDF file.


Alternative uses for Continuity Camera
In case you wish to use Continuity Camera with an app that does not support the feature, for example, on Google Chrome, you can Ctrl + click on a Finder window and fire up the scanner. Your scanned document will be saved as a PDF file in the same directory where you launched the scanner inside Finder. You can then attach or upload the PDF file wherever required.

If you don’t necessarily have a document to scan and just want to add a photo, you can choose to do that by selecting the Take Photo option in the contextual menu instead of selecting Scan Document. Alternatively, you can also choose to add a sketch via your iPhone/iPad. If you happen to have both a good iPhone and a good iPad, we would suggest you use your iPhone to scan your documents since the primary camera on the iPhone produces better pictures when compared to the one on the iPad.
Continuity Camera is one of the simplest ways to scan and attach documents on your Mac without having to use any additional accessories for your Mac or iPhone. The cameras on newer iPhones are now very capable. As a result, the quality of the scans shouldn't be an issue either if you have adequate sources of light. This is just one of the few examples of how Apple devices can communicate with each other and can help make your workflow more convenient.