One of the biggest reasons why people buy Google Pixel phones is the timely updates, whether it's a monthly security update or a major one that bumps the system’s version. But Google likes to roll out updates in waves, so you may have to wait a couple of days before getting your monthly security update. You didn't buy a Pixel to wait for updates, right? You want to have it on your phone as soon as they're released.
If that describes you, well, we've got you covered. I'm going to show you how to install those updates manually on your Google Pixel, Google Pixel XL, Google Pixel 2, and Google Pixel 2 XL. You don't need to wipe your device, so that's a plus. We'll provide two sets of instructions: One for installing fastboot images and one for installing OTA images. The fastboot images can be installed on bootloader unlocked devices no matter how many modifications you've made (so long as you aren't running a custom ROM) while the OTA images are better for bootloader locked devices.
Oh, one more thing: these instructions will work for any other device that has fastboot images available for it (like the Google Nexus 5X, Google Nexus 6P, and Google Pixel C).
Fastboot Image Instructions for Bootloader Unlocked Devices
Windows
-
Okay, first, you need to download platform tools from here. You need them to use adb and fastboot interfaces. Download and extract it on the desktop.

- Then you need to download the latest stock image for your device from here.
-
Unzip all the contents of the stock image into platform-tools (adb and fastboot interface we downloaded earlier) folder.
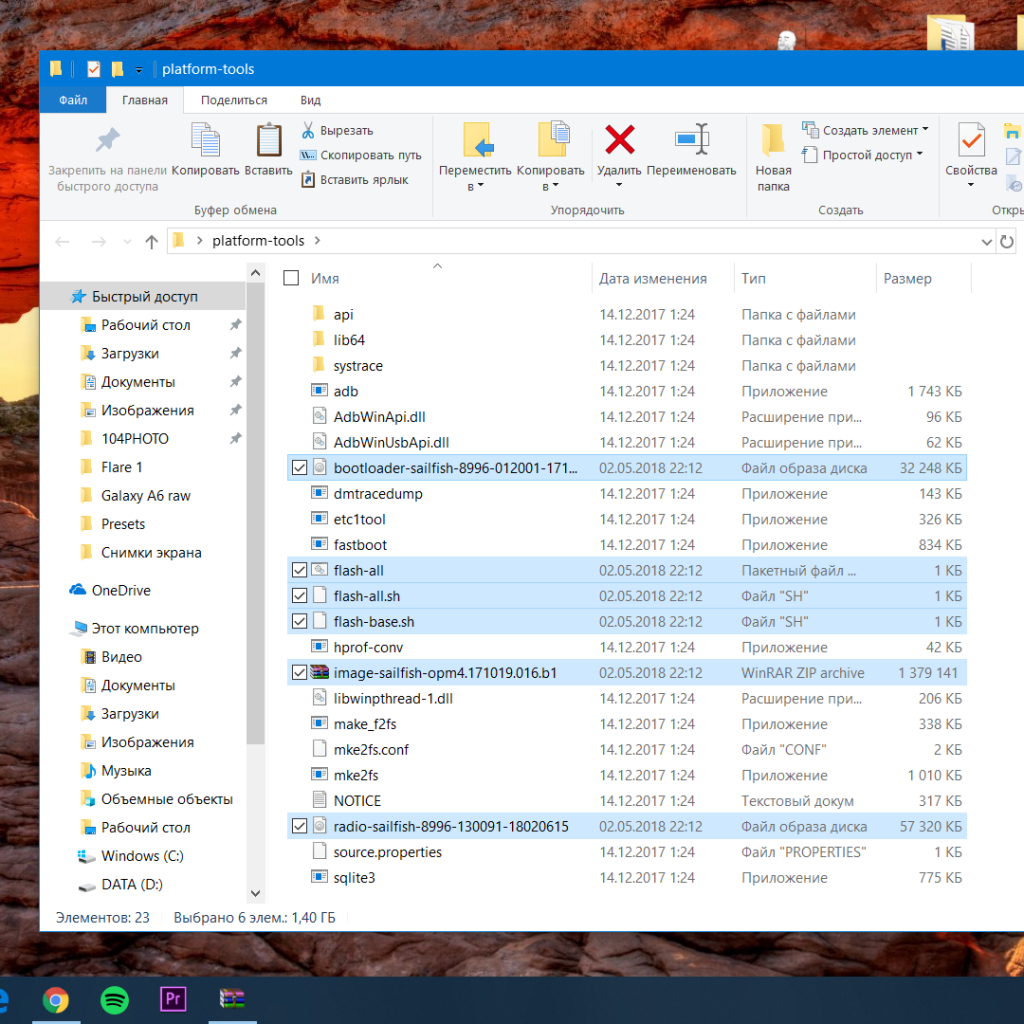
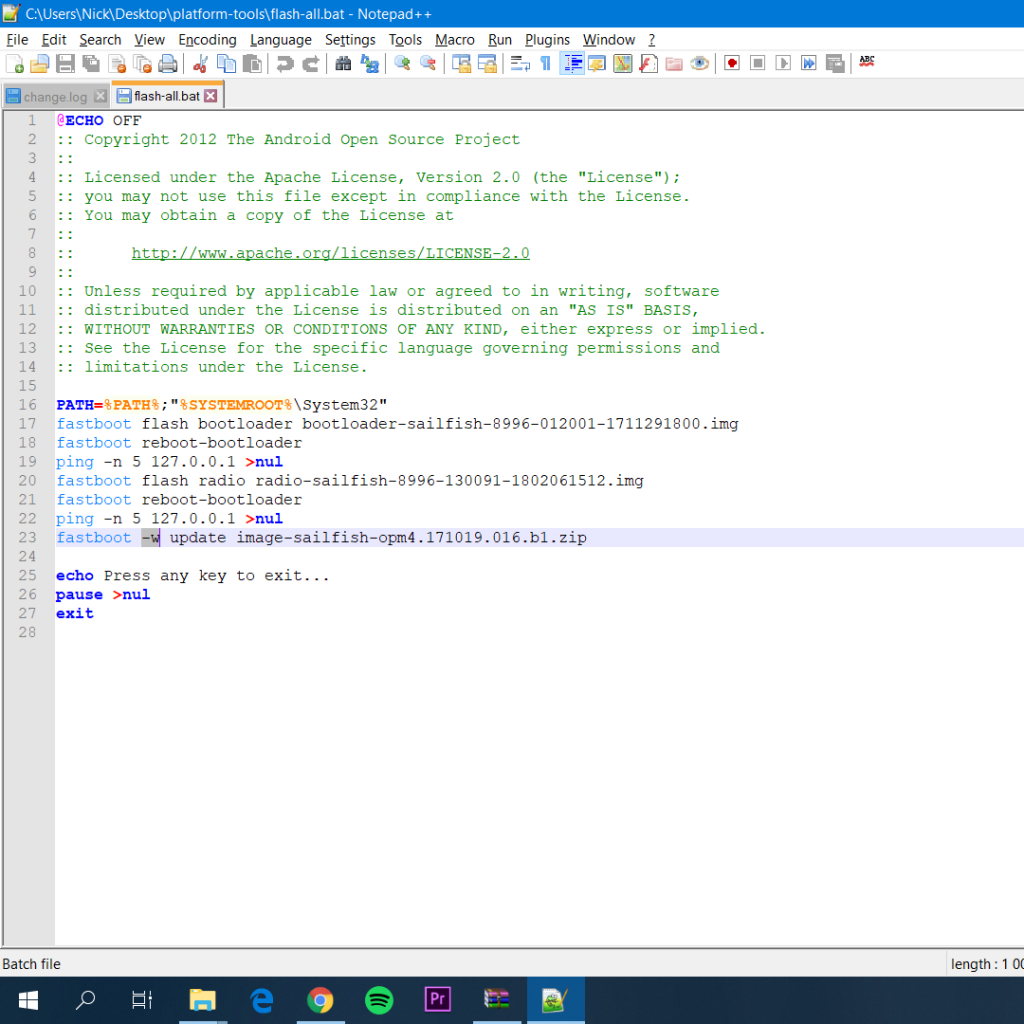
- You will see a small batch file called 'flash-all.bat’. This script automates the flashing process of all compressed images. You need to change it so that it doesn't wipe your device. I recommend you use Notepad++.
-
Near the end of the text, remove '-w’ (it's written without quotes) and save the file.
-
Navigate to platform-tools using Command Prompt on Windows. You can use Windows search to start it. To navigate, you need to use command
cd Desktop\platform-toolsNote: if you are using PowerShell on Windows 10, then you will need to preface all the commands in the following steps with .\ -
Type in
adb devicesand make sure your device appears in the list. -
Now you need to put your device into bootloader mode. To do that, execute the command
adb reboot bootloader -
Check if fastboot sees your device. Type in
fastboot devices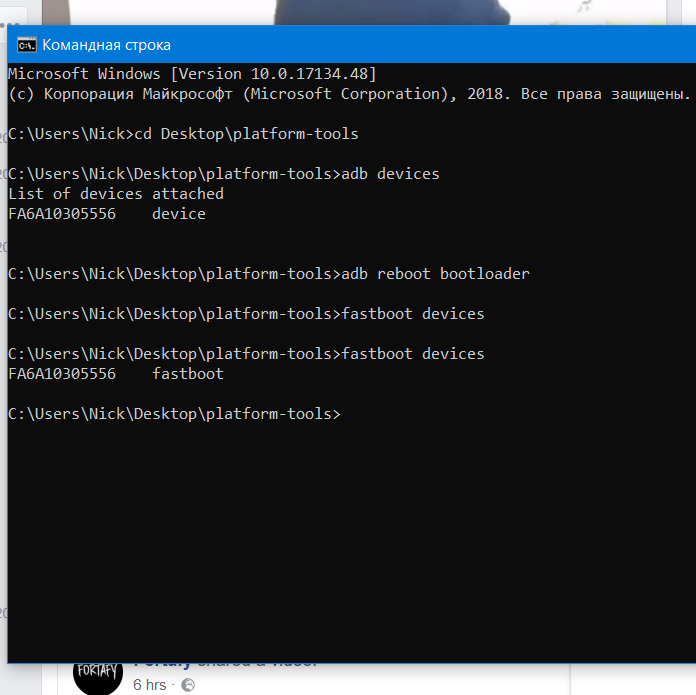
- Now, if you're in bootloader mode and fastboot sees your device, just double-click on 'flash-all.bat’ and wait a few minutes.


Mac OS/Linux
What if you don't use Windows? We've got you covered.
-
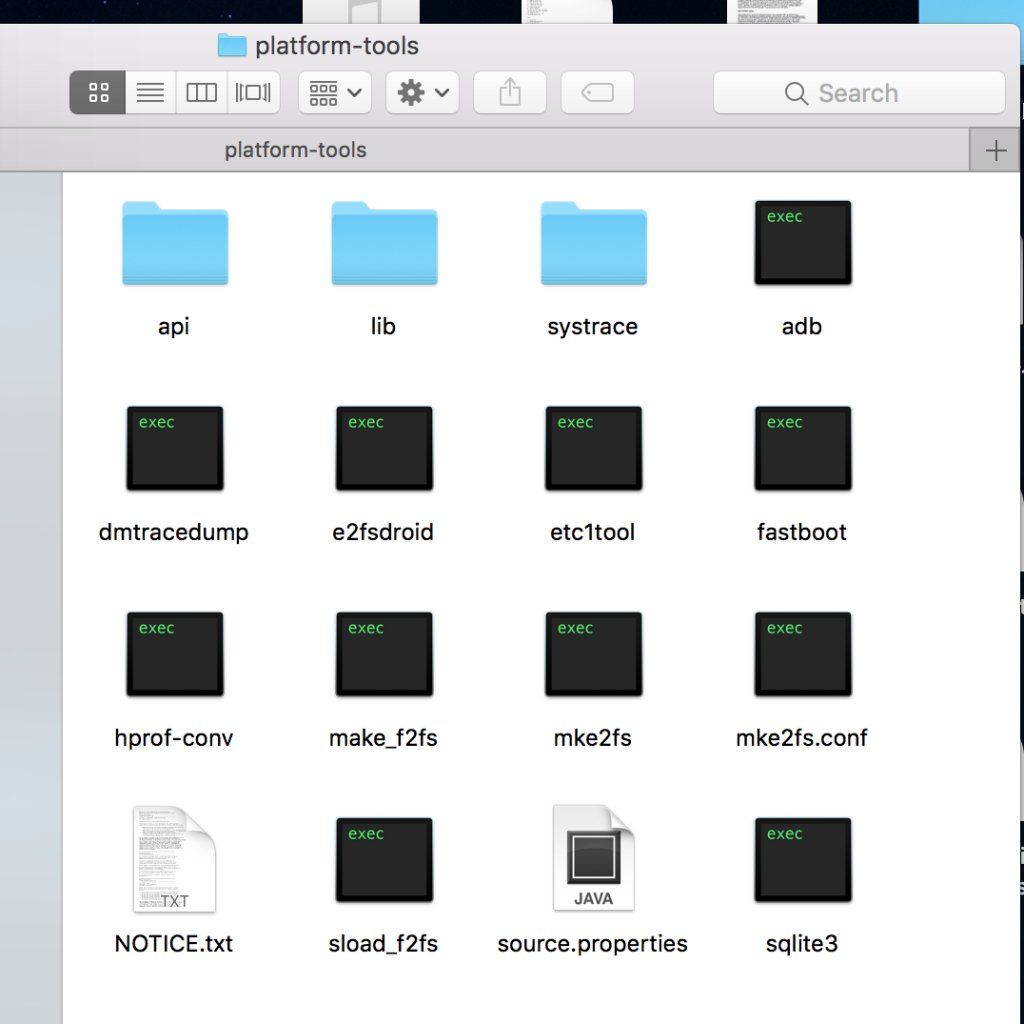
First of all, download platform-tools for Mac OS or Linux. Download and extract it on the desktop.

- Then you need to download the latest stock image for your device from here.
- Unzip all the contents of the stock image into platform-tools (adb and fastboot interface we downloaded earlier) folder.
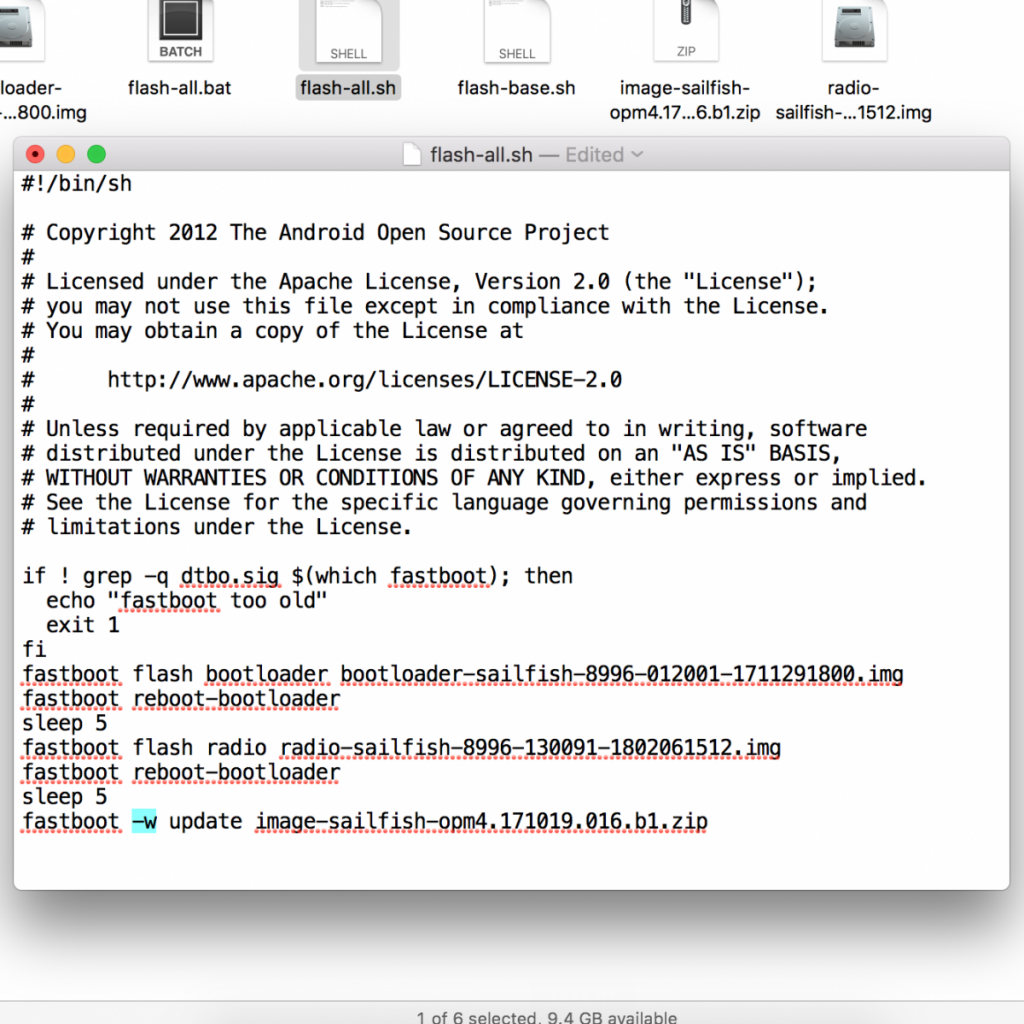
- You will see a small script called 'flash-all.sh’. This script automates the flashing process of all compressed images. You need to change it so that it doesn't wipe your device. Use your preferred text editor.
-
Near end of the text, remove '-w’ (it's written without quotes) and save the file.
-
Navigate to platform-tools using Terminal. To navigate, you need to use command
cd Desktopandcd platform-tools -
Execute the script using command
./flash-all.shand wait a few minutes.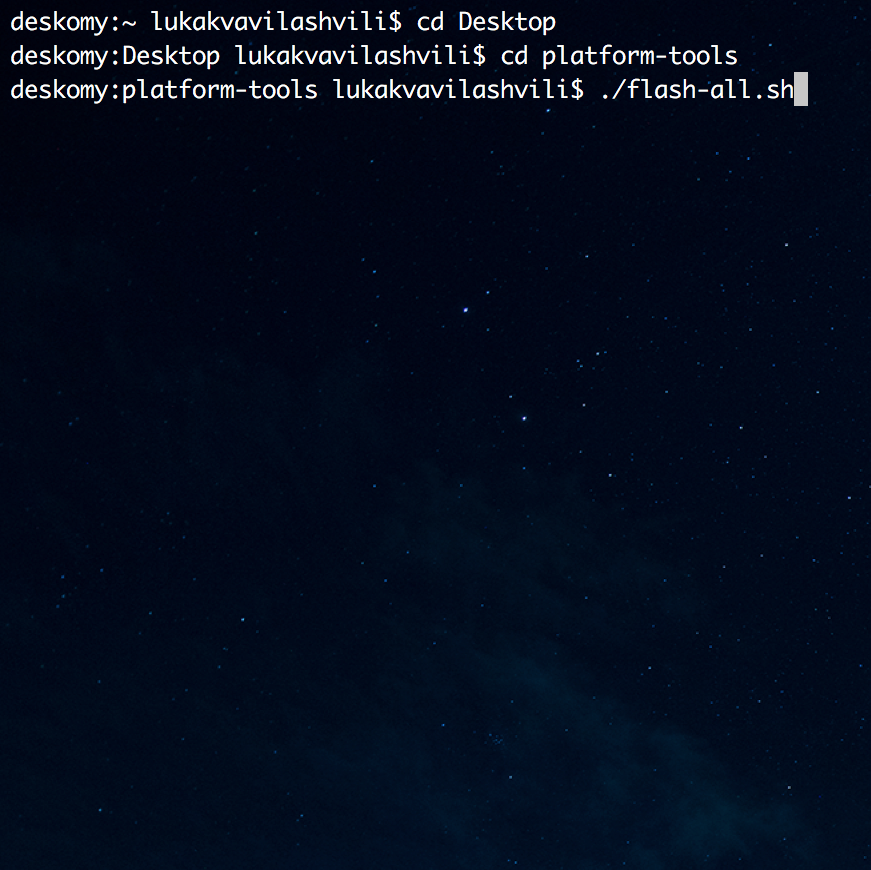


Your phone may take about 10 or 15 minutes to install an update. It may even hang, but don't ever disconnect the USB cable while flashing via fastboot! As I promised, all your apps, photos, videos, and music are where you left them.
OTA Image Instructions for Bootloader Locked Devices
To flash an update on a bootloader locked device, we’re going to sideload it using adb. The instructions are pretty much the same for any platform so there's no point in dividing this into categories.
-
Download platform-tools and extract it on your desktop.
- Download an OTA update from here and put it in the platform-tools folder.
-
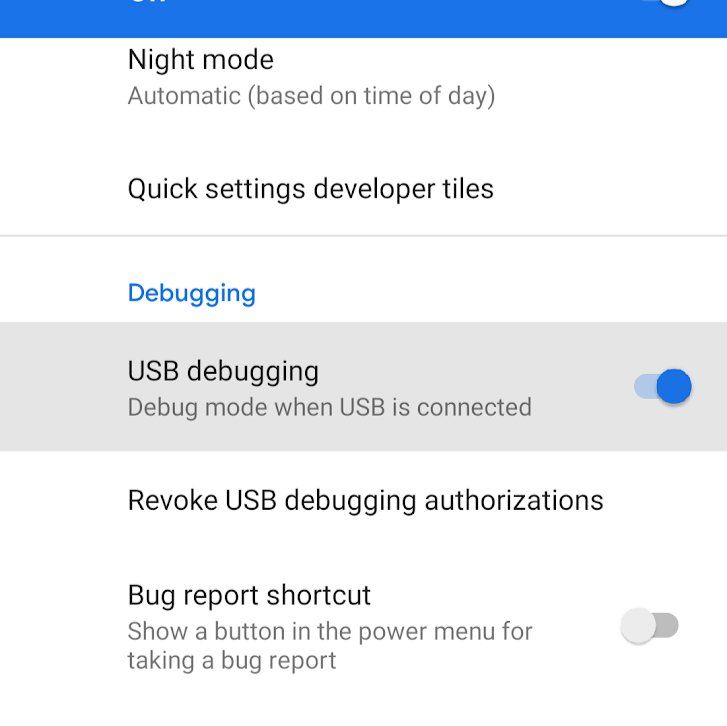
On your phone, go to Settings > About phone. Tap on build number 7 times, then go to Developer Options and activate USB debugging.
-
Open Command Prompt/PowerShell on Windows or Terminal on Mac OS/Linux and type in '
cd Desktop’ and ‘cd platform-tools’. - Connect your phone to your PC via the USB cable.
-
Now execute the following command depending on your OS:For Windows Command Prompt:
adb reboot bootloaderFor Windows PowerShell:.\adb reboot bootloaderFor Mac/Linux Terminal:./adb reboot bootloader - Now that you’re in the bootloader, you need to use volume down button to find recovery mode and then press the power button to enter it.
- After you’re in the recovery mode, select ‘Apply update from ADB’
-
Now, to finally flash our OTA file, execute the following command depending on your OS:For Windows Command Prompt:
adb sideload filename.zipFor Windows PowerShell:.\adb sideload filename.zipFor Mac/Linux Terminal:./adb sideload filename.zipPlease note: You need to replace filename.zip with the name of the OTA image you downloaded. For example, sailfish-ota-opm4.171019.016.b1-b387f7b2.zip.