
If you recently bought a new iPhone, such as the iPhone 14 Pro Max, then you must be looking for a reliable Virtual Private Network (VPN) service. While there are plenty of VPN apps on the App Store, you can rely on one without needing to install a dedicated application. All you have to do is create a VPN configuration on your iPhone or iPad by following the steps we've listed below.
Creating a VPN configuration on an iPhone or iPad
- Launch the Settings app on your iDevice.
- Tap on General.
- Scroll, then enter the VPN & Device Management section.
-
Tap on VPN.
- Click the Add VPN Configuration button.
- Choose the Type and fill in the required fields. You can find the needed details on your favorite VPN provider's website, assuming they offer it. Otherwise, there are plenty of services offering these details for varying prices.
- Tap on Done once you've filled in the required blanks.
- Click on the VPN configuration's name, then enable the Status toggle.
- If the configuration you've added is valid, you will be connected to the VPN.
-
You can easily enable or disable the VPN through the new VPN toggle that appears on the main Settings page.
Being able to utilize a VPN through a configuration can be a lifesaver to users with not enough storage to install a dedicated VPN app. That's not to mention that enabling the VPN toggle from the Settings app may be faster than the loops that some VPN apps put users through to enable or disable the service.
Getting a VPN is something we always recommend. Not only can you use it to protect your privacy when you're on public Wi-Fi, but you can bypass regional restrictions on streaming sites like Netflix.
-
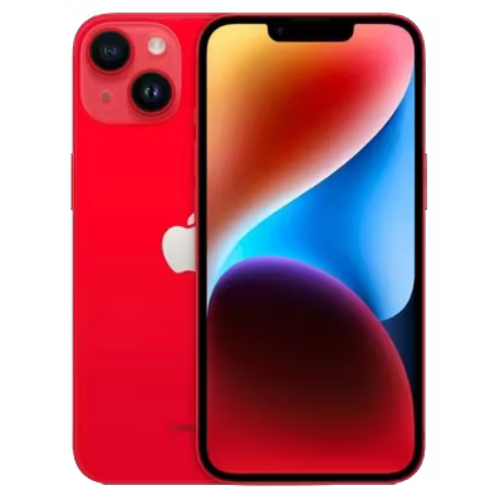
Apple iPhone 14
The iPhone 14 is the base model of the 2022 iPhone series, offering a balanced set of features for the average user, including a 6.1-inch notched display.
-
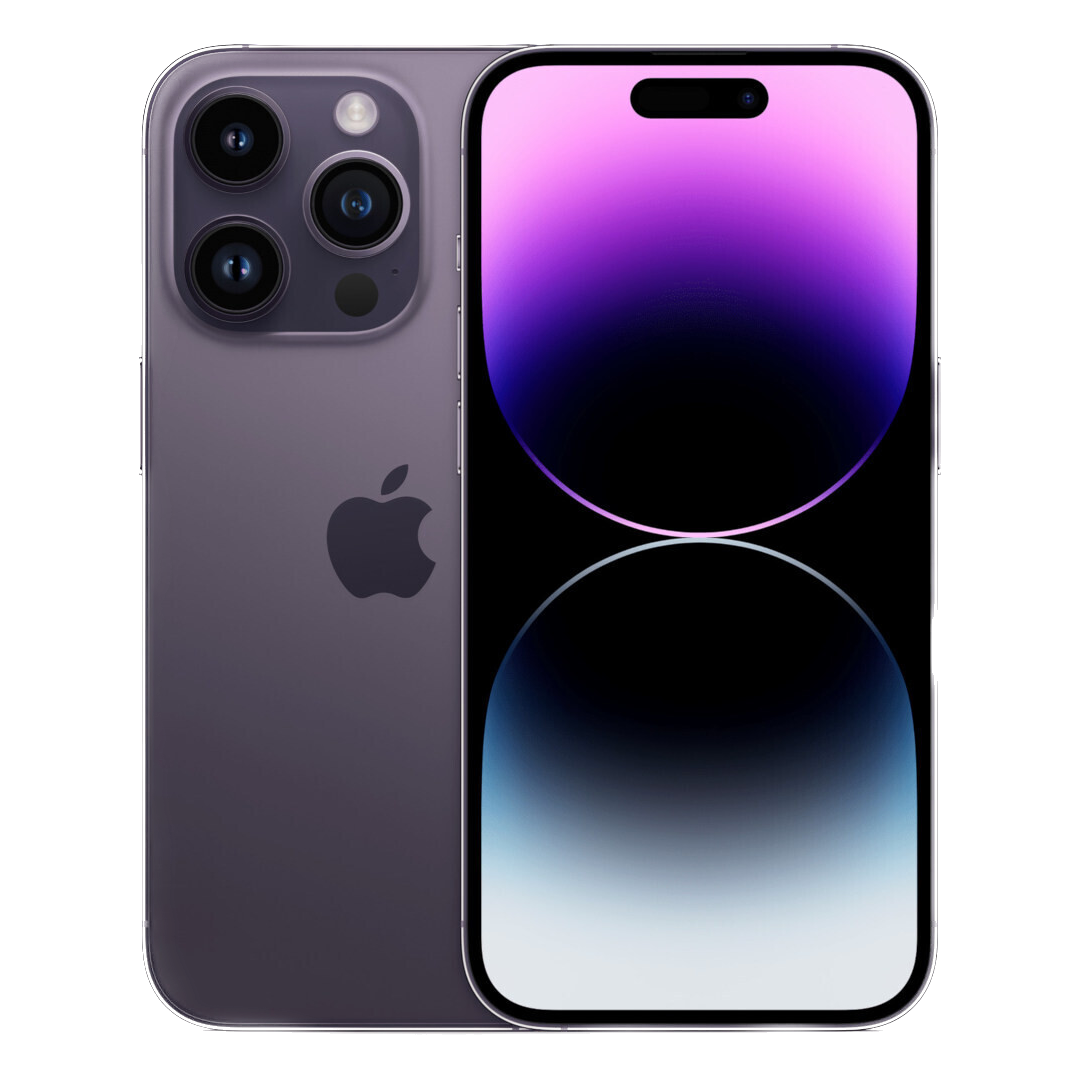
Apple iPhone 14 Pro
The iPhone 14 Pro brings a new front design, upgraded cameras, and all-powerful Apple silicon for 2022's premium Apple phone.

