Setting up a new iPhone or transferring your data from an old model to a new one is typically a simple process. But one part can often be frustrating: swapping SIM cards. Enter the eSIM, a digital SIM card that removes the need for a minuscule card and the need to install it properly. An eSIM works with any iPhone XS, XS Max, iPhone XR, or later as long as the phone is being used with a wireless carrier or provider that supports it. Once ready, you can install eight or more eSIMs to a single phone if desired, even using two phone numbers at the same time.
What is an eSIM?
An eSIM is, as the name implies, an electronic version of the old physical SIM cards of yesteryear (though those are still very much around). Instead of being a tiny little card you insert into a slot on the phone, an eSIM is embedded in the phone itself, making it easy to swap from one model to another. Apple has supported eSIMs since back with the iPhone XR, but starting with the iPhone 14 (and continuing with the iPhone 15 series), the company removed the SIM card slot altogether for versions sold in the U.S. (versions in other countries still support both formats).
If you travel, you'll be pleased to know that newer iPhones support up to eight eSIMs, so you can use a plan from another country when you are traveling without having to switch devices or swap out physical cards. Just make sure not to activate that eSIM until you are physically in that country.
How to set up an eSIM on iPhone
If you’re setting up an eSIM on one of the best iPhones, you'll have the option to activate an eSIM during setup as long as the iPhone is connected to a Wi-Fi network and the carrier has assigned an eSIM to the iPhone at the time of purchase.
When the carrier has activated the plan, you will see a notice that says Carrier Cellular Plan Ready to Be Installed. Select it. Under Settings, select Carrier Cellular Plan Ready to Be Installed and tap Continue at the bottom of the screen. Simply follow the instructions from there.
There’s also an eSIM Quick Transfer option for transferring a SIM from a previous iPhone to a new one without involving your carrier. It's ideal if you bought a used phone or one outside your carrier. If you're switching from Android to iPhone, you will need your carrier to transfer the phone number using eSIM Carrier Activation.
If you do not see the option to set up an eSIM while setting up your new phone, contact your carrier for activation or use the QR code provided in the carrier’s iPhone app.
To test, make a phone call. If it isn’t working, contact your carrier for further support. Once you have verified that everything works, you can remove the old physical SIM card from the phone (if it has one) and restart it.
How to transfer an eSIM on an iPhone
If you are moving from one iPhone to another, you might be able to handle the transfer process without the assistance of your carrier.
- Turn on both iPhones and make sure they are both connected to the same Wi-Fi network.
-
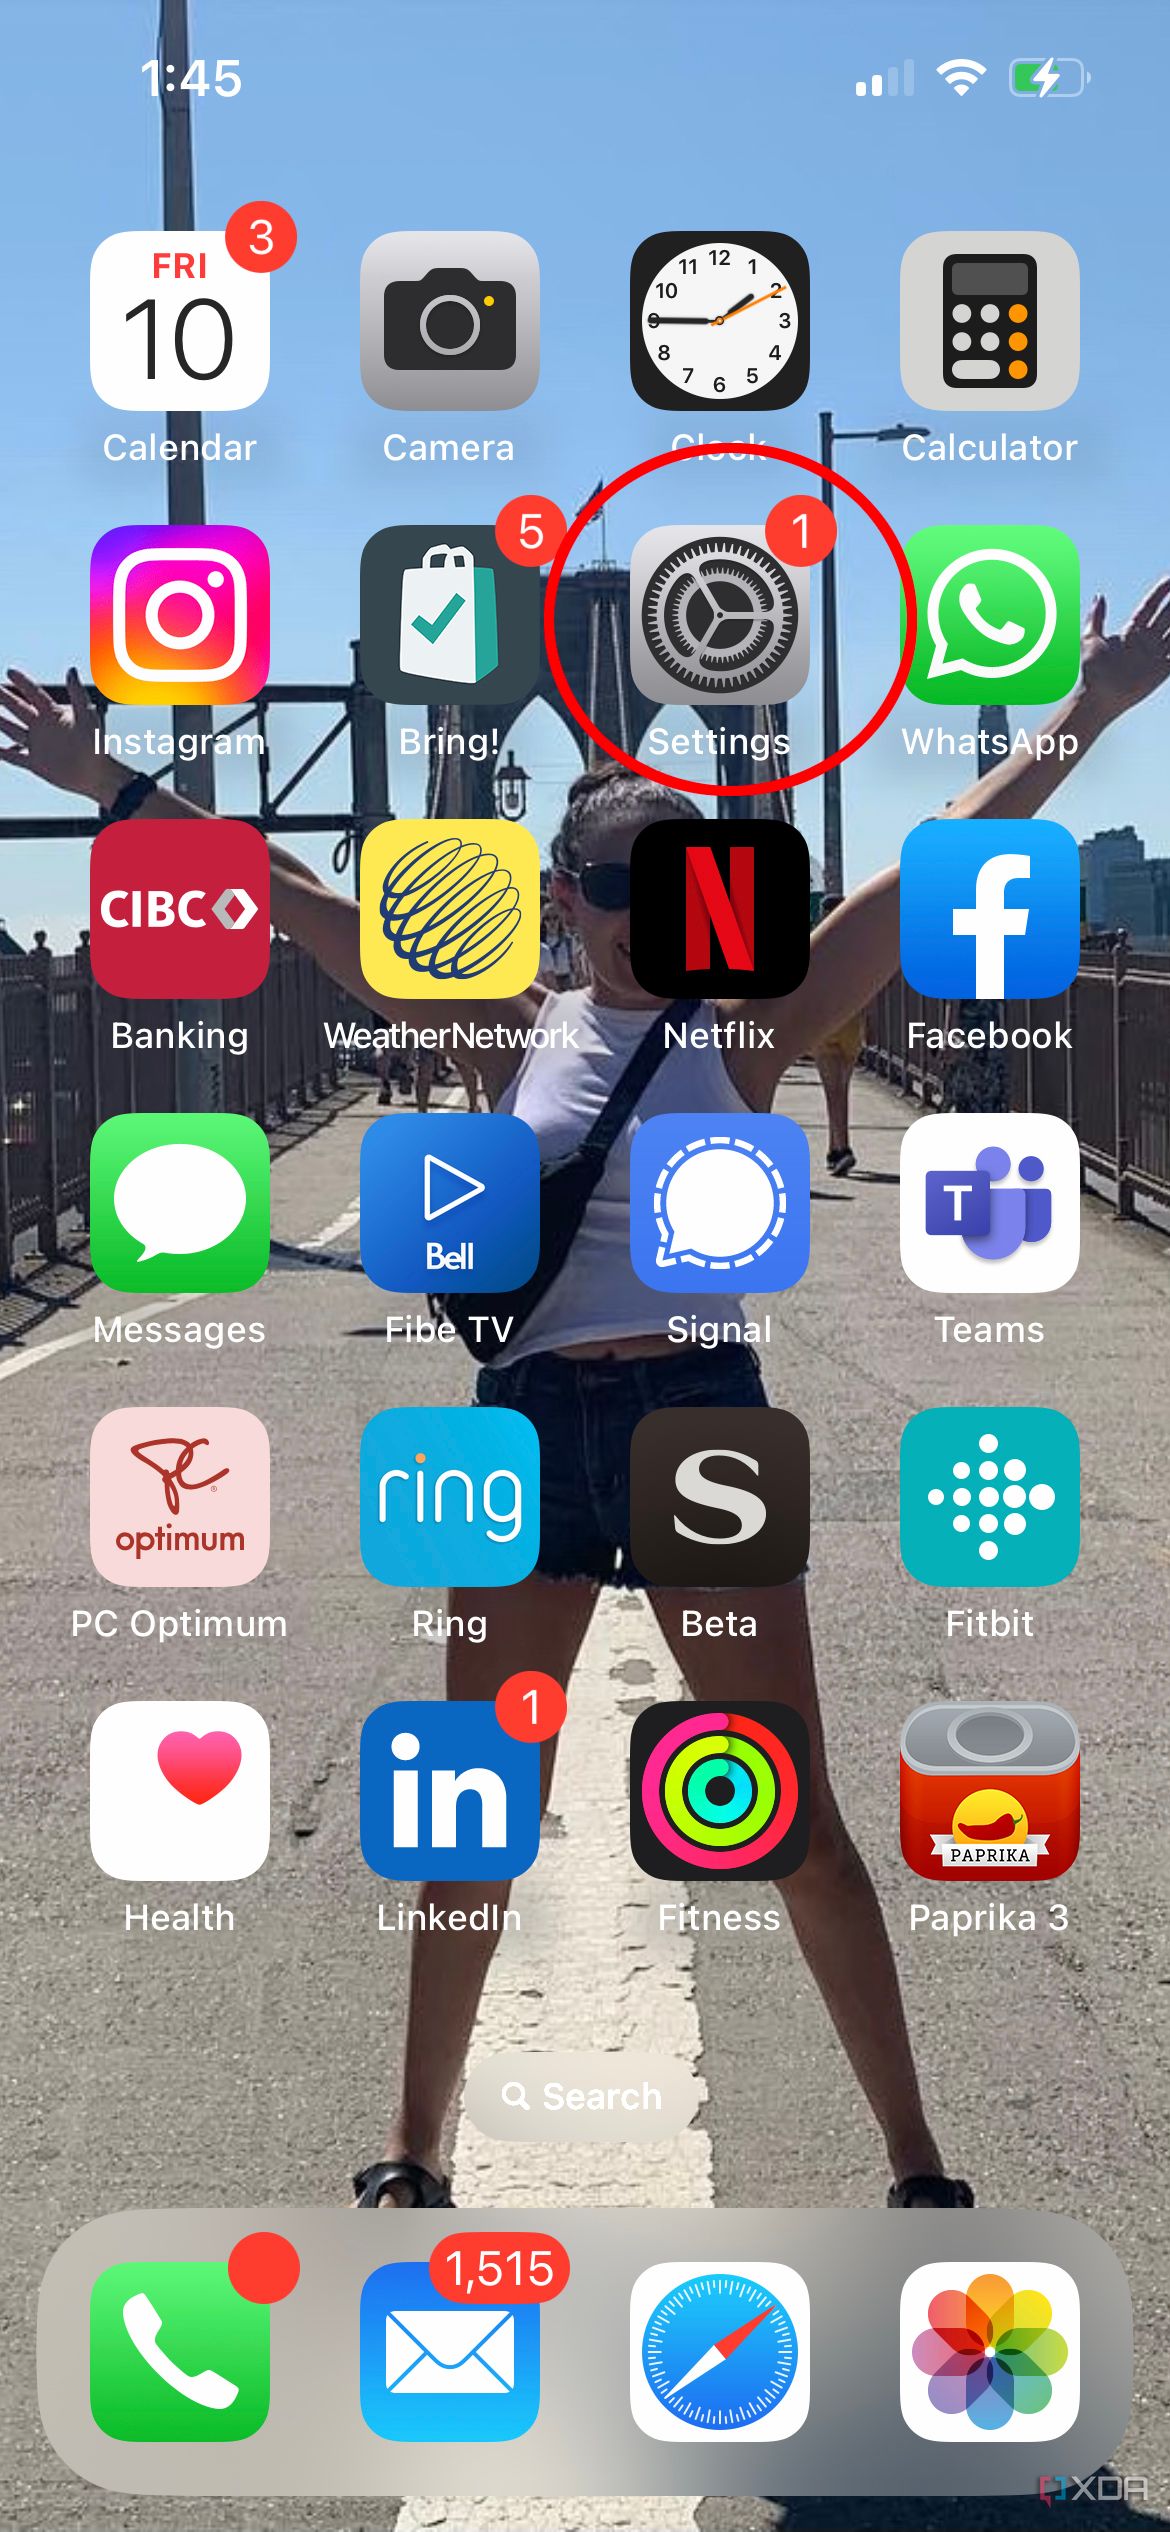
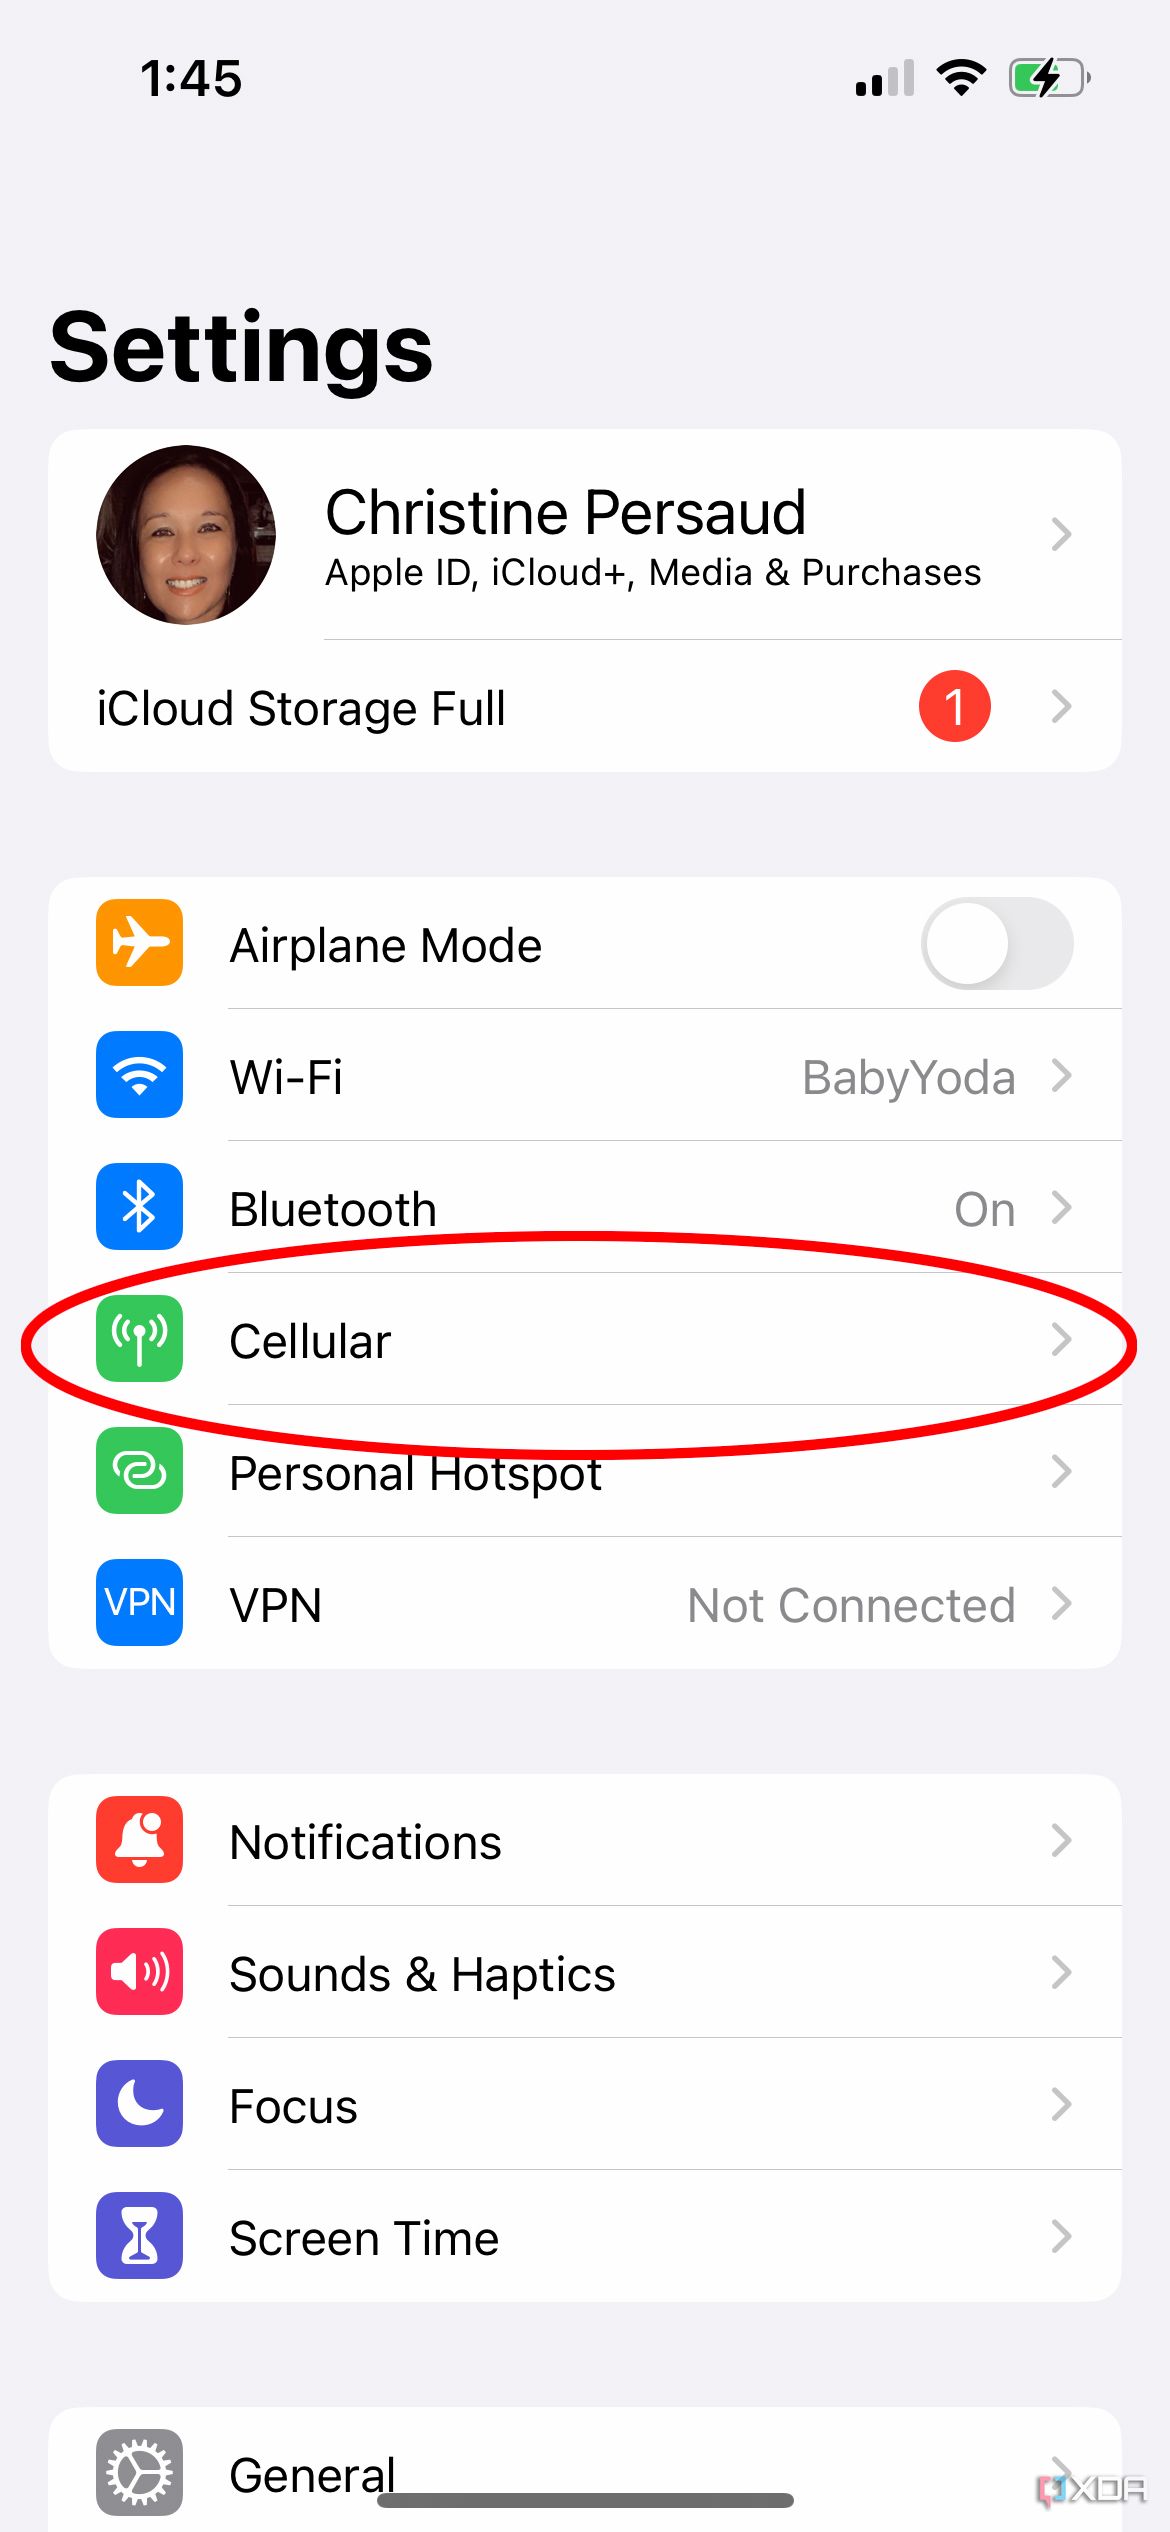
On the new iPhone, go to Settings > Cellular.
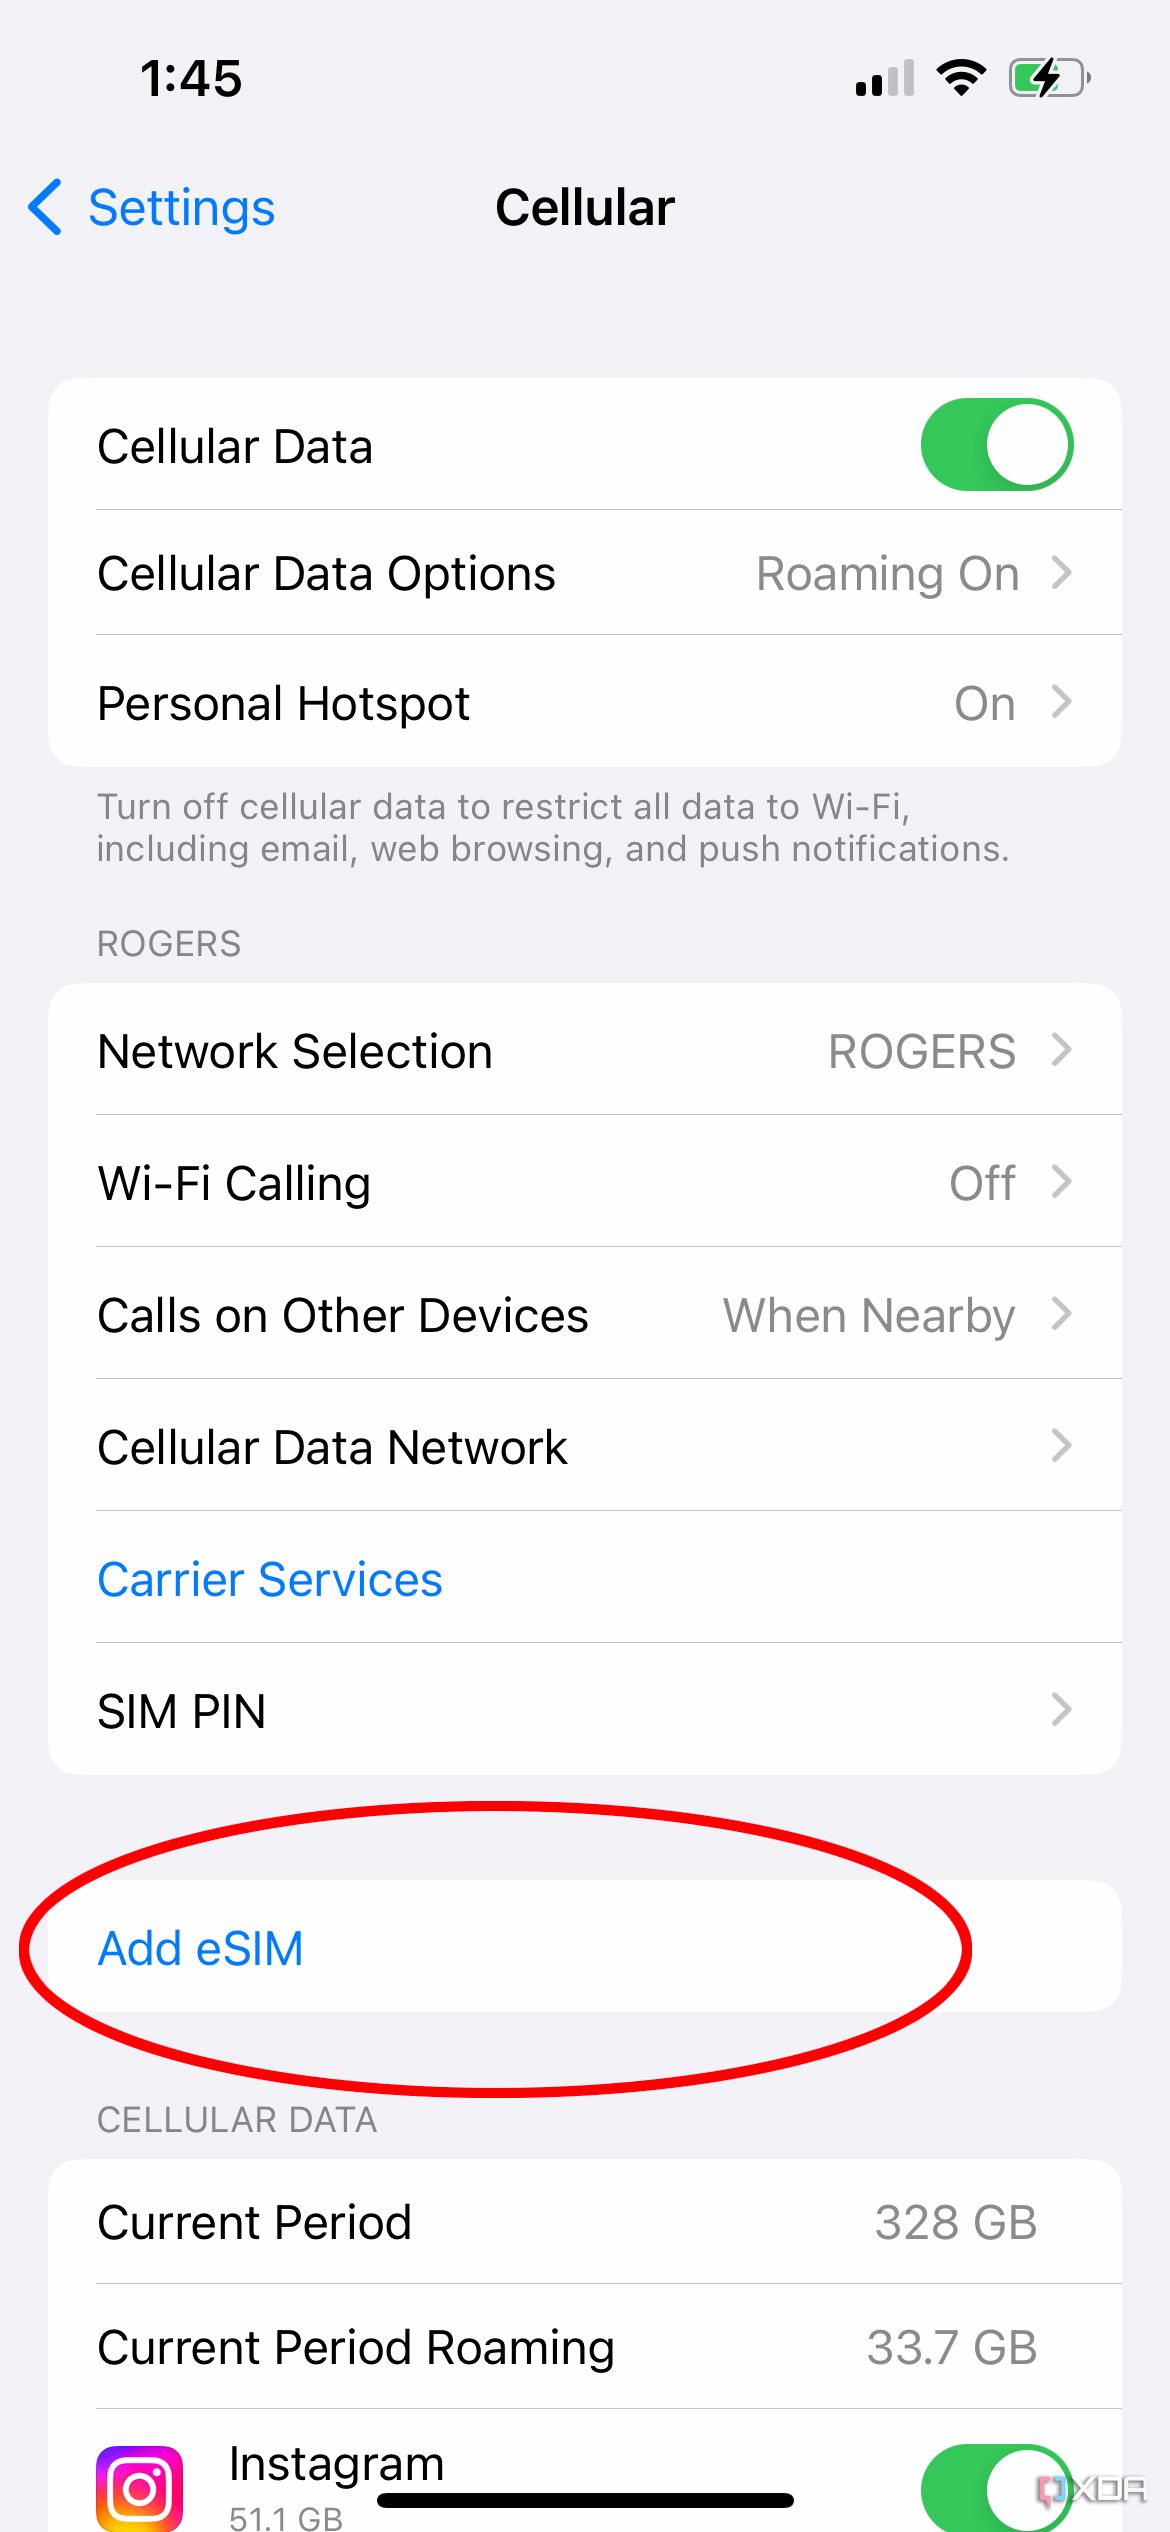
- Select Add eSIM.
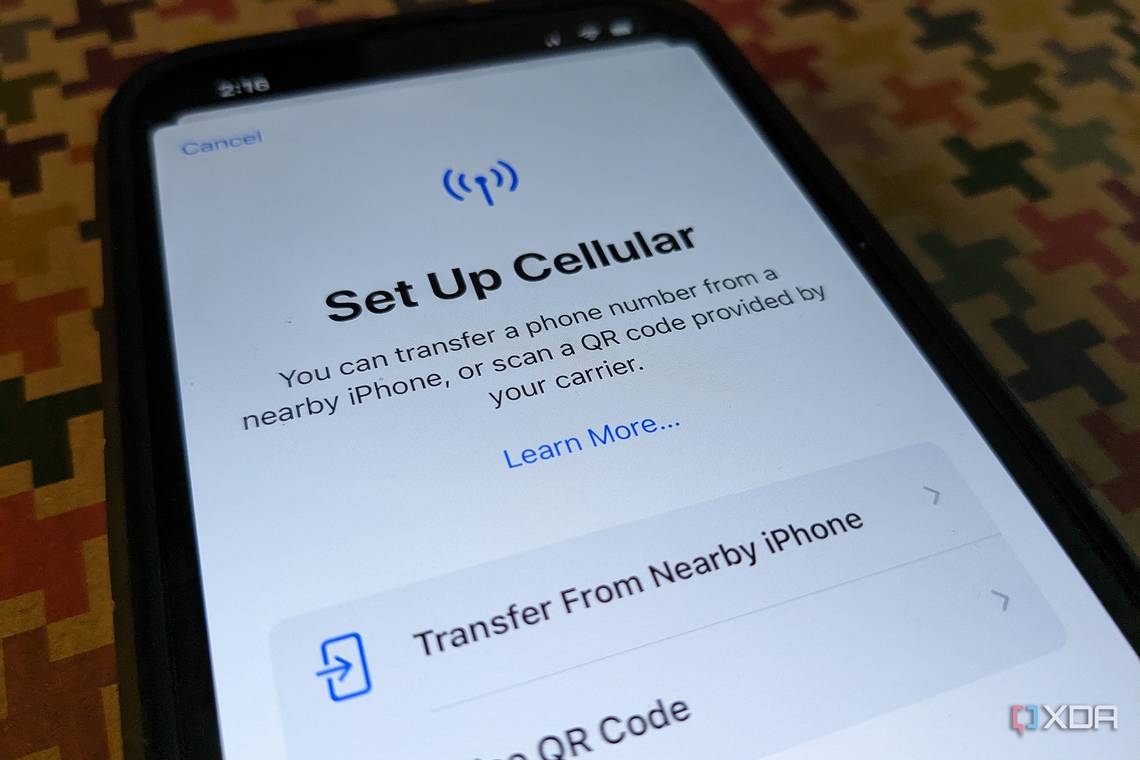
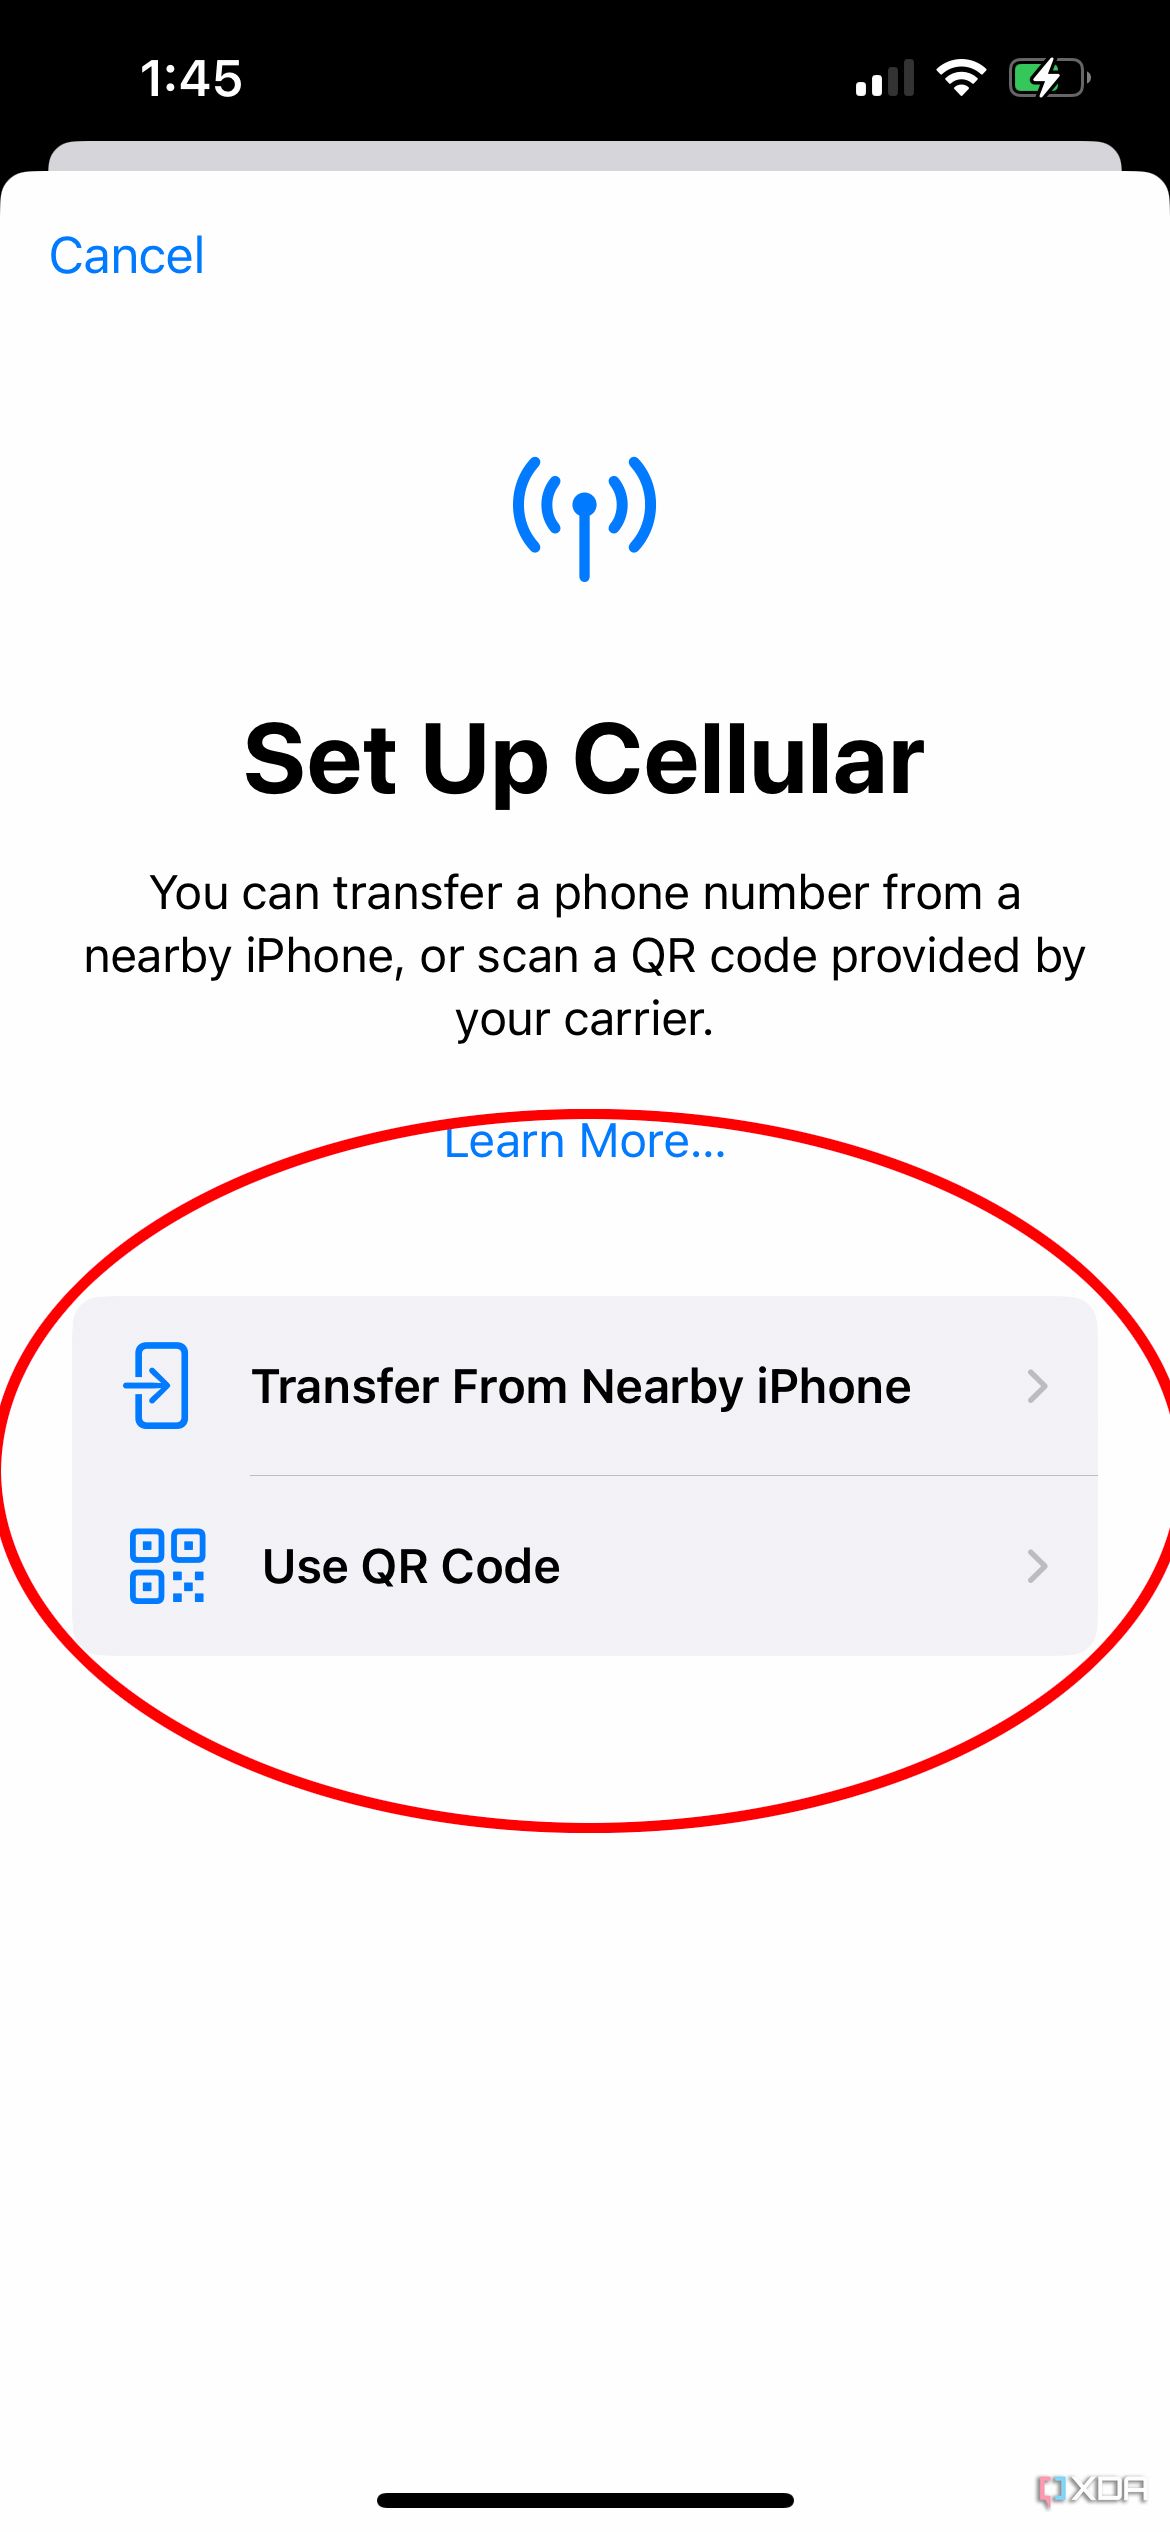
- From there, you’ll see Set Up Cellular, where you can transfer a phone number from a nearby iPhone or use a QR code provided by your wireless carrier.
-
Choose the method you want and follow the instructions that appear on your old iPhone. You may be asked to input a verification code, which will show up on the new iPhone. You may also be redirected to the wireless carrier’s page to transfer the eSIM there. If so, and you require further assistance, contact your carrier.


Once you have set up an eSIM on a new iPhone, wait for the cellular plan to activate. Once it is active, the old SIM card will automatically be deactivated, and you can enter the new world of virtual SIM cards.
Some carriers offer an option to convert a physical SIM card to an eSIM on the same iPhone. If you see the Convert to eSIM option under Cellular, this means the carrier supports the option, and you can proceed with the steps above.