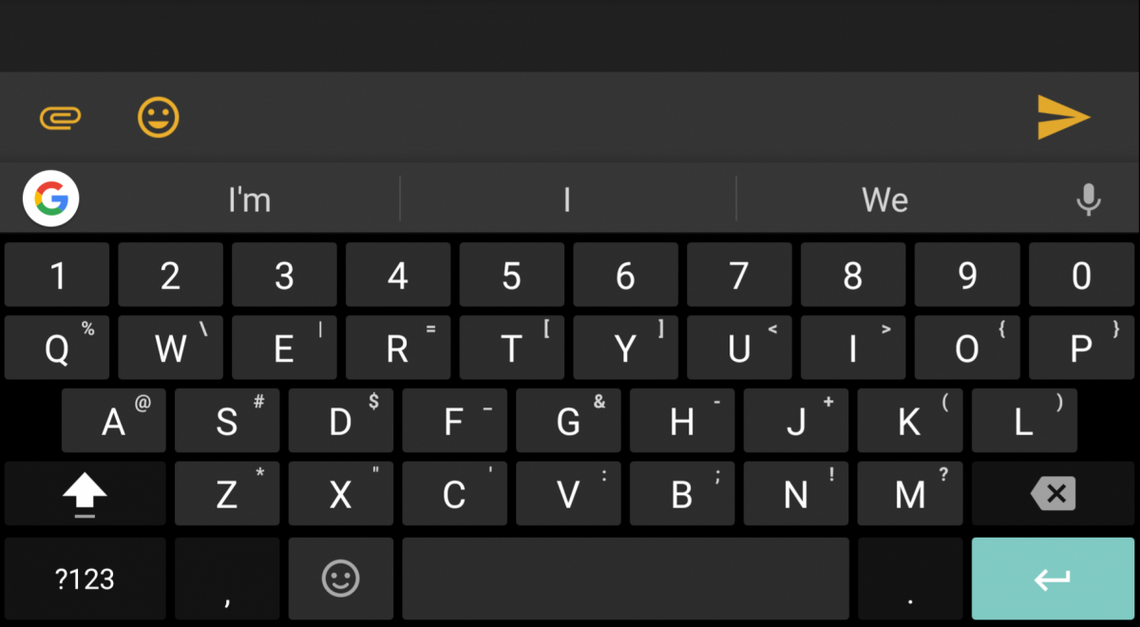
One of the oldest feature additions to custom ROMs that has yet to make its way into an official release of Android is the ability to manually move your text input cursor. Depending on your ROM, you may have the ability to move the text input cursor using the volume buttons or by pressing virtual buttons on the navigation bar. This feature is essential if you frequently go back to make corrections when typing, but without a custom ROM you won't be able to enjoy it.
However, if you are running the Android O Developer Preview which has a new navigation bar customizer hidden under SystemUI Tuner, then you can add left/right keyboard cursors to your navigation bar. All you need to do is set the left nav bar key to KEYCODE_DPAD_LEFT (#21) and the right nav bar key to KEYCODE_DPAD_RIGHT (#22). As for the icons, using the default left/right arrow icons makes the most sense. This method definitely works, as pointed out by Android Police, but it's flawed because it requires these keys to be placed permanently on the nav bar.
If you've been following my previous tutorials on the Android O navigation bar customizer, then you'll know that it's possible to change the two nav bar keys based on whatever criteria we want. Thus, in order to make our new text input/keyboard cursors more context aware, we can use Tasker to show keyboard cursor buttons only while text input is showing on Android O. We'll provide step-by-step instructions in this tutorial, but you can also skip to the bottom to download the Profile to import it.
Thanks to Eli Irvin for testing my Tasker Profile and capturing this screen recording!
Show Left/Right Cursors in the Nav Bar during Text Input
Requirements:
- Tasker ($2.99)
- SecureTask
- AutoInput Beta (~$1.70)
Tasker is necessary because it is the automation app we're using that, when AutoInput detects a text field, will send commands through the SecureTask plug-in to change our navigation bar. Once you've installed these applications, we need to set them up.
While there isn't any direct way to detect when the keyboard is showing, one thing we can monitor is when a text field is in focus. You'll know when a text input field is in focus by observing that a blinking cursor shows up in a text box. We can monitor these by using the latest beta version of AutoInput which was only just released, which allows us to accomplish this. In order for AutoInput to monitor text fields, we need to enable its Accessibility Service.
Doing so is very quick, simply go to Settings --> Accessibility and look for "AutoInput" on the list of Services. Enable the Accessibility Service.
Next, we need to grant SecureTask the ability to modify system settings on our device. In order to do so, we have to grant SecureTask a special permission known as WRITE_SECURE_SETTINGS which is normally inaccessible to regular applications, but can be granted manually by a user through the use of ADB. Thus, you'll need to have ADB up and running on your machine to get this working. Fortunately, granting this permission is only a one-time thing, so if you plan on following any of our other Android O related guides, you'll need to do this eventually.
Setting up ADB
The first thing you'll need to do is download the ADB binary for your particular OS. You can do so here. Once you've downloaded them, you need to then make sure you have the proper driver if you're on Windows.
Once you've extracted the binary to a separate folder and have installed the driver, we need to next enable USB Debugging on the smartphone. In order to do so, open up Settings and go to About Phone. Tap on Build Number 7 times until you get a dialog telling you that you've unlocked Developer Options. You can access Developer Options in Settings now. Apparently in Android O, you have to enter your pin/password before you can open Developer Options. Do so and look for USB Debugging, then enable it.
Now plug in your phone and open up a command prompt in the same directory where you extracted the ADB binary. (Windows users, hold shift+right-click in that folder and select "open command prompt here.") Type adb devices into the command prompt. You'll see a message that the ADB server is being started, then on your phone you'll see a prompt asking you to grant your computer ADB access. Accept it. Now when you enter adb devices into the command prompt, you should see your device's serial number, if so then you were successful.
Granting WRITE_SECURE_SETTINGS to SecureTask
With an ADB command prompt opened up, enter the following command to grant SecureTask the requisite permission.
adb shell pm grant com.balda.securetask android.permission.WRITE_SECURE_SETTINGS
SecureTask will now have the ability to modify system settings without root access! Now we're ready to move on to Tasker.
Setting up the Tasker Profile

Open up Tasker and create a new Profile by pressing the + button. Name it Keyboard Cursors and choose the Event Context. Go to Plugin --> AutoInput --> UI Action. For the Action Types, select Input Element Focused and Input Element Focus Lost. Leave the Element Text blank. Adding this AutoInput Context will start AutoInput's monitor service to detect when a text input field gains or loses focus, and stores it in a variable as a boolean (true/false) value that we can read.
Once you're done making the Profile, Tasker will ask you to add a Task. Choose to create a new Task, but don't bother giving it a name. Once in the Task editing screen, add the following Actions:

- A1: Task --> If. Set it to if %aifocus ~ true. This will be our condition for when AutoInput detects that a text input field is in focus. The next two actions will set the nav bar keys to the DPAD_LEFT and DPAD_RIGHT keys.
-
A2: Plugin --> SecureTask --> Secure Settings. Action: Write. Setting:
secure sysui_nav_bar_left. Value:key(21:com.android/systemui/2131230907). -
A3: Plugin --> SecureTask --> Secure Settings. Action: Write. Setting:
secure sysui_nav_bar_right. Value:key(22:com.android/systemui/2131231004). - A4: Task --> Else. This is when %aifocus is set to false, in order words the text input field has lost focus. We will then clear the nav bar keys.
-
A5: Plugin --> SecureTask --> Secure Settings. Action: Write. Setting:
secure sysui_nav_bar_left. Value:null. -
A6: Plugin --> SecureTask --> Secure Settings. Action: Write. Setting:
secure sysui_nav_bar_right. Value:null. - A7: Task --> End If.
You're done with this Tasker script. Now, anytime AutoInput detects a text input field in focus (which correlates with when your keyboard is showing), you will see two new nav bar cursor keys that will disappear when the text input field is no longer in focus.
Download and Import
As with all Tasker related tutorials, we will be providing the XML file you can download and import. Download the .prf.xml file from AndroidFileHost below and save it to your internal storage. Open up Tasker and long-press on the Profiles tab up top until you see an Import button. Tap on that and look for the XML file you just saved, then select it to import it. Make sure you have AutoInput's Accessibility Service enabled and have granted the WRITE_SECURE_SETTINGS to SecureTask as mentioned in my article, otherwise this Profile will not do anything on your phone!
Download the "Keyboard Cursors" Profile from AndroidFileHost
If you're wondering what other useful keys we can add to the navigation bar to make Android O a more enjoyable experience, we'll show you an alternative setup in a future tutorial.