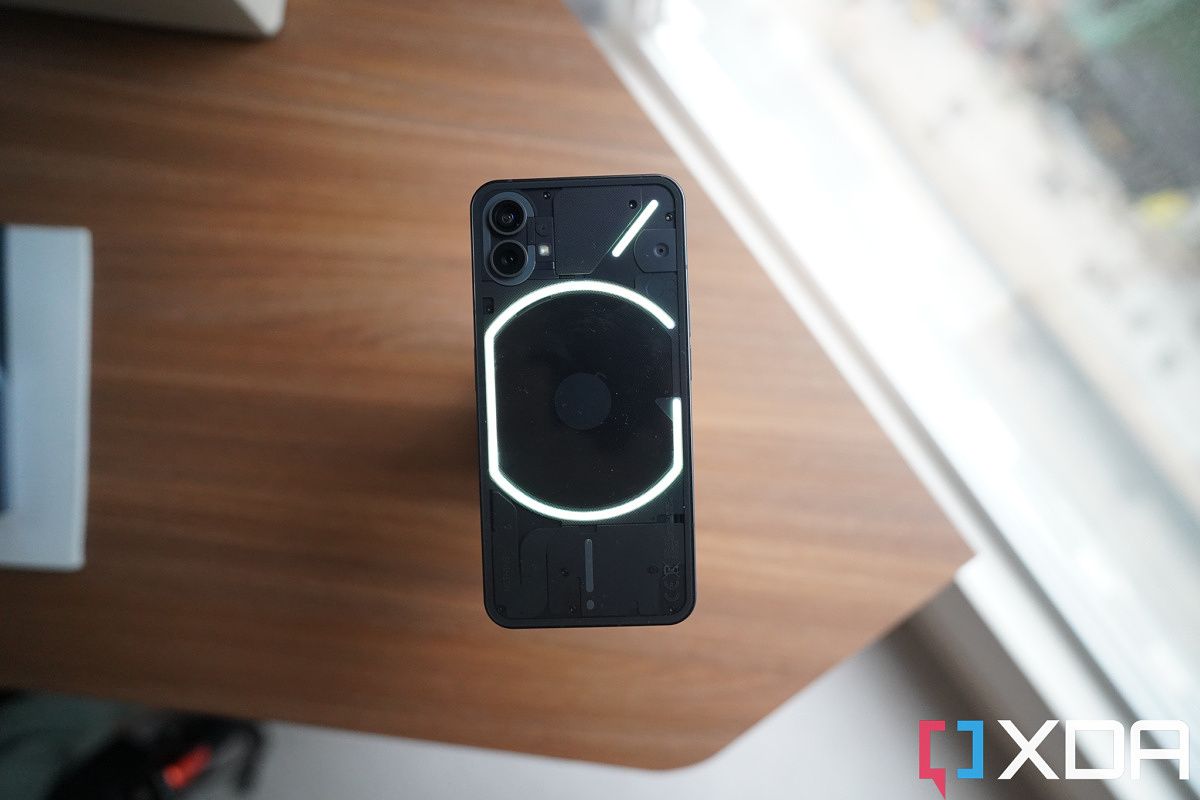
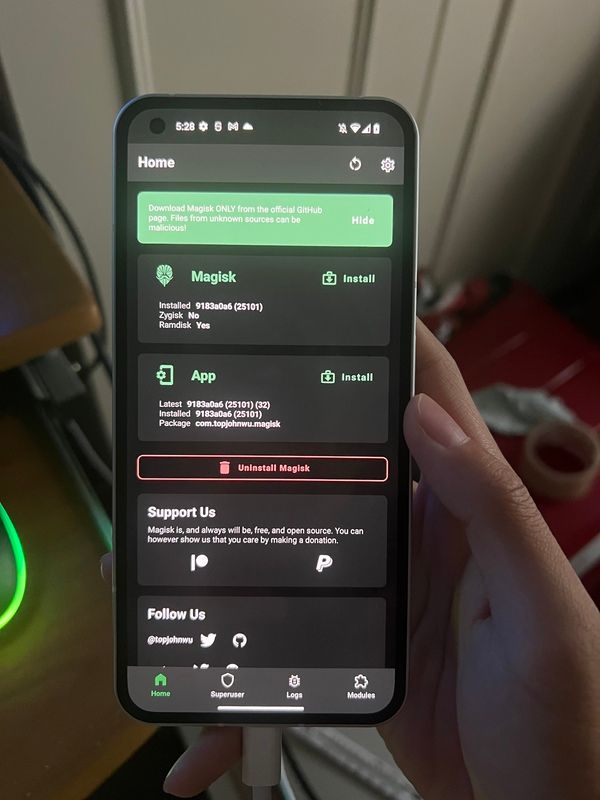
Upon the release of a new smartphone, a mission that many Android enthusiasts undertake is to unlock the bootloader and root the device. After this, typically comes a deluge of development in the form of custom ROMs, kernels, and other mods and tweaks. It can be said that the life of a device here at XDA doesn’t truly begin until the shackle (read "locked bootloader") has been thoroughly destroyed. For the Nothing Phone 1 community, that journey can start right now!
You will be delighted to know that unlocking the bootloader of the Nothing Phone 1 literally takes seconds, and getting your device up and running with root takes minutes. If you’ve ever unlocked the bootloader of and rooted a non-carrier variant of the Google Pixel or OnePlus device, you shouldn’t have any issues unlocking your fancy Nothing Phone 1 and installing Magisk. For those of you who need a refresher, here’s a tutorial to guide you through the process.
- Nothing allows end users to unlock the bootloader of its Phone 1.
- There is no waiting period or token generation involved in the bootloader unlocking process.
- After unlocking the bootloader, you can use Magisk to root the device.
How to bootloader unlock and root the Nothing Phone 1
The kernel sources and the device tree of the Nothing Phone 1 are already up for grabs, hence we were bound to see aftermarket development work and custom modifications start to pick up for the device. Nonetheless, you need to unlock the bootloader first in order to boot any third-party software. Here’s how to get started:
Step 1: Unlock the Nothing Phone 1's bootloader
Note: Unlocking the bootloader will wipe all the data from your device. This includes all media saved to the device’s internal storage such as pictures, videos, music, documents, etc. Back up any important files to your PC or cloud storage before proceeding.
- Open the Settings app on your Nothing Phone 1.
- Tap on About phone.
- Locate the section named Software info and tap on it.
- On the next screen, tap on the Build number 7 times until it says you’re now a developer.
- Go back to the main Settings page, tap on System, and near the bottom of the list, you should see Developer options. Tap on it.
- You should see an OEM unlocking option. Enable it. For security purposes, it may ask you to input your lock screen PIN/password if you have one set.
- Scroll down a bit until you see USB debugging. Enable it as well.
- Plug in your Nothing Phone 1 into your PC/Mac/Chromebook. Make sure you have the latest version of ADB and Fastboot binaries installed.
-
Now open up a terminal window/Command Prompt instance and enter the following command:
adb devices -
If you see your device’s serial number and it says “authorized,” then you’re good to go. If this is your first time setting up ADB for this device, then you may see a prompt on your phone to enable USB Debugging for your PC. Grant it permission.
- If you’re having trouble getting your Windows PC to recognize your device, try installing the latest Android USB Drivers.
-
Now, reboot to the bootloader menu. You can either do this by holding the power and volume down buttons while booting up, or by entering the following ADB command:
<span ><span >adb reboot bootloader</span></span> -
Once you’re on the bootloader menu, you’ll now have to switch to using fastboot command to communicate with your device. To unlock the Nothing Phone 1’s bootloader, enter the following command:
fastboot flashing unlock-
In case you need to flash low-level firmware partitions like the bootloader images, you will have to execute another command afterwards:
fastboot flashing unlock_critical
-
In case you need to flash low-level firmware partitions like the bootloader images, you will have to execute another command afterwards:
- You should now see text on screen warning you about the potential risks of unlocking the bootloader. On the screen next to the power and volume buttons, you should see some text. Press the volume up key until it says “unlock the bootloader.” Once it says this, press the power button.
- The phone will unlock the bootloader and reboot back to the bootloader menu. This time, the bootloader will show a red warning icon and “unlocked” text.
-
Now, reboot your phone back to the Android OS. You can do this by sending the following fastboot command:
fastboot reboot - Congratulations, your Nothing Phone 1 now has an unlocked bootloader! You’ll see a warning message that your phone’s bootloader is unlocked on every boot, but don’t worry about that as it doesn’t affect your day-to-day use.
Step 2: Rooting the Nothing Phone 1 with Magisk
With an unlocked bootloader, you can now boot modified boot images. For Magisk to work, you’ll need to patch the Nothing Phone 1’s stock boot image.
- Since your device has been wiped earlier, you’ll need to go back and re-enable Developer Options and then re-enable USB Debugging. Make sure your Nothing Phone 1 is still recognized by your PC.
- Download the full OTA package corresponding to the installed software version on the from our Nothing Phone 1 update tracker.
-
Extract the stock boot image from the OTA package. For more information, take a look the "You have access to the recovery-flashable ZIP file" section our "How to Install Magisk on your Android Phone" tutorial.
- In case you don't want to download the whole OTA file, you may download the boot image separately from our forums. However, to avoid version mismatch and other unforeseen errors, it is always advised to extract the boot image yourself.
-
Now that we have the stock boot image to patch, push it to your device with this command:
adb push <path_to_file> /sdcard/Download - Download and install the Magisk app on the Nothing Phone 1.
- Open the Magisk app and tap on the Install button.
- Choose Select and Patch a File. A file manager will pop up.
- Select the boot image that you pushed earlier and let Magisk patch it.
-
Pull it off your phone with this command:
adb pull /sdcard/Download/magisk_patched_[random_strings].img -
Reboot the Phone 1 into the bootloader:
adb reboot bootloader -
Flash the patched boot image:
fastboot flash boot /path/to/magisk_patched_boot.img -
Reboot the phone:
fastboot reboot - Open the Magisk app and your Nothing Phone 1 should be rooted.
What’s next?
What are some of the things you can do with your Nothing Phone 1 after rooting with Magisk? Here’s a short list:
- Try out some Magisk modules.
- Tinker with Xposed and its modules.
- Install some of the best root apps and enhance your user experience.
Keep in mind that unlocking the bootloader and rooting your Nothing Phone 1 will impact how you take updates. You’ll need to learn how to manually sideload monthly security patch updates. No need to worry, though, as it is actually fairly easy to do.
Lastly, if you want even more control over your device, you’ll be able to flash custom ROMs and kernels on your Nothing Phone 1 once they’re made available for the two devices. Custom ROMs can offer a lot of options that aren’t available on the stock software. Custom kernels, on the other hand, let you tune the performance of your device to squeeze more battery life or get even more frames in your favorite games. Since the Nothing Phone 1 has just been released, there aren’t any custom ROMs or kernels available for the device just yet. But keep an eye out on the XDA sub-forum for this phone if you’re interested in the custom development scene.


