Quick Links
The latest iPhones tend to receive major software updates for around five years. And with every annual update, Apple usually introduces a ton of new features and bug fixes that make these devices stabler and more helpful. iOS 17 is the latest iteration of the iPhone's operating system, and below you can check how to install it on your iPhone using different methods.
How to check the iOS version of your iPhone
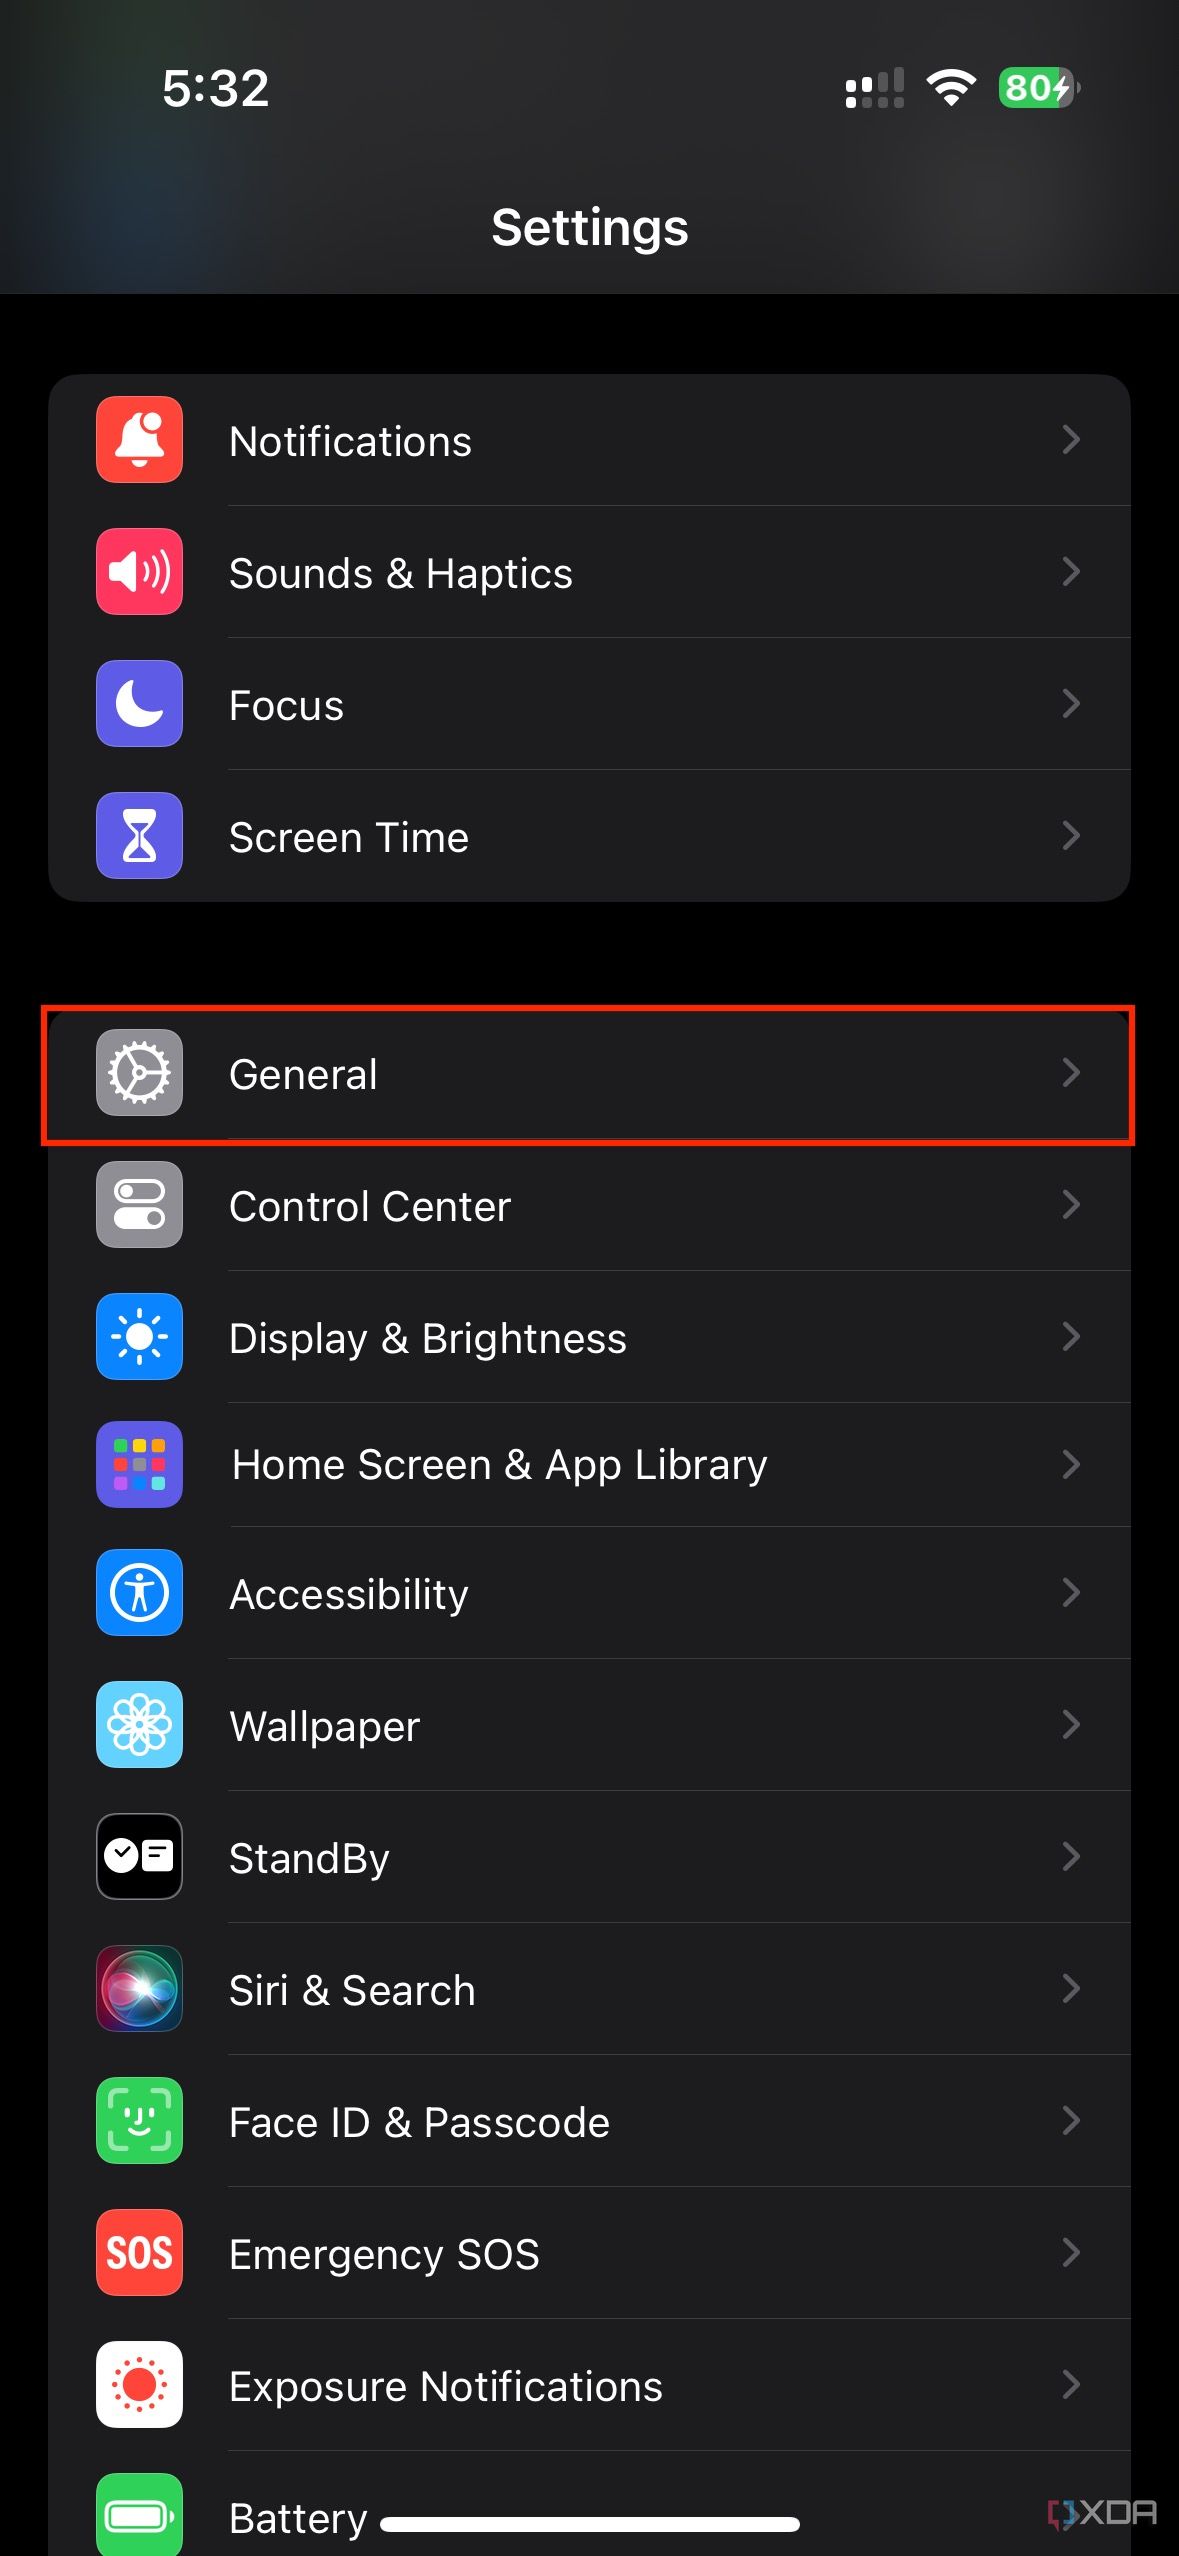
- Open the Settings app on your iPhone.
- Click on General.
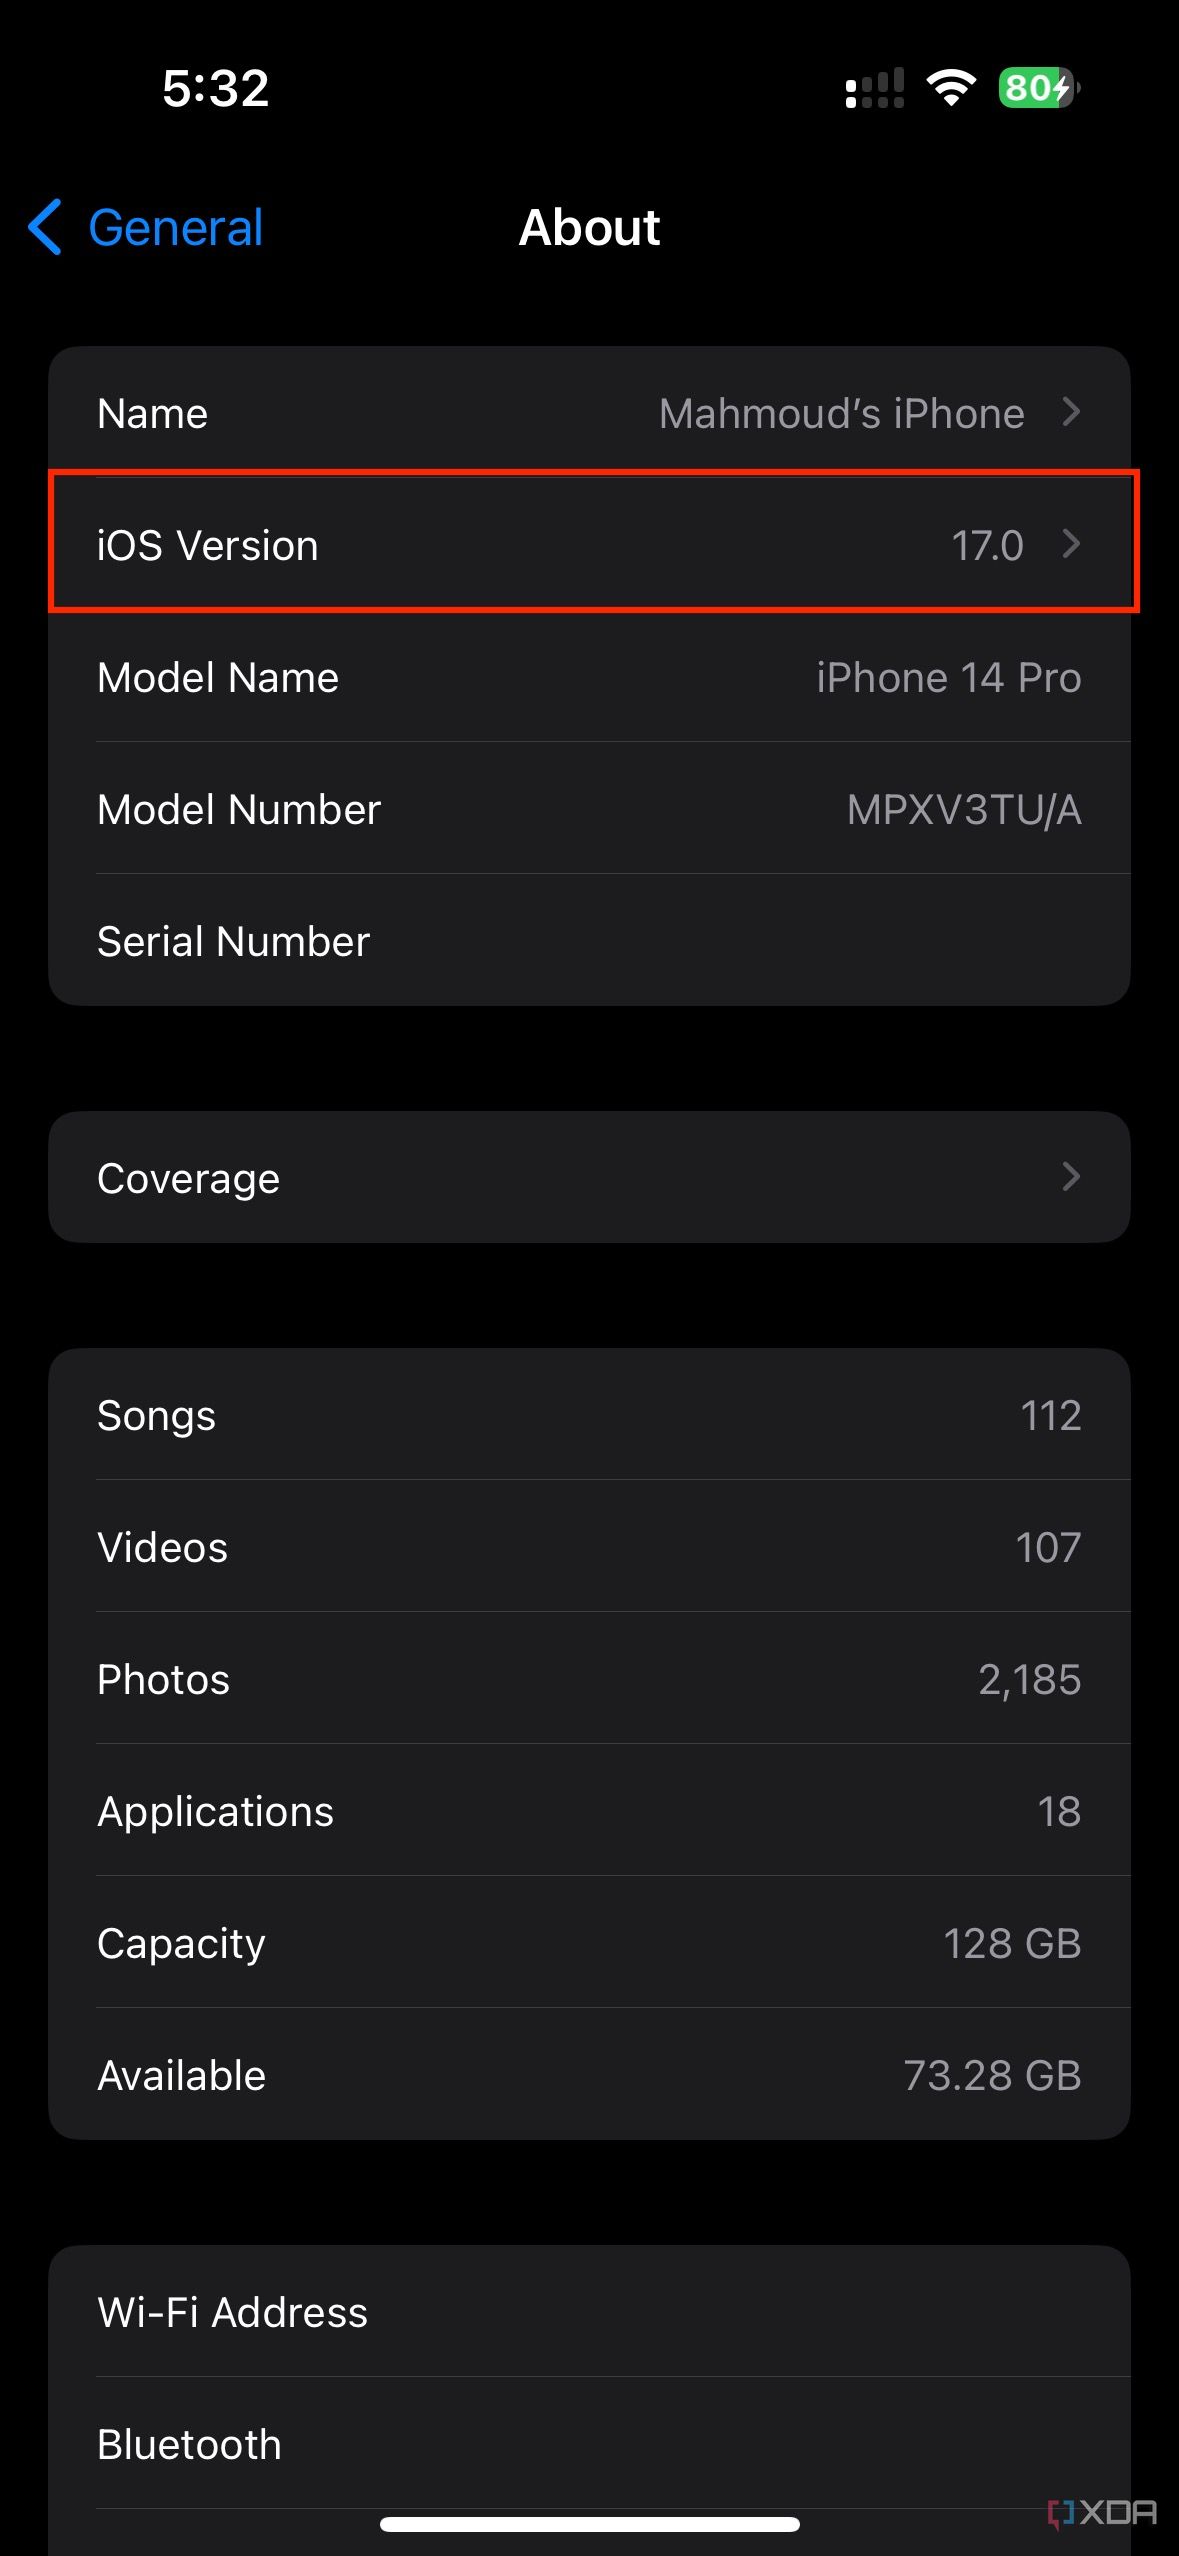
- Tap on About.
-
In About, you’ll get to view all information related to your iPhone’s identity, such as Model and Serial Numbers, in addition to the iOS version number it’s running.


Updating your iPhone to the latest iOS 17 (over-the-air update)
- Open the Settings app on your iPhone.
- Click on General.
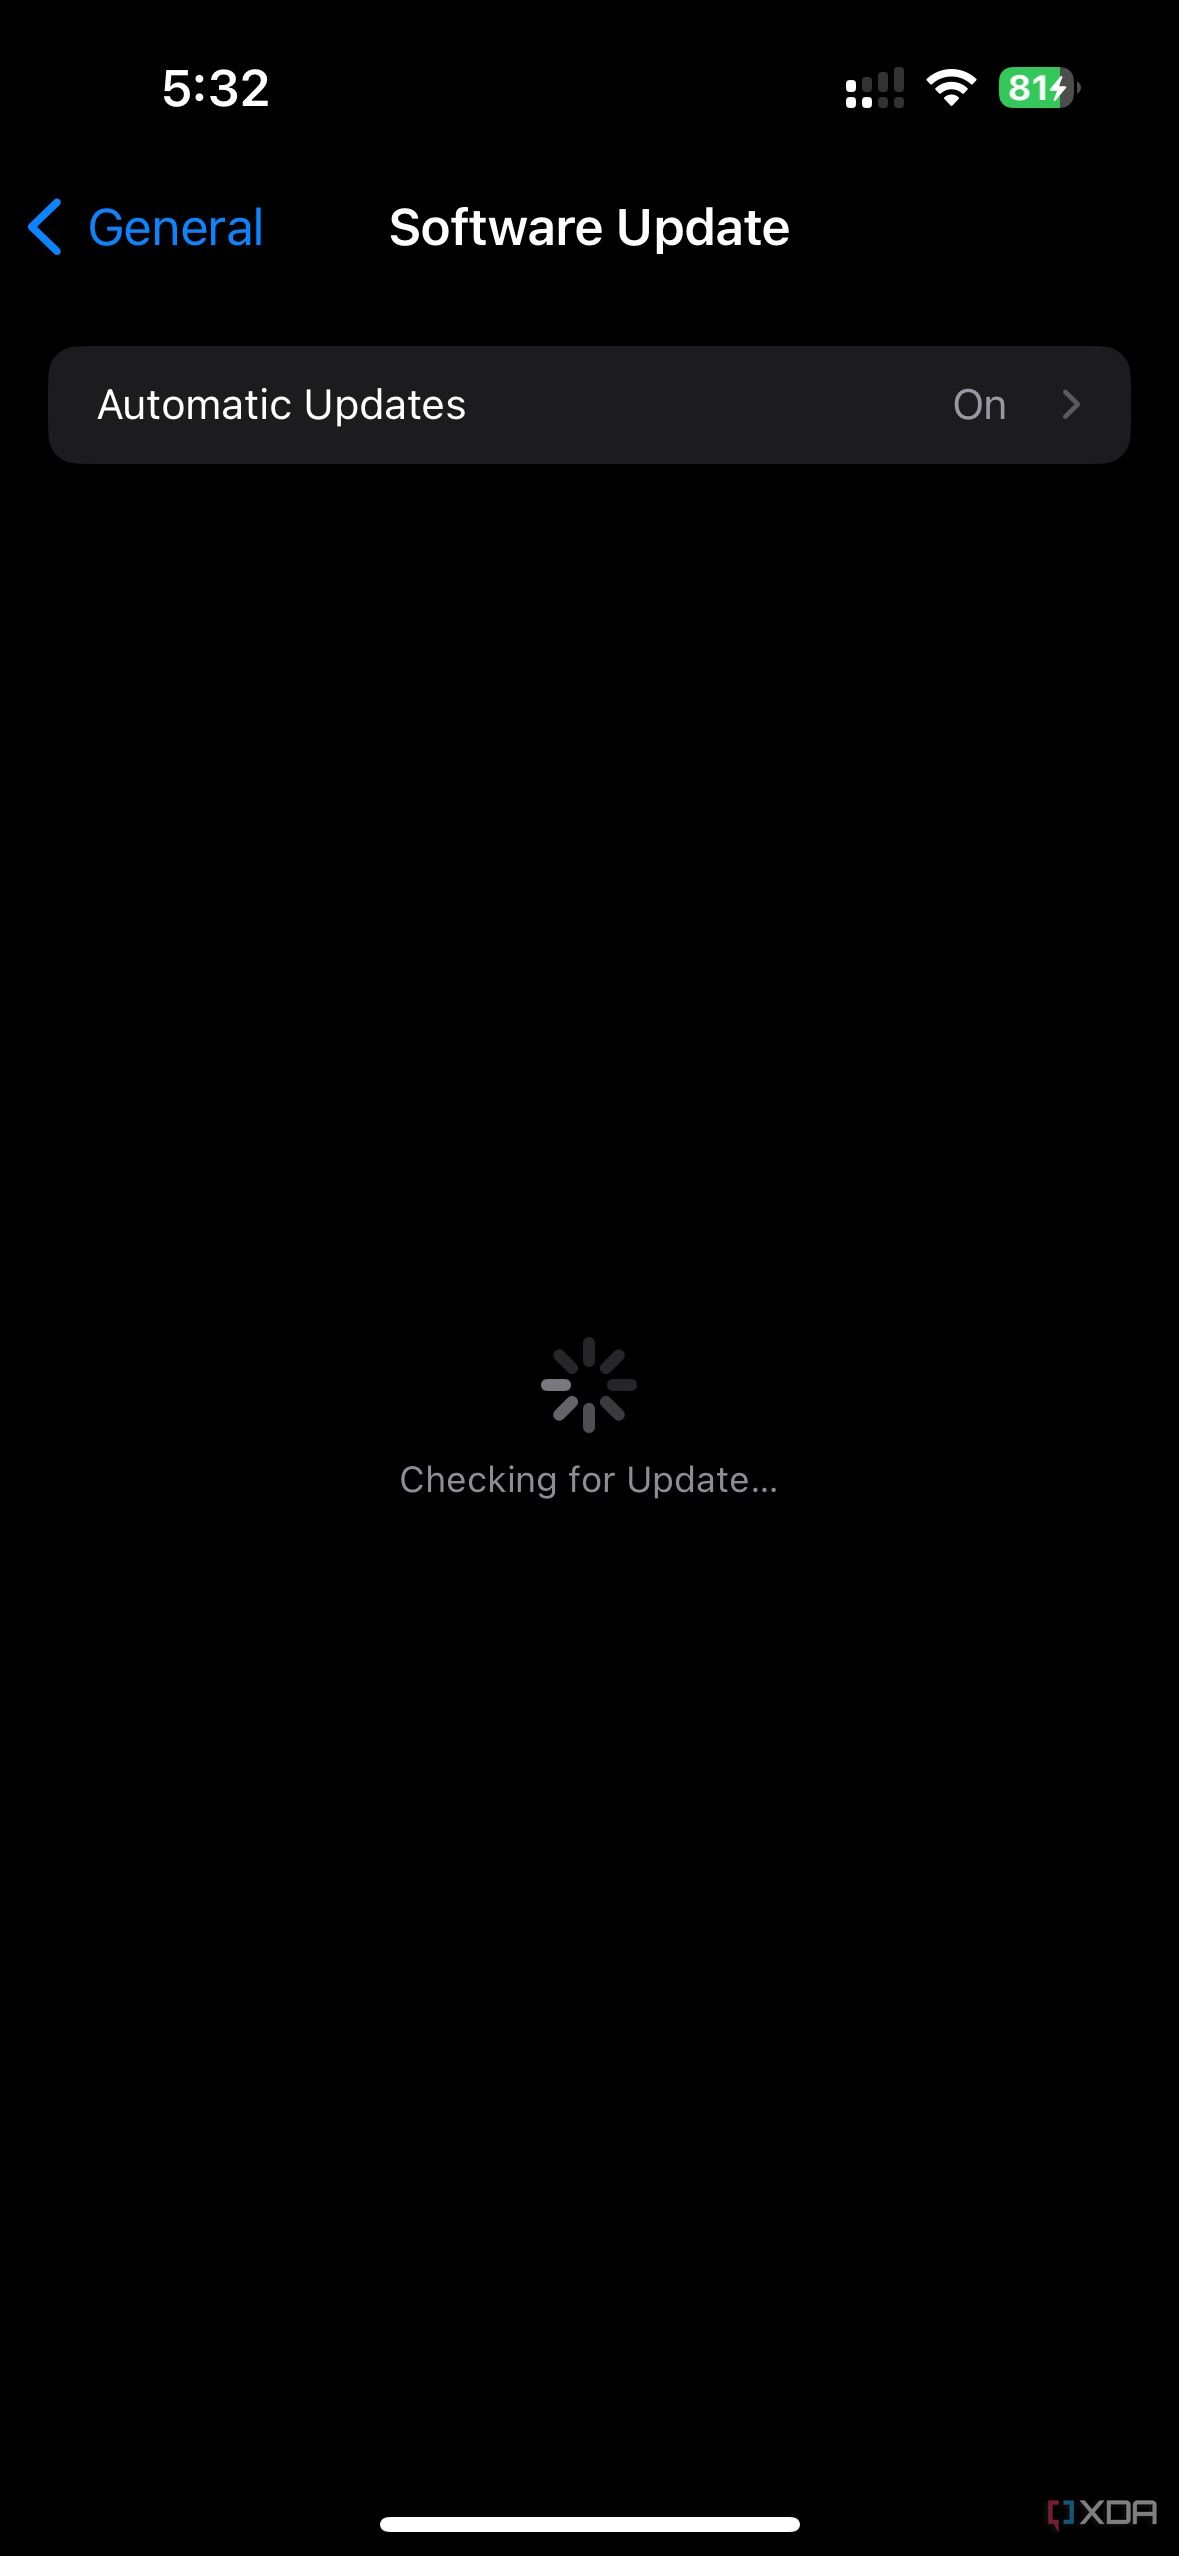
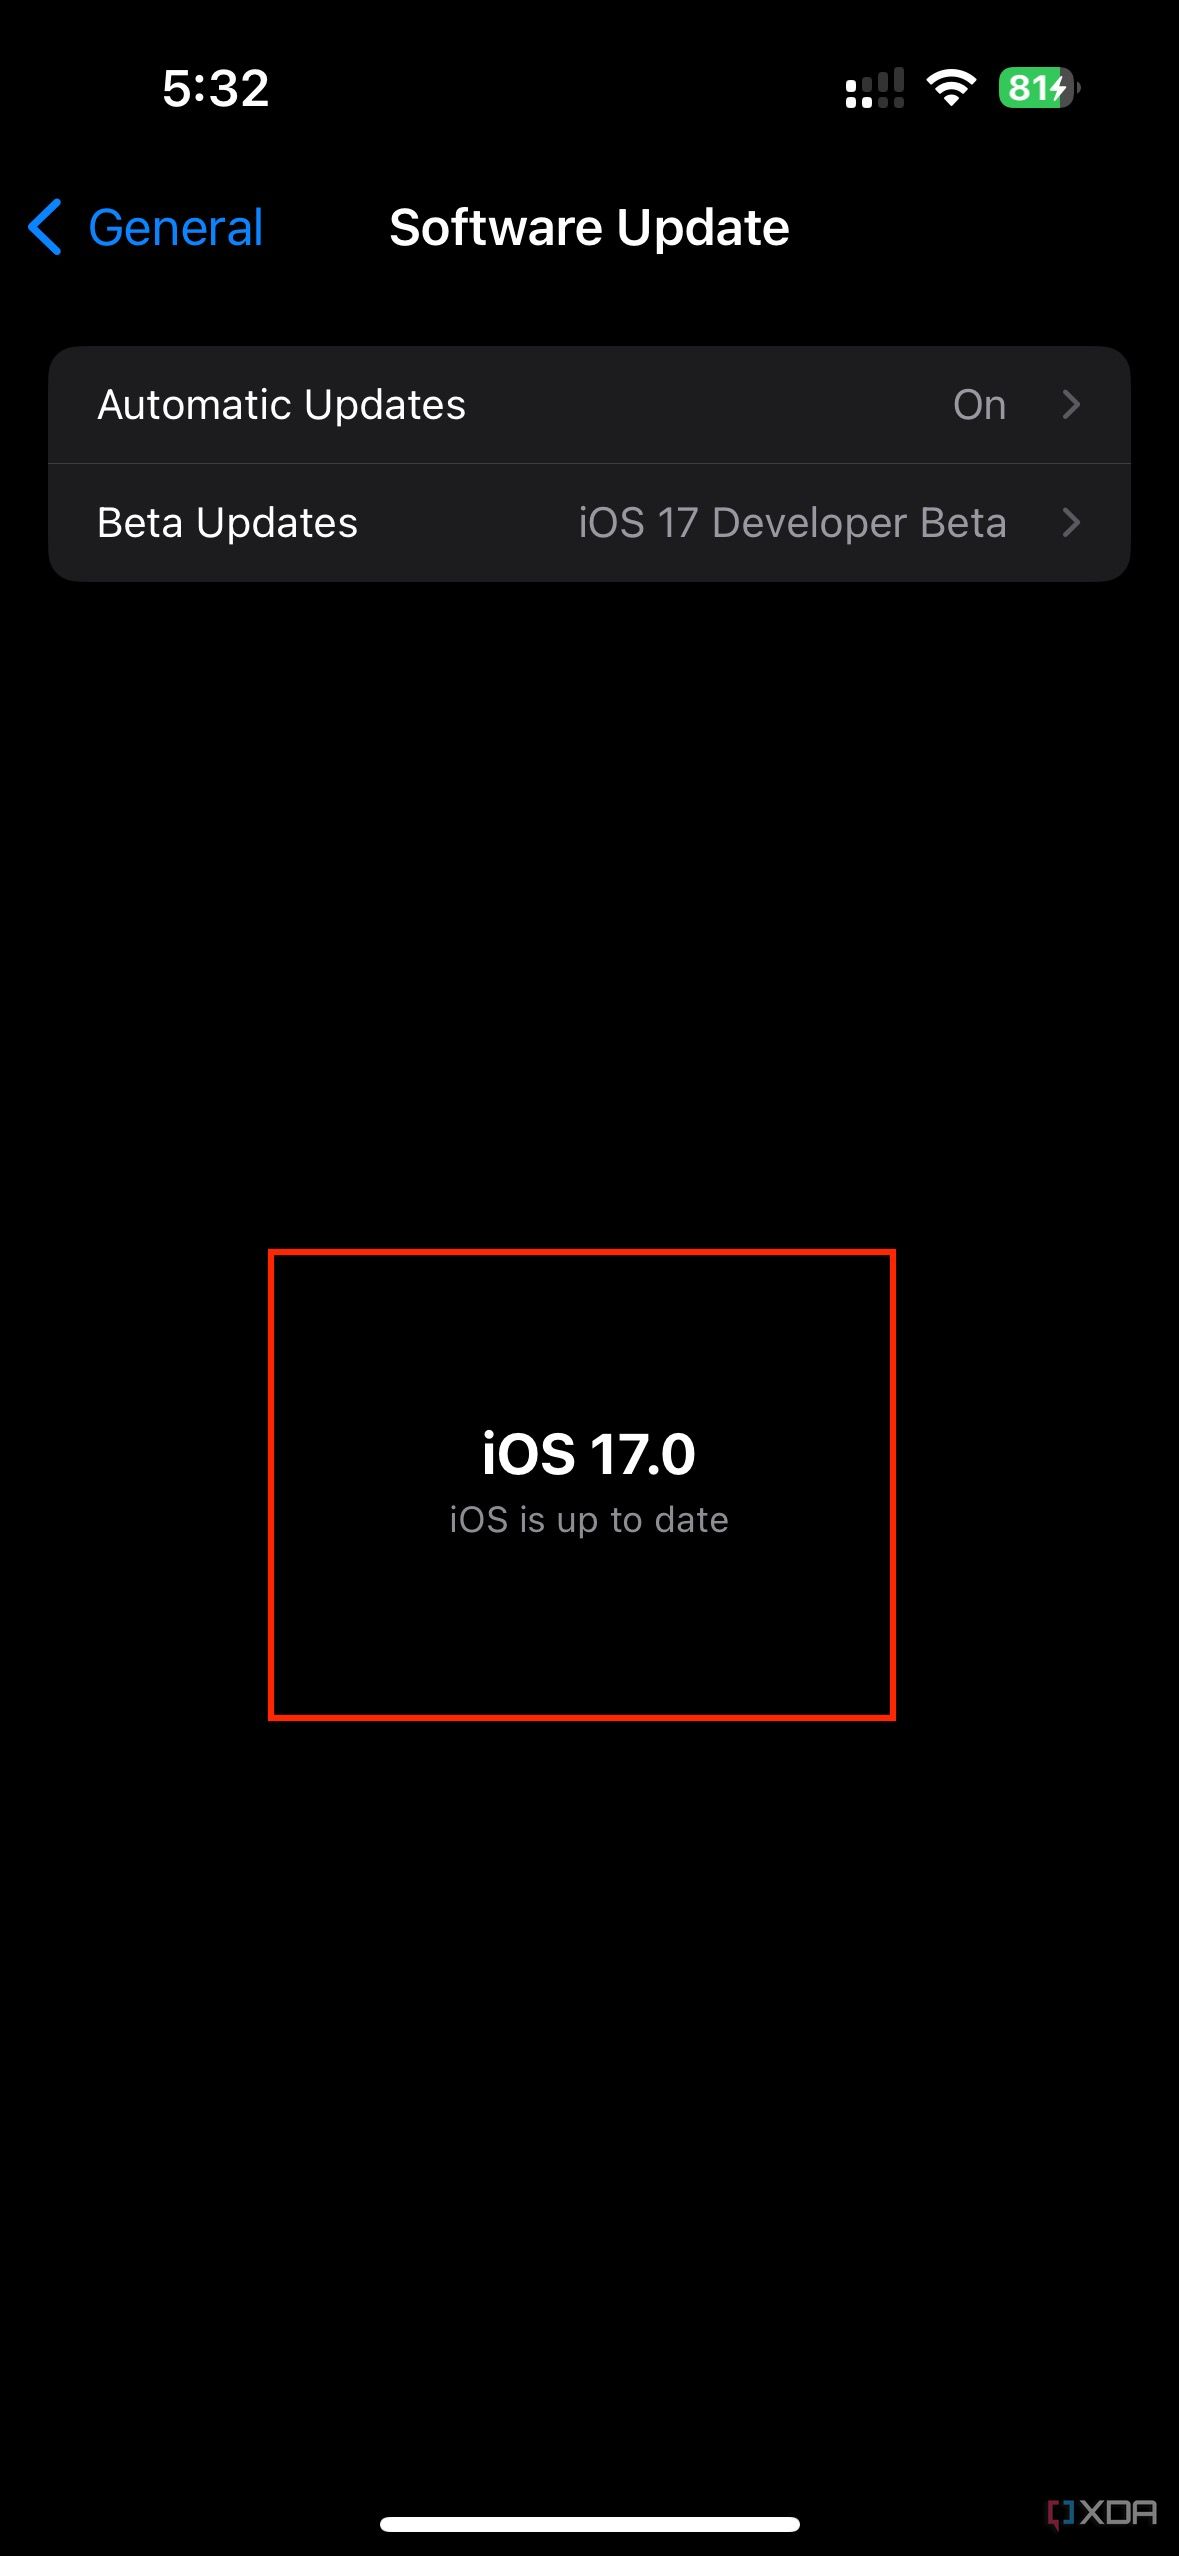
- Tap on Software Update.
- Give your iPhone a few seconds to check with Apple servers.
-
Your iPhone will either state it’s up to date, or it’ll give you the option to download the latest update, if you’re on an outdated version.

- In the latter case, click Download and Install.
- Agree to the Terms of Service once they pop up.
- Make sure you have a full backup on iCloud, in case the update fails to install and bricks your iPhone (fear not — that’s very rare, but better safe than sorry).
- Once it finishes downloading and preparing the update, connect your iPhone to a charger. Make sure it stays plugged in the whole time, until the update finishes installing.
- Once it reboots, you can follow the previous steps to make sure it has successfully installed the update and that you’re running the latest version available.


Updating your iPhone to the latest iOS 17 (through macOS or Windows)
While OTA updates are simpler to carry out, updating your device through a wired connection to a desktop computer is also an option.
- Connect your iPhone to a Mac or a Windows PC with iTunes installed.
- Head to Finder on newer versions of macOS or to iTunes on an older Mac or Windows computer.
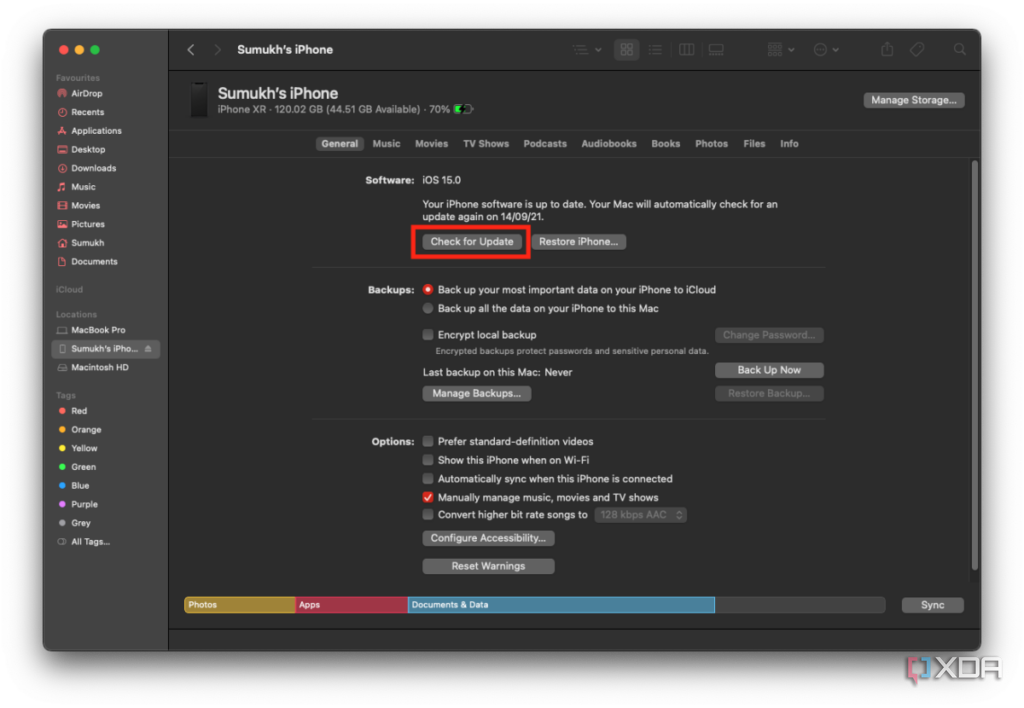
- Click on the iPhone icon you’ll find in the Finder sidebar or near the top left corner of iTunes.
- There, you’ll find a summary of your device, including its current OS version, available storage, etc.
-
Hit Check for Update, and wait a few seconds.
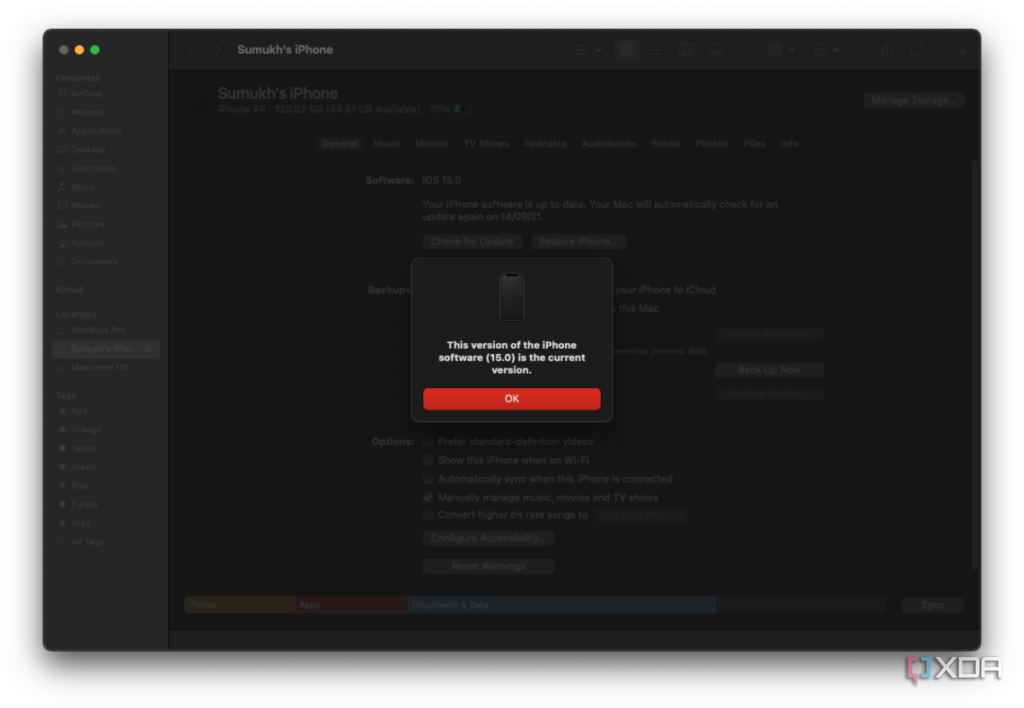
-
If an update is available, it’ll start downloading — and eventually install. If not, you’ll get a pop-up stating your iPhone is up to date.
- Make sure you keep your iPhone connected to your PC if an update is being downloaded or installed. Only unplug after your iPhone reboots and the update is fully completed.


If the Software Update section shows your iPhone as up to date, even though you’re aware of a newer iOS version, then your iPhone model probably doesn’t support it. In this case, you can either stick to the older iOS, upgrade to a newer iPhone, or switch to Android if you want to try out a totally different operating system.
Get your iPhone to install future iOS updates automatically
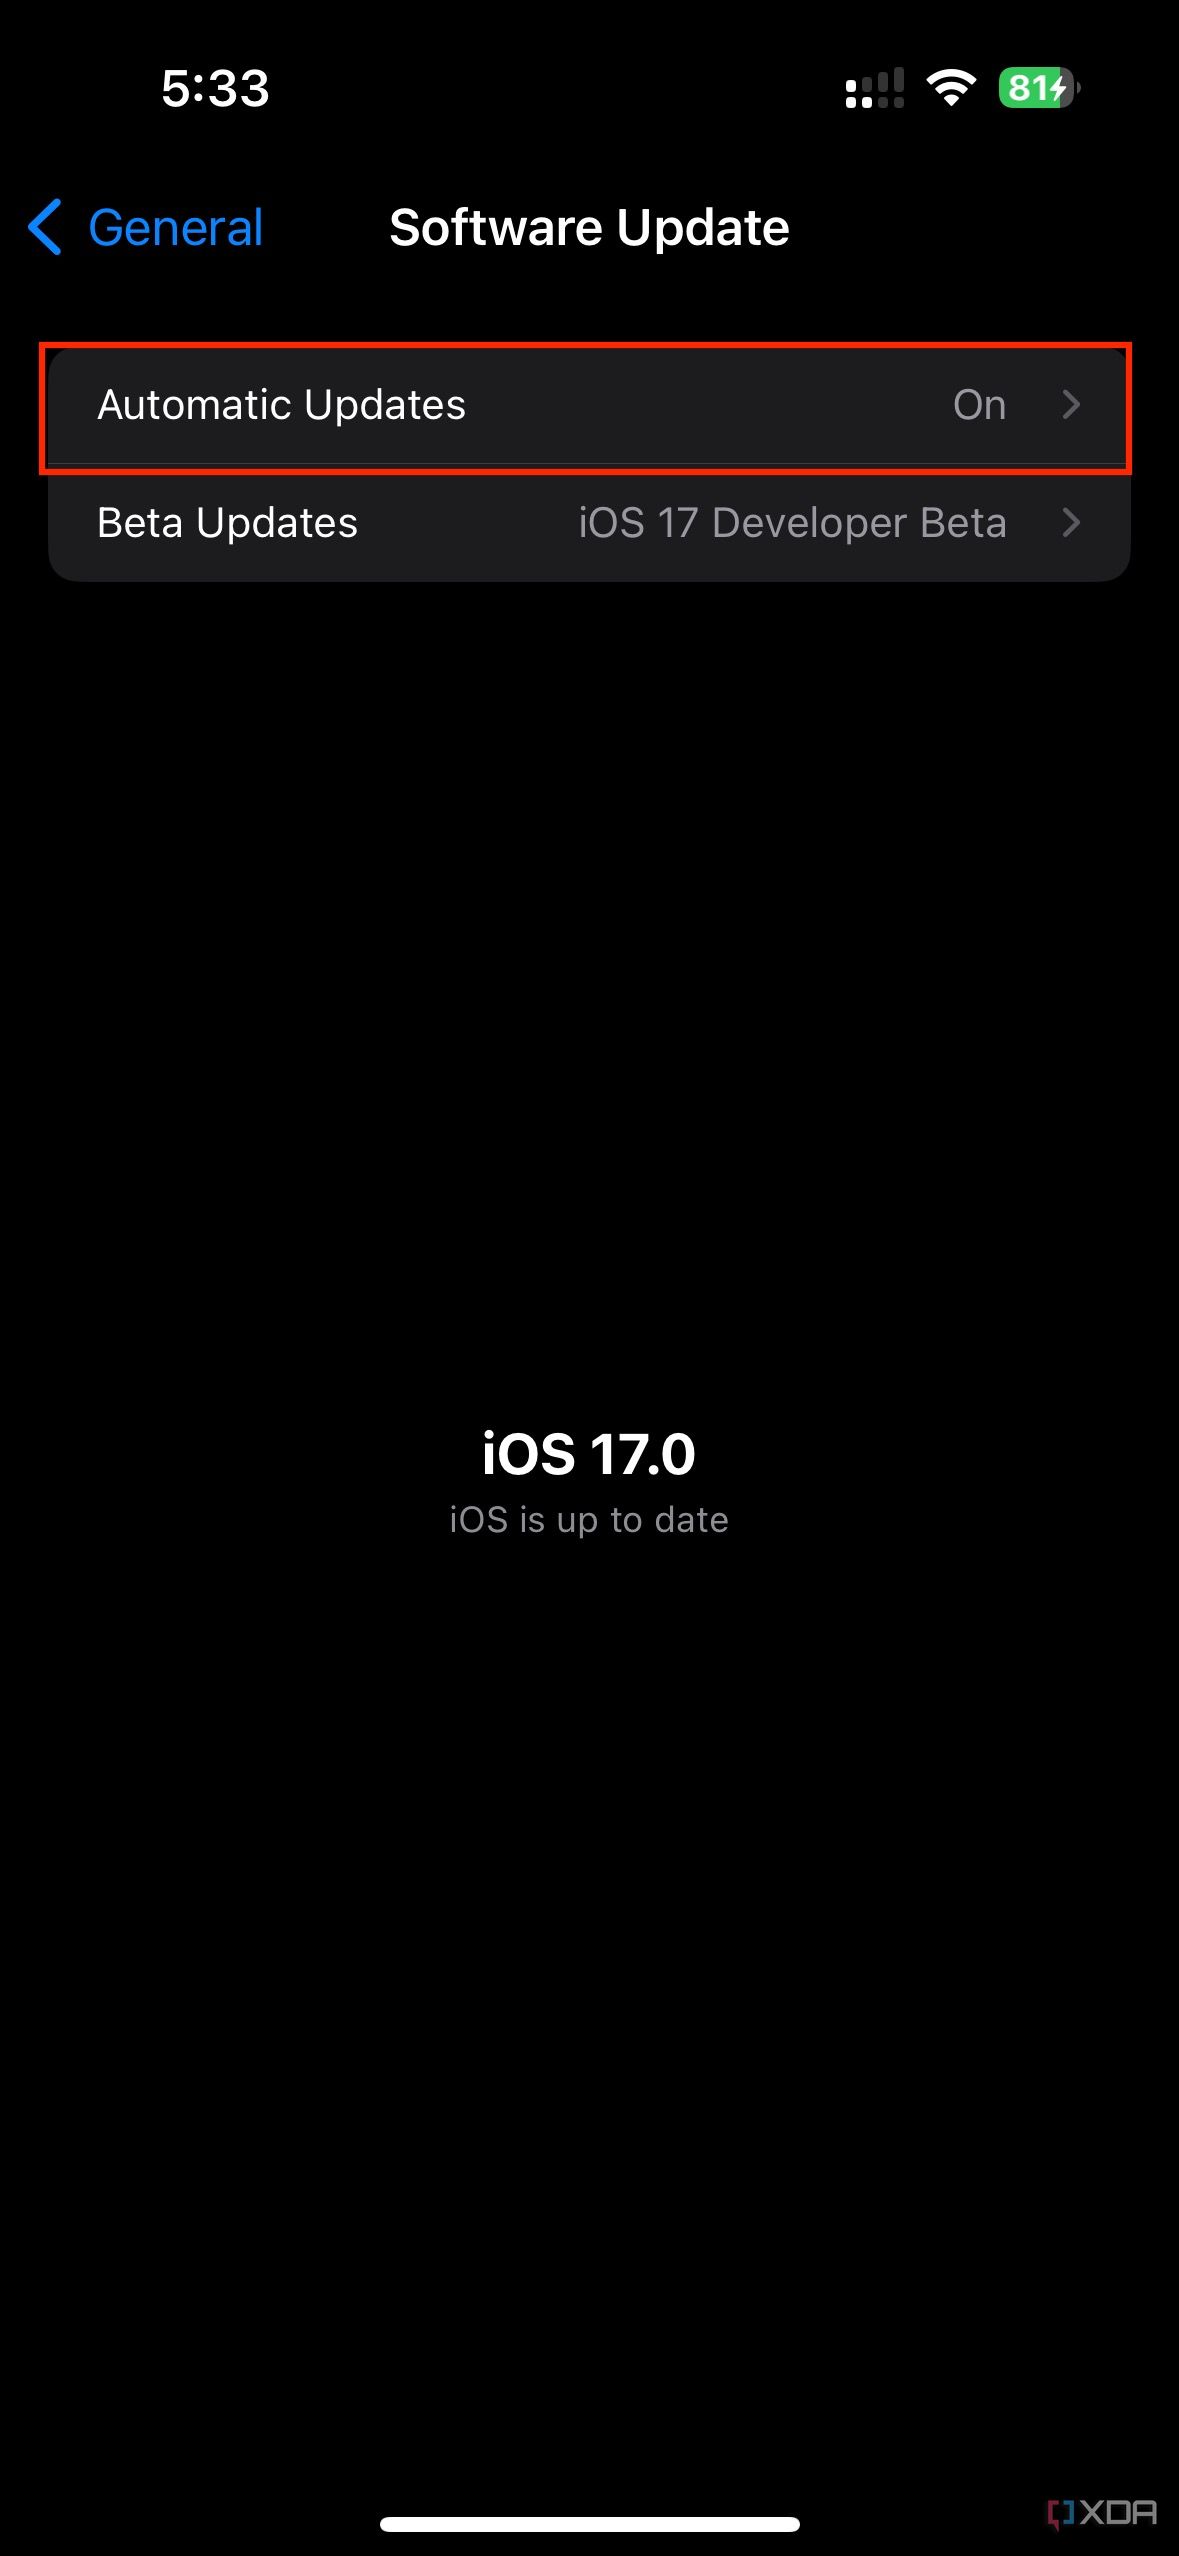
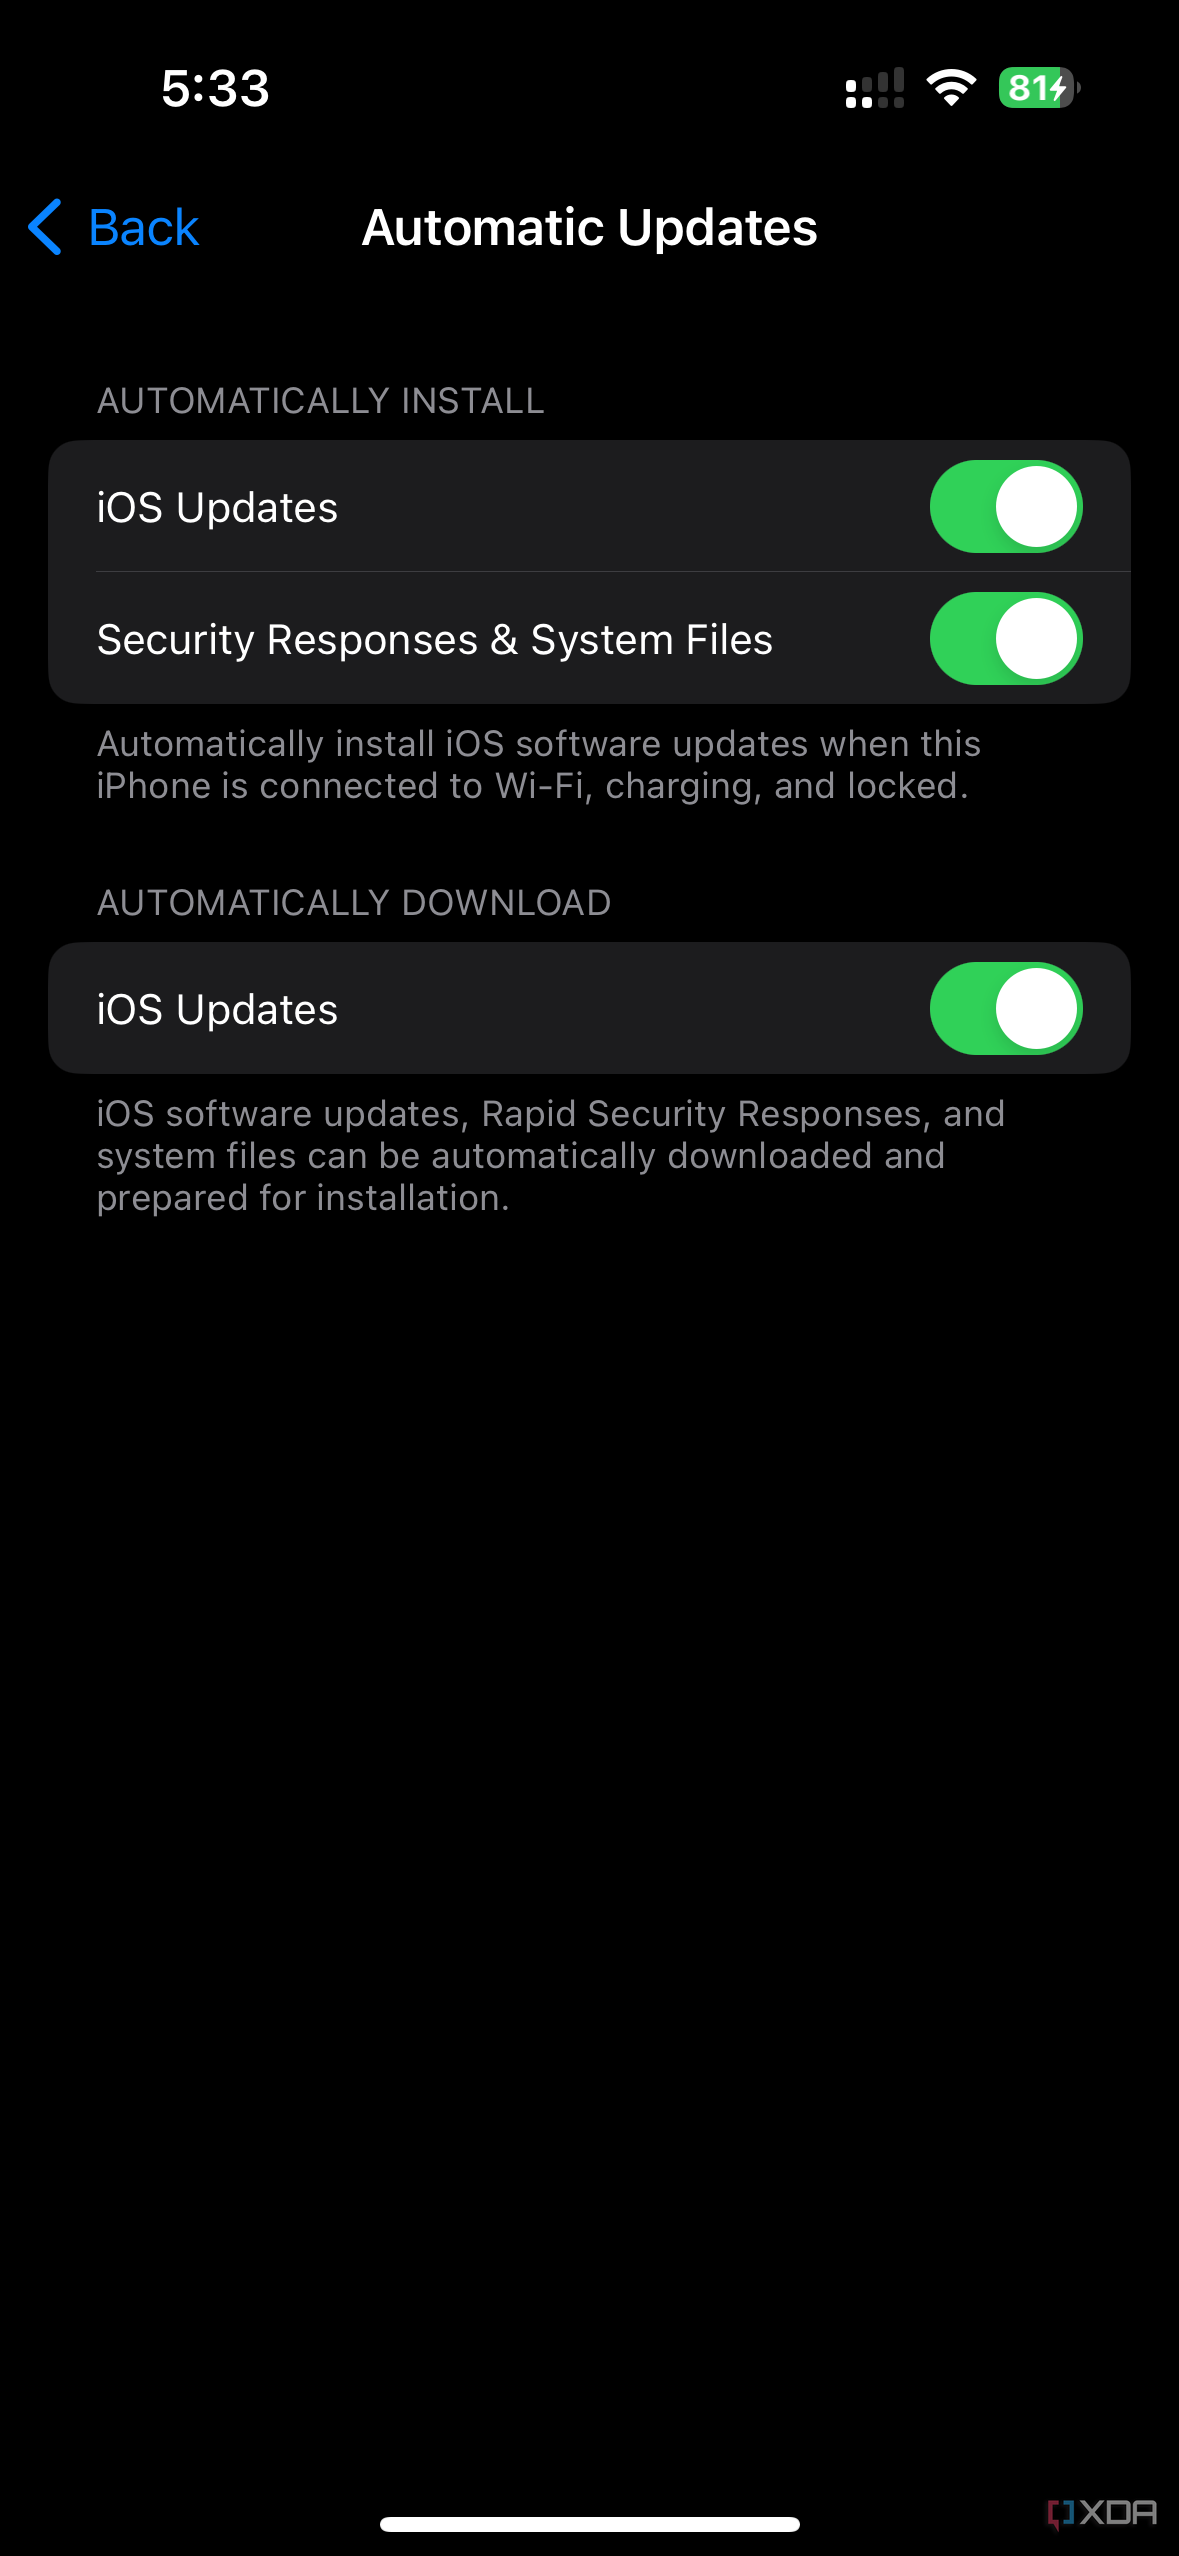
- In the Software Update section, you’ll find an option called Automatic Updates.
-
Click on that section and enable all the listed toggles if you wish to automate the process for future updates.


As you can see, checking for iOS updates and installing the latest version available is quite simple. Apple also offers its users both over-the-air and wired options. This way, no matter what your preferences are, you likely will get to install the newest OS with ease.
Keep in mind that software updates usually include bug fixes and security patches. So, even if you're not interested in the new user-facing features, it's important to install the latest builds available to protect your device and its data.