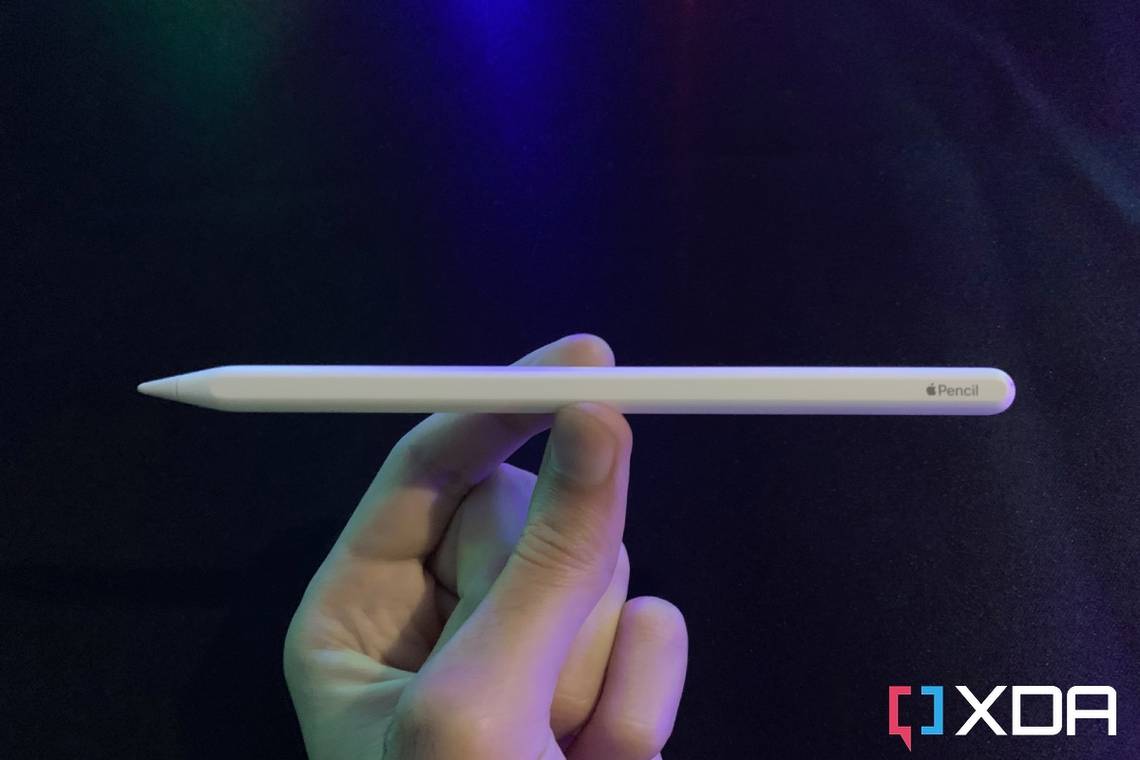
The Apple Pencil 2 is the Cupertino firm's official smart stylus, offering some advanced features, including pressure and tilt sensitivity. When used with a new iPad model, users get to rely on it to produce advanced illustrations, precise handwritten notes, signatures, and much more. Though, for it to work, you first need to connect it to your iPad, and we've detailed how to do so below.
List of iPads that support the Apple Pencil 2

- iPad Pro 12.9-inch 6
- iPad Pro 12.9-inch 5
- iPad Pro 12.9-inch 4
- iPad Pro 12.9-inch 3
- iPad Pro 11-inch 4
- iPad Pro 11-inch 3
- iPad Pro 11-inch 2
- iPad Pro 11-inch 1
- iPad Air 5
- iPad Air 4
- iPad Mini 6
Connecting the Apple Pencil 2 to a compatible iPad
- Enable Bluetooth on your iPad through the Control Center or Settings app.
- Place the flat side of the Apple Pencil 2 on the right edge of the iPad (if you're using it in portrait orientation).
- The Apple Pencil 2 will magnetically stick to the iPad's edge.
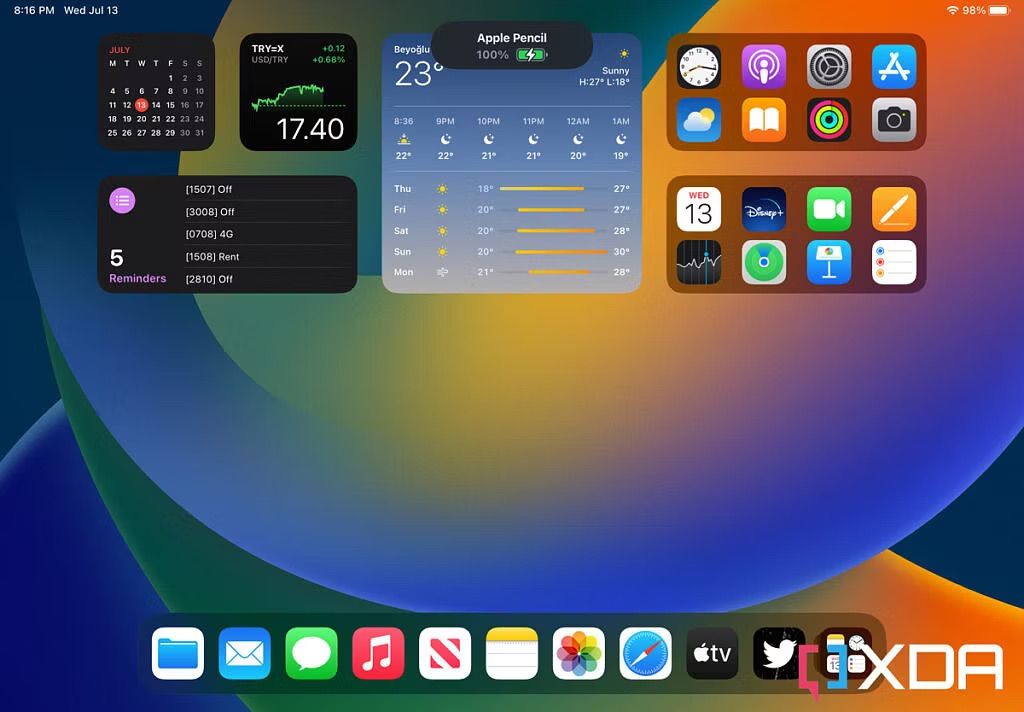
- Right after it attaches to the iPad, it automatically pairs itself to your iPad. An Apple Pencil banner will flicker for a second.
- The banner will then stabilize, and the Pencil's battery percentage will appear momentarily. That's the indication that the Pencil has successfully connected to the iPad.
-
Voilà! You can now start using your Apple Pencil with your iPad. If you need to recharge the Pencil, just let it attach to the iPad's edge in the same manner.


Unlike the Apple Pencil 1, you don't need to stick this smart stylus in the iPad's port to connect, pair, or charge it. The magnetic edge works as a universal mechanism for pairing and recharging. It's also a convenient way to store the Pencil when not in use. Though double-check the iPad model you have before buying this smart stylus just to ensure that it's compatible with it.