
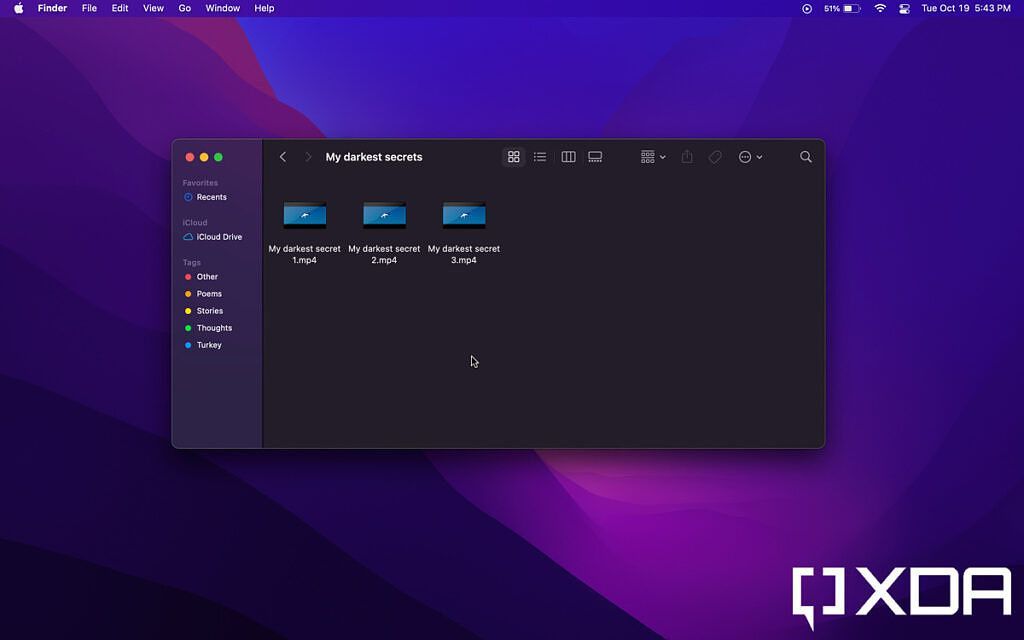
Apple's latest Macs offer a plethora of features for basic and power users alike. One of the commonly used offerings is the zipping feature, which enables a user to archive a number of files and/or folders. So, for example, if you've just imported photos from your iPhone to your Mac, you may be looking for ways to organize and archive them. All you have to do is create a ZIP file by following these steps on macOS Sonoma or an earlier OS version.
How to create a ZIP file on a Mac
When you want to create a ZIP file, you can either do it to an individual file or to a folder containing multiple ones. Either way, the process is the same.
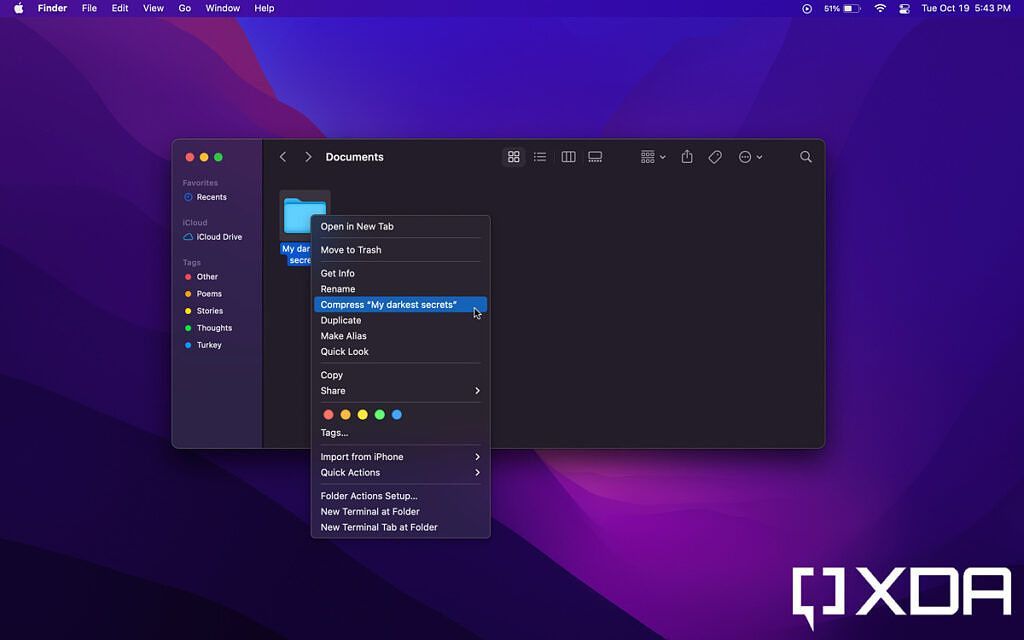
- Launch the built-in Finder app.
-
Navigate to the file or folder you want to compress.
- Right-click with your mouse or tap with two fingers on your trackpad on the file/folder.
-
Click on Compress.
-
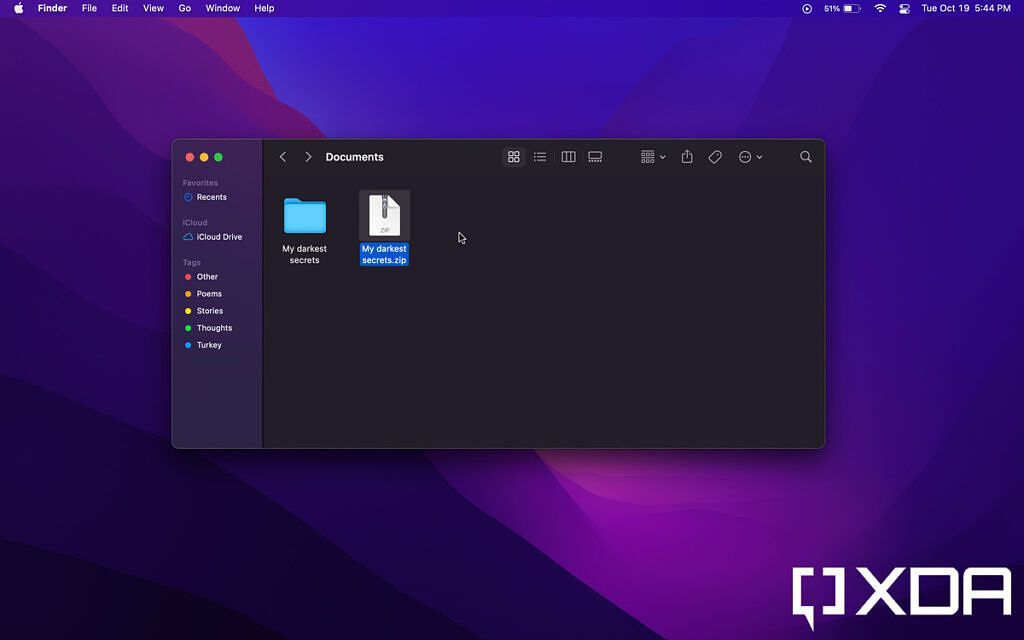
That's all! Your file/folder will then turn into a ZIP file. The time it takes for the zipping process to conclude depends on the size of the file/folder you're compressing.


How to unzip an archive on macOS
To unzip a ZIP file, just navigate to its location in the Finder app and double-click on it. This will extract its contents on the spot. Similarly, though, the time it takes for the unzipping process to conclude also depends on the size of the archive.
Why zipping files matters
As you can see, creating a ZIP file on a Mac is a very straightforward process that requires no third-party apps. Just locate what you want to compress, and you're all set. Zipping can come in handy when you're sharing a large amount of files and folders with someone. You can turn them all into a single ZIP file, and the person will then unzip and view them in their original states. It's also an effective way to shrink the sizes of certain documents, until you extract them again.