Windows 11 isn't really new anymore, but many of us may still be getting our first experience with it today. We loved Windows 11 in our original review, and it's been getting better ever since. However, if you just installed the update to Windows 11 or a newer update like version 22H2, you may notice there's a lot less space available on your drive after the fact. Indeed, updating to Windows 11 or any other major Windows update can take up quite a bit of space, due to some temporary files being created.
The reason for this is that Windows keeps a copy of the system files from your old Windows installation. That way, if you run into any problems after the upgrade, you can roll back to the previous version and get things back to normal. But if you haven't had any issues, and you need the free space, you can delete the old files after upgrading to Windows 11.
Deleting these old files will make it impossible to roll back to the previous version of Windows, so only do this if you're confident things are working well. There are two ways you can do this, and the final result is the same, so it's ultimately up to you how you want to do it. One method involves using the Settings app, and the other is using the Disk Cleanup feature that's part of the classic Control Panel.
Free up space using the Windows 11 Settings app
If you want to use the more modern Windows 11 Settings app, here's what you need to do:
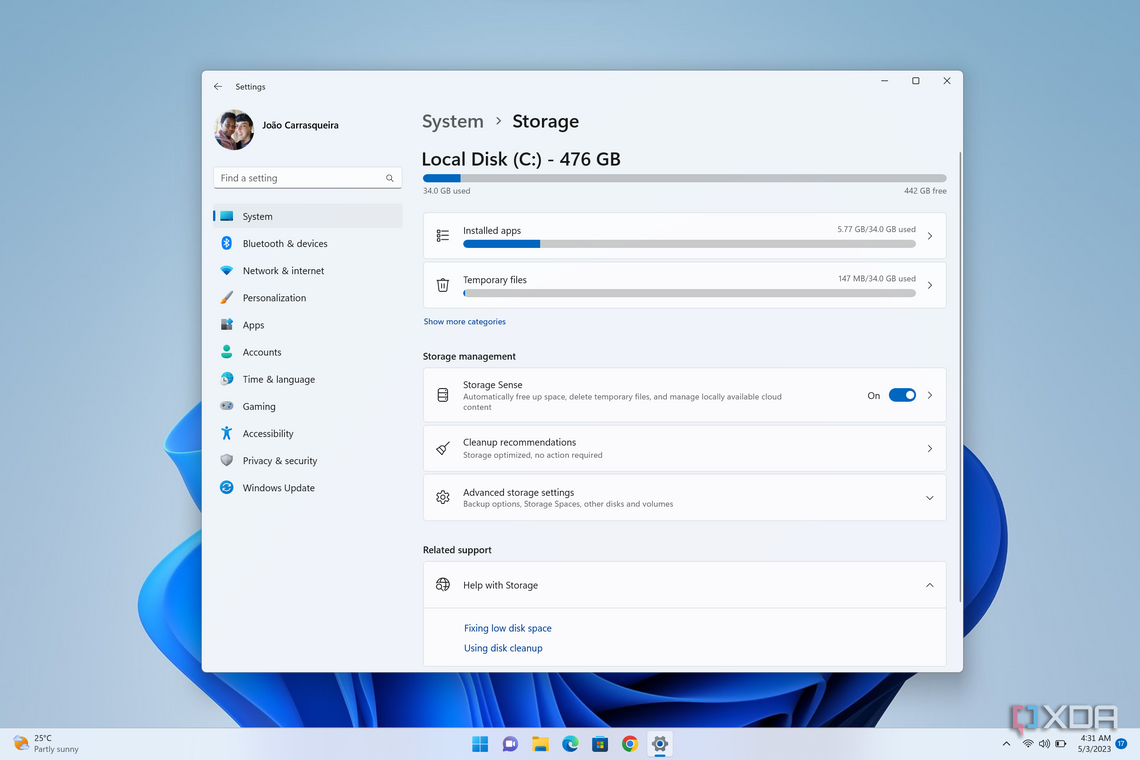
- Open the Settings app (you can find it in the Start menu)
- On the page that opens by default (it should be the System section), click Storage.
-
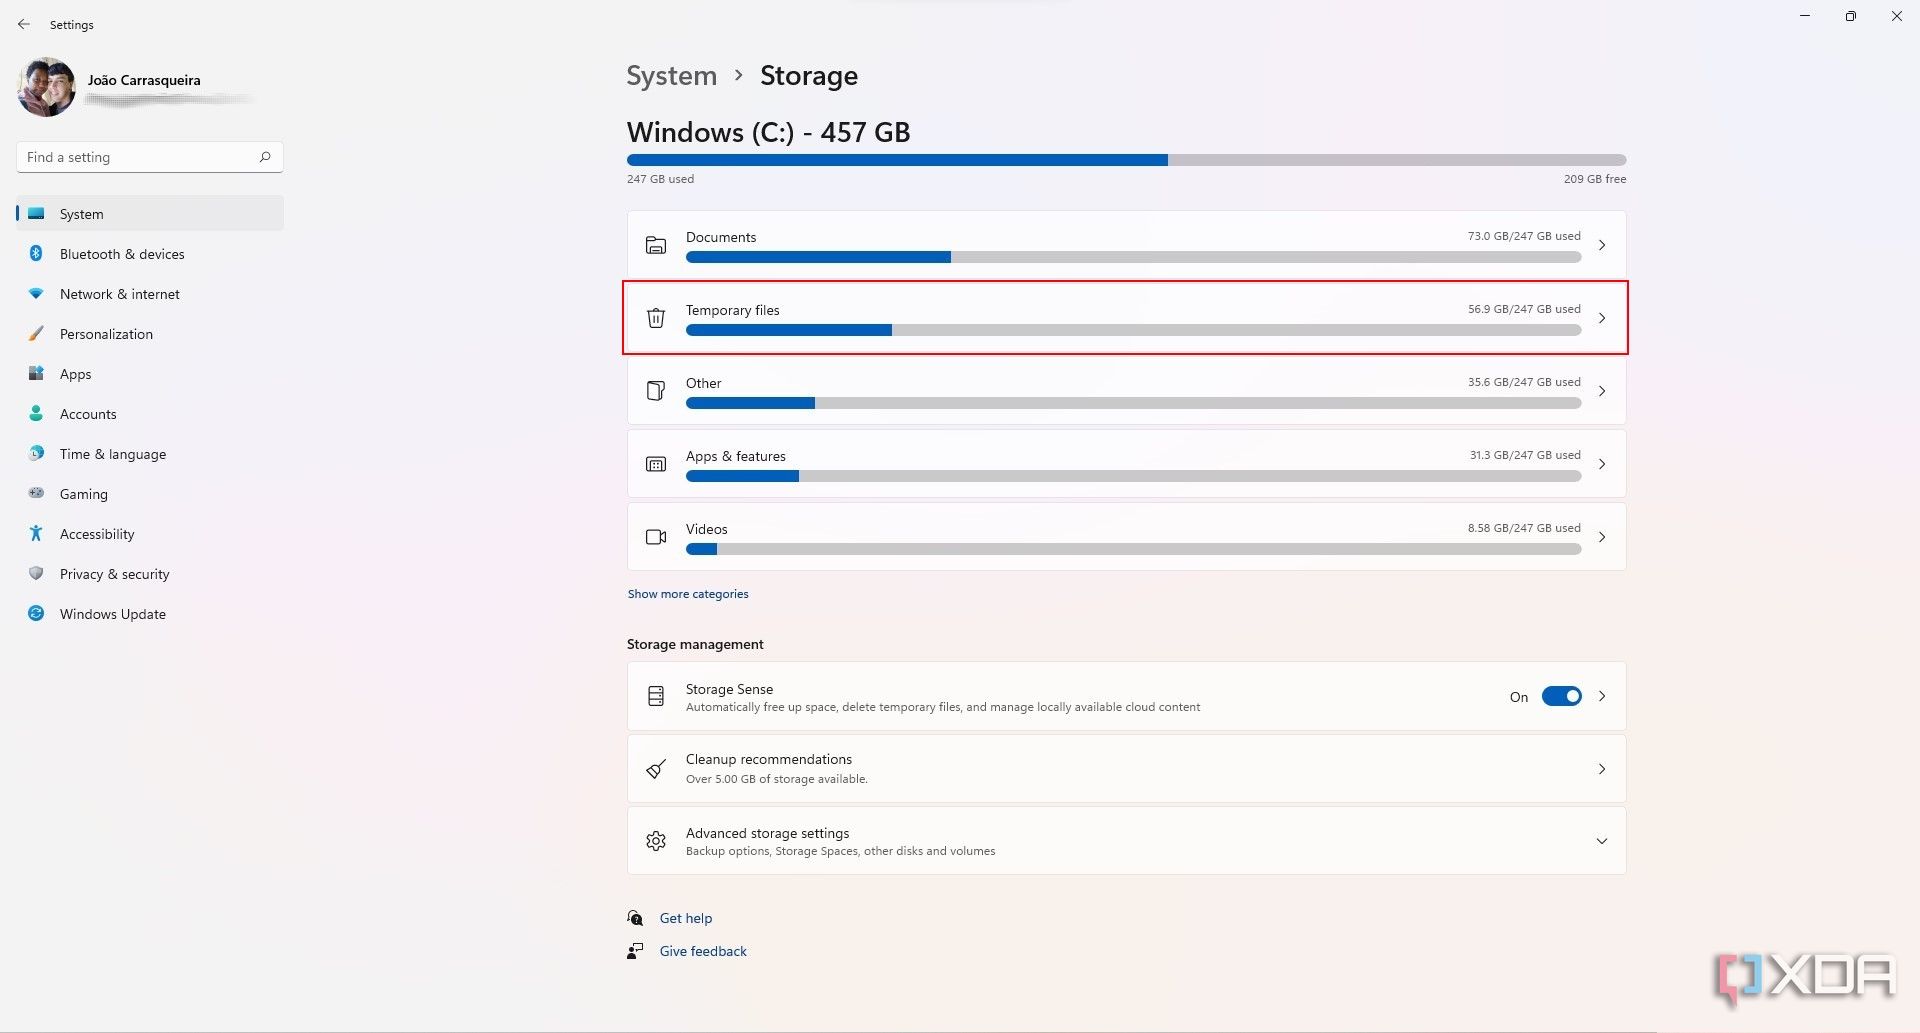
Click the Temporary files option.
-
Look for an option called Previous Windows installation(s) and check the box next to it. It should be at least 10GB in size.
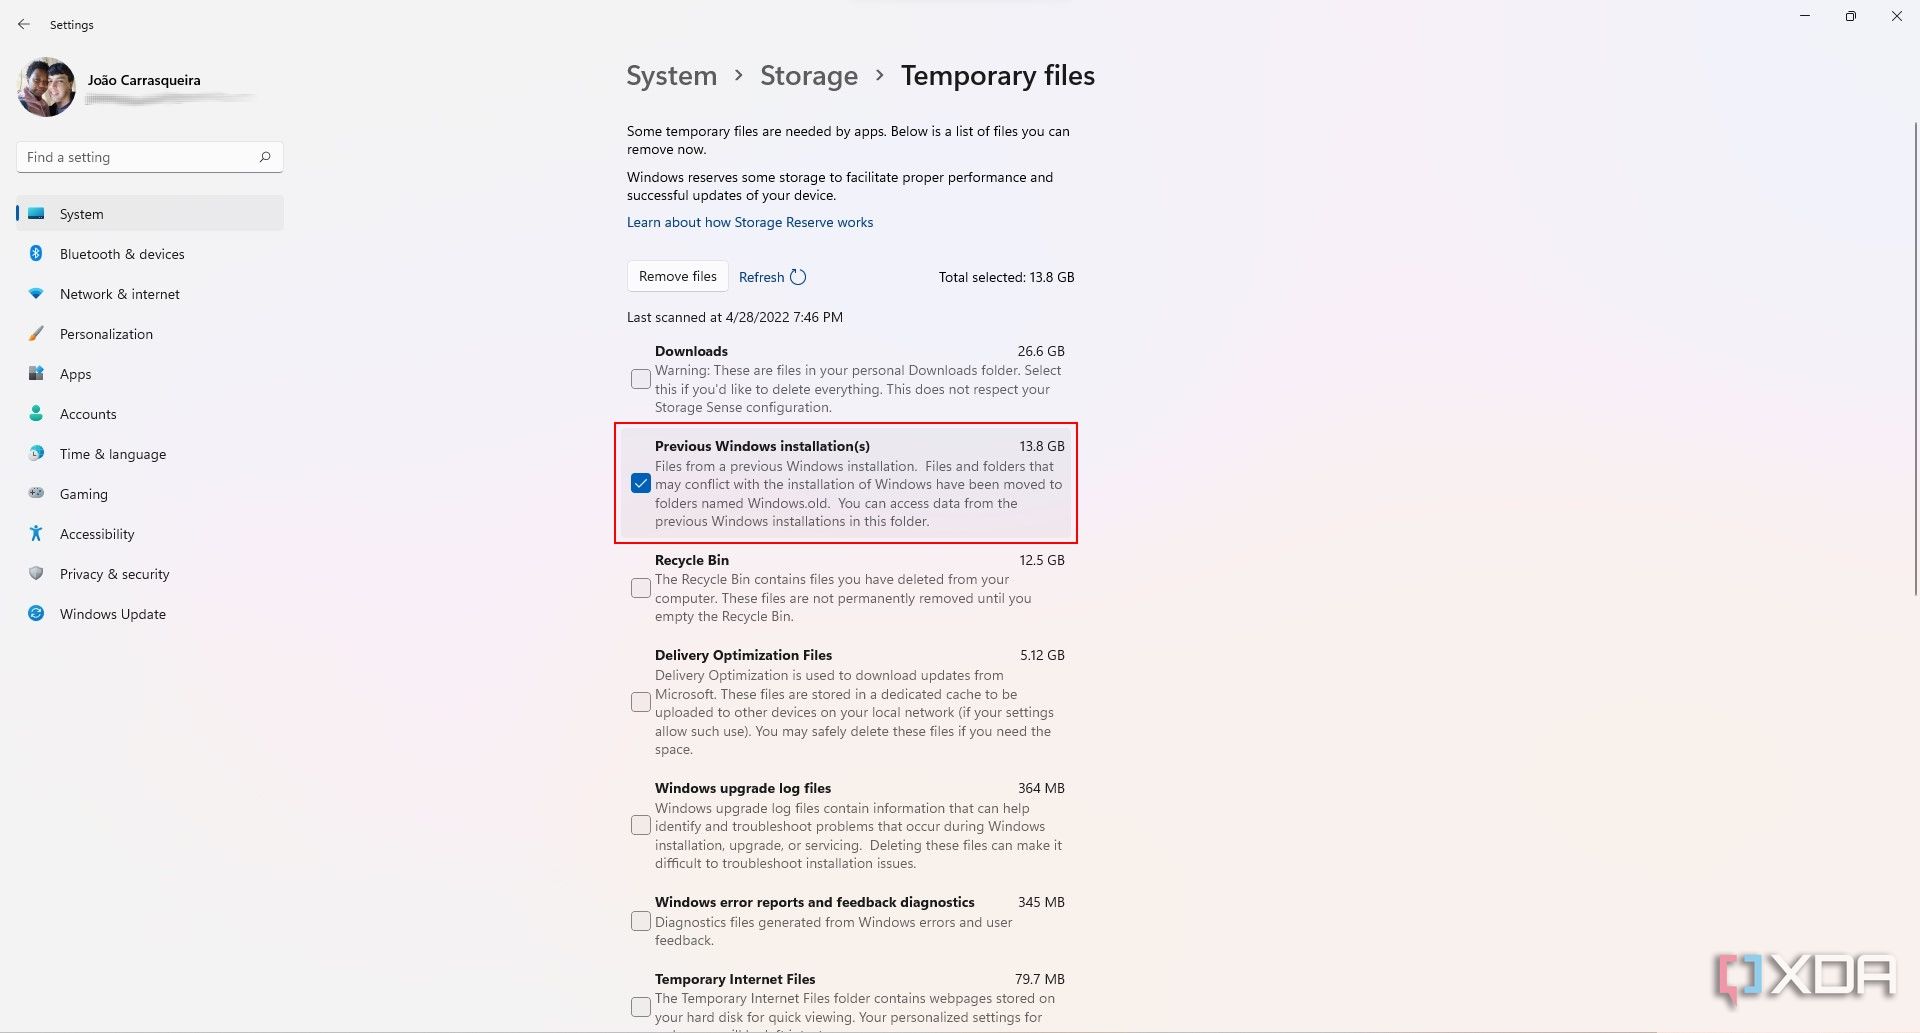
Make sure the Downloads option isn't enabled since it will delete most of your downloaded files. You may also want to double-check the Recycle Bin option to make sure you don't have important files there you may need to recover. You can check other boxes on this page to free up extra space.
- Click the Remove files button at the top of the list. The process will take a few minutes.


Free up space using Disk Cleanup
If you're more of a fan of the old-school Windows tools, you can also use the Disk Cleanup feature to free up space after upgrading to Windows 11. Here's the easiest way to do it:
-
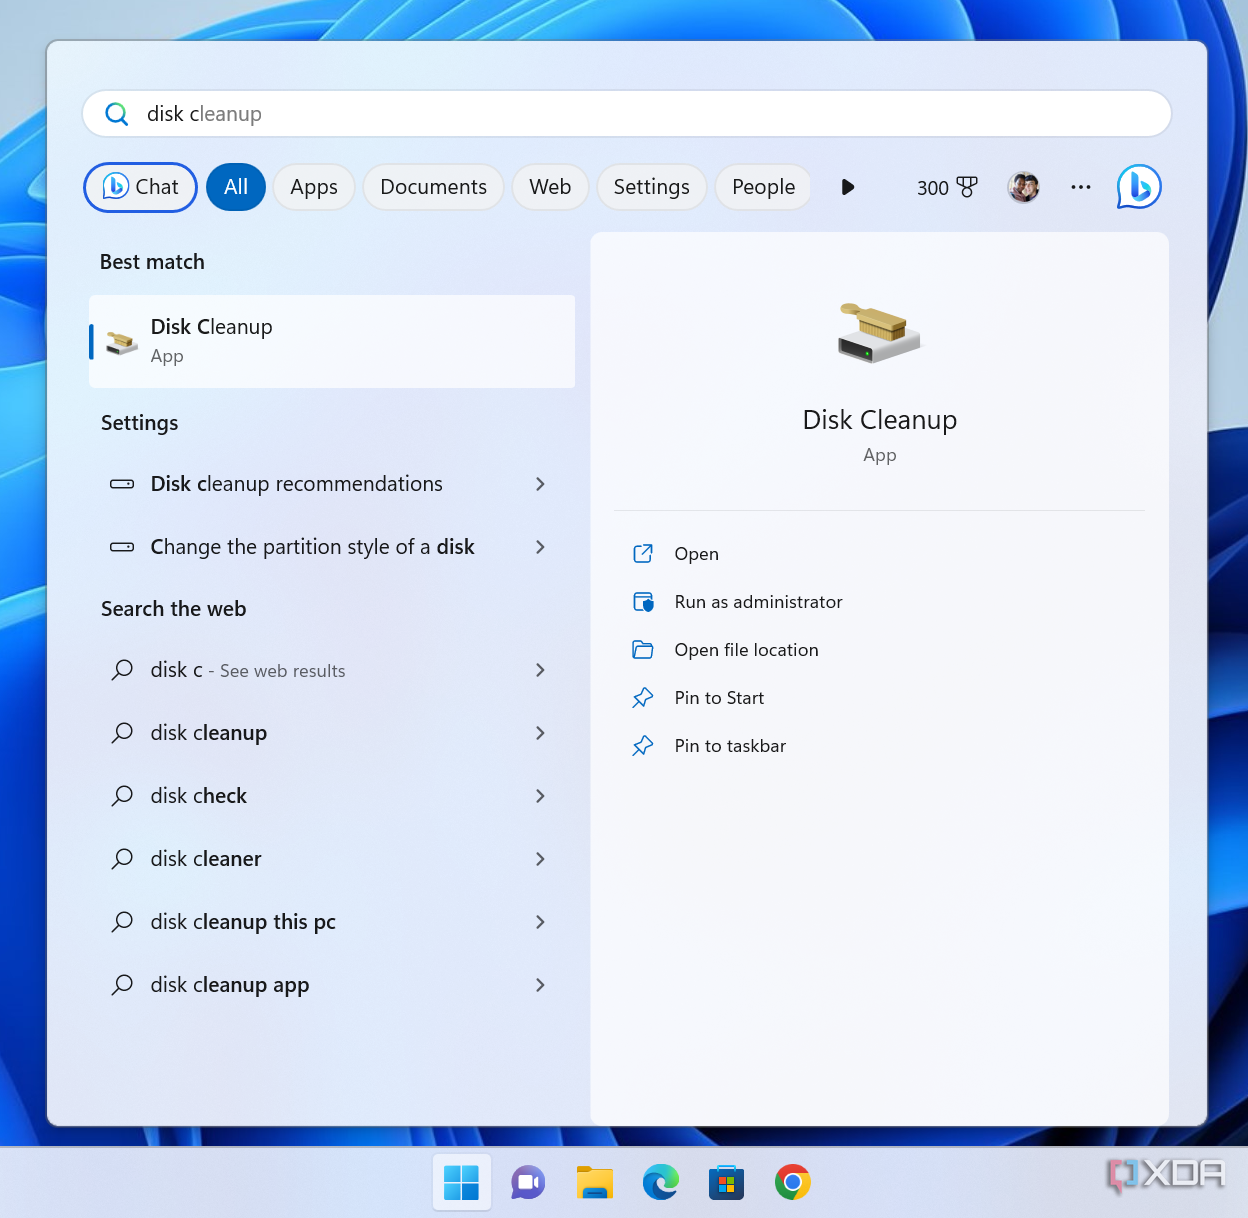
Open the Start menu and use the search bar to search for Disk Cleanup and select it.
- If prompted, choose the drive where your Windows installation is (it should be the default).
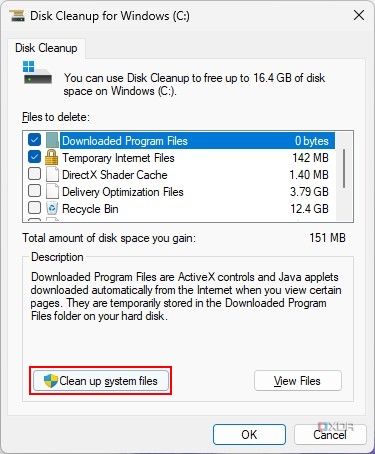
- Once it finishes scanning, you'll see a list of the types of files that can be deleted, but the files you want aren't there yet. Click Clean up system files (this step requires administrator privileges).
-
Look for Previous Windows installation(s) and check the box next to it.
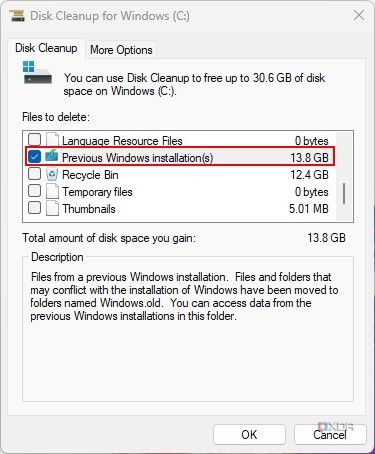
You can check other boxes if you'd like to save some extra space. However, be careful when checking the Recycle Bin box, as it will make it impossible to recover files you've previously deleted.
- Click OK to delete the files.


And that's all you need to know to free up space on your PC after upgrading to Windows 11. This only really applies to upgrades using Windows Update, so if you followed our guide to install Windows 11 using an ISO, you'll have as much free space as you can get. If you're interested in other helpful Windows 11 tips, check out how to generate a battery report so you know how your laptop's battery is doing.