Installing a CPU on the motherboard is among the first things you have to do while building a PC. It is, however, incomplete until you install a CPU cooler, which is essential to maintain the thermal output of the CPU. You can even install it at the end after you're done assembling other components, but failing to install a CPU cooler properly will result in extremely high CPU temperatures and your system will shut down before you even enter the operating system. Installing a CPU cooler is also fairly simple, but there are a few things that you must consider to ensure you're doing it properly.
There are two types of CPU coolers: air coolers and liquid coolers. Installing an air cooler is usually easier than setting up liquid cooling for your PC, but it's easy to get both them both up and running in just a few minutes as long as you follow all the steps that are highlighted below carefully.
Prerequisites
What you need to install a CPU cooler
- Thermal paste: A lot of CPU coolers come with pre-installed thermal paste these days, but it's best to have your own syringe of thermal solution. DO NOT install the second layer of thermal paste on the CPU if your cooler has a pre-installed layer of the paste.
- Tools: You're going to need a Philips head screwdriver for this installation. A lot of air coolers can be installed without any tools or come with tools of their own, but it's best to have one of your own to install higher-end air and liquid coolers, and to also open the PC case panels.
How to install an air cooler
A fairly simple and standard process for all air coolers
When it comes to CPU air coolers, you're essentially looking at a heatsink and a couple of fans depending on how big the cooler is. The best fan coolers, including the Noctua NH-D15, come with a massive heatsink and two fans to move the air through the heatsink. The overall process, however, remains the same regardless of the size of the cooler and the number of fans it has.
The first thing you need to do is fetch the right bracket for installing the cooler. The motherboard's socket determines what coolers are compatible. Intel's Alder Lake and Raptor Lake CPUs use the LGA 1700 socket, for example, while the AMD Ryzen 7000 series chips use the AM5 socket. Almost all CPU cooler manufacturers bundle the brackets for both CPU sockets with their units, or offer different versions of coolers that come with different brackets.
You don't have to worry about CPU brackets or compatibilty for stock coolers, as they're designed to work with the bundled CPU.
To install an air cooler:
-
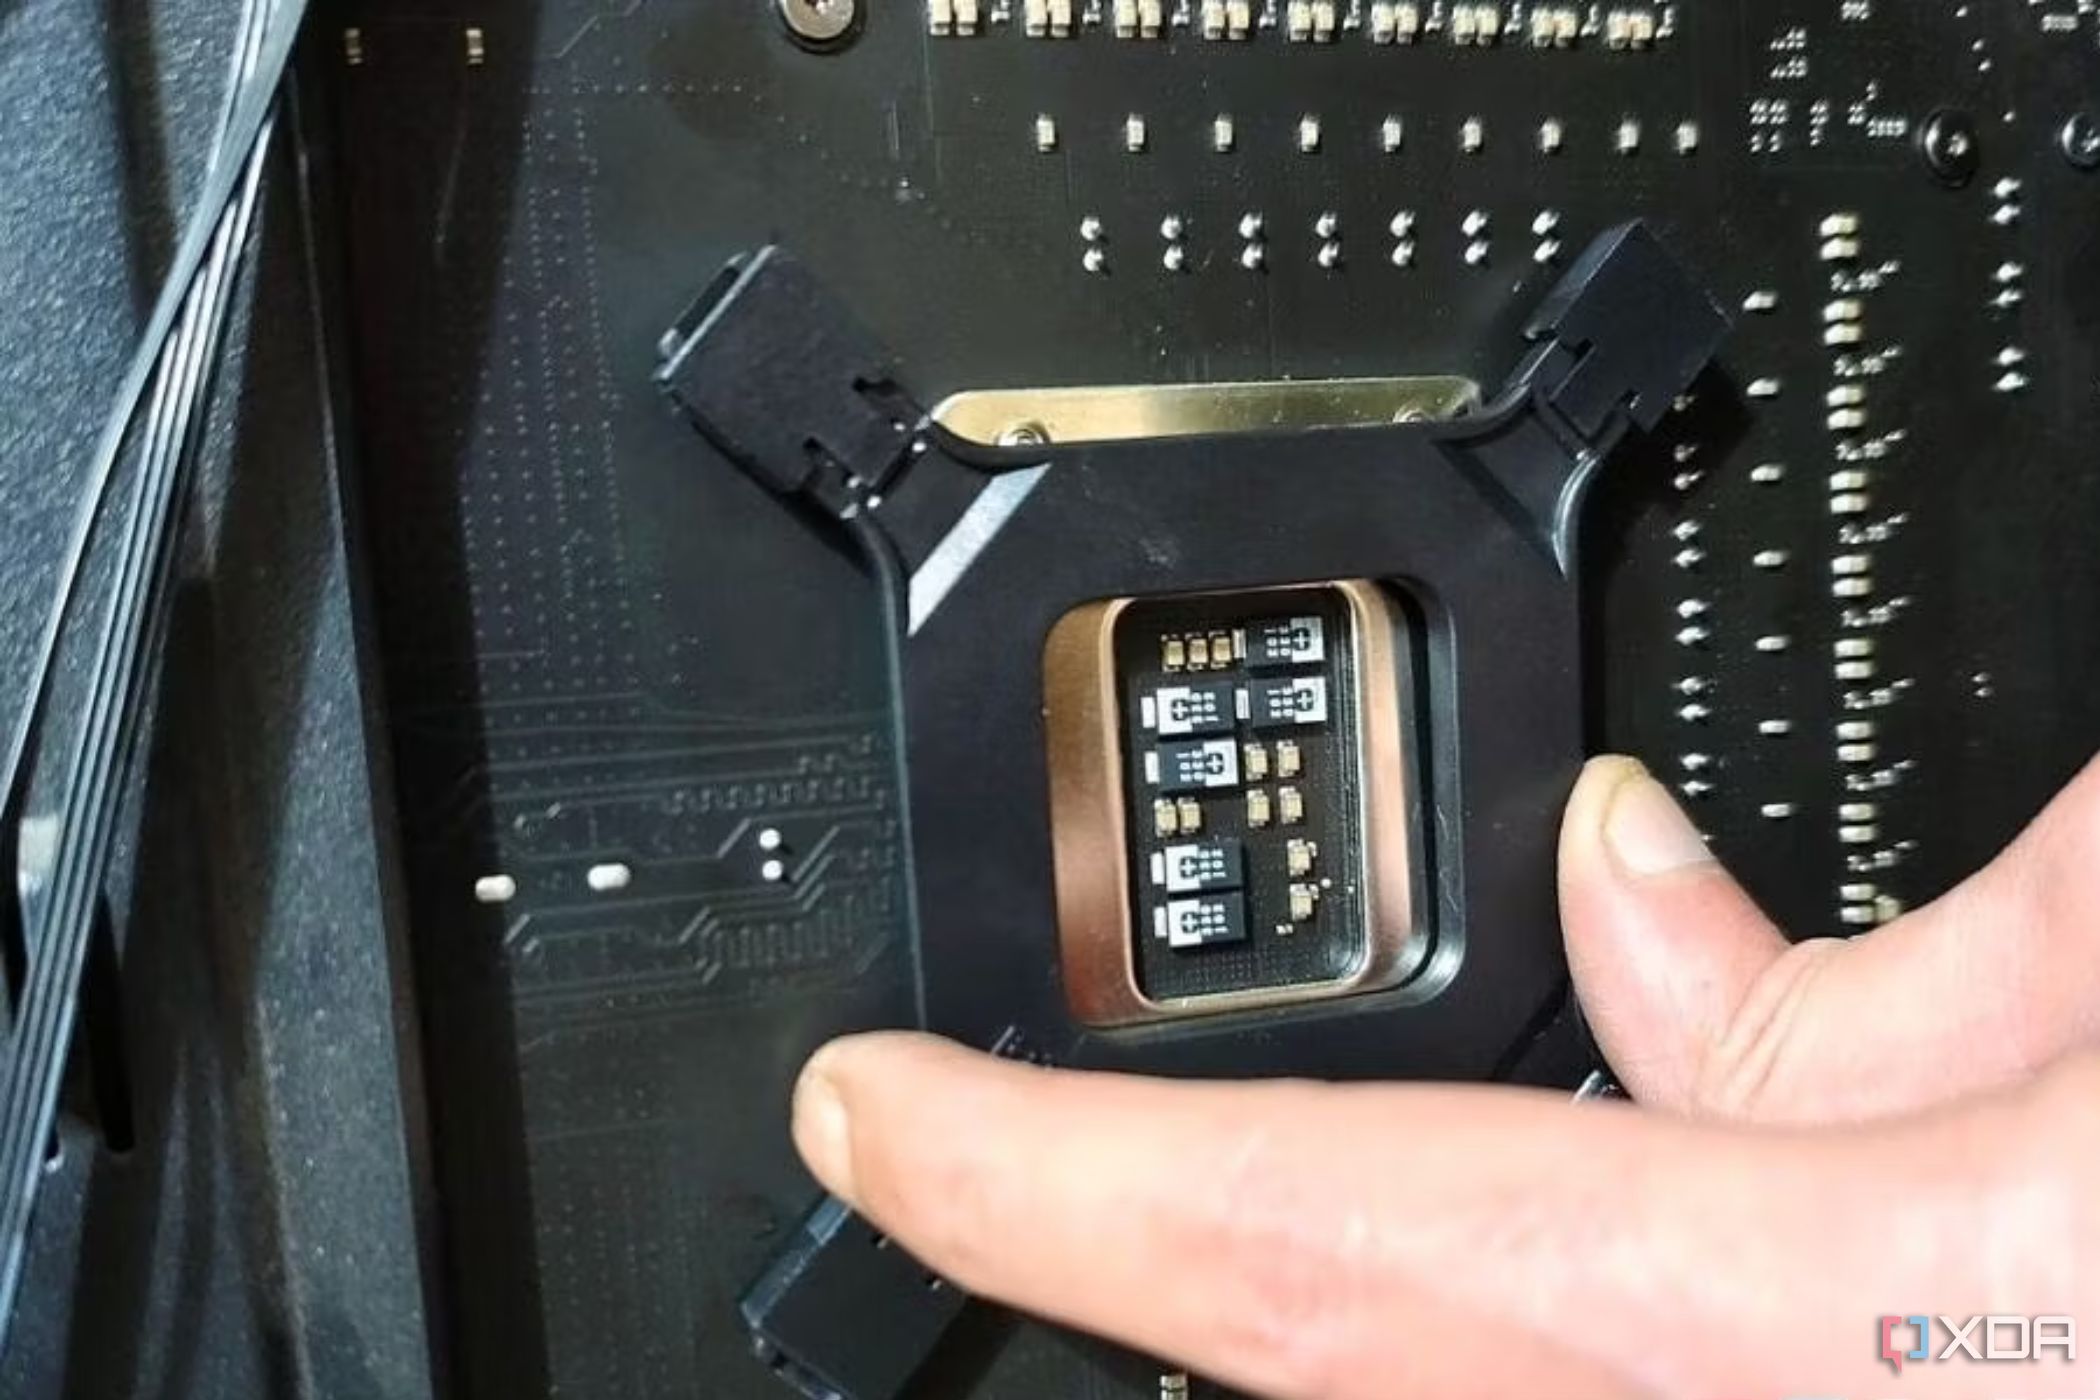
Start by installing the backplate at the back of the motherboard, by holding it in place and securing it with the help of standoff on the front.
- Apply thermal paste if needed.
-
Line up your CPU cooler by holding it on top of the CPU, carefully lining up the cooler with the holes on the board or the standoffs we installed earlier.
Remove the fan(s) from the heatsink if you're installing a massive cooler to get additional clearance for aligning the screws and installing it.
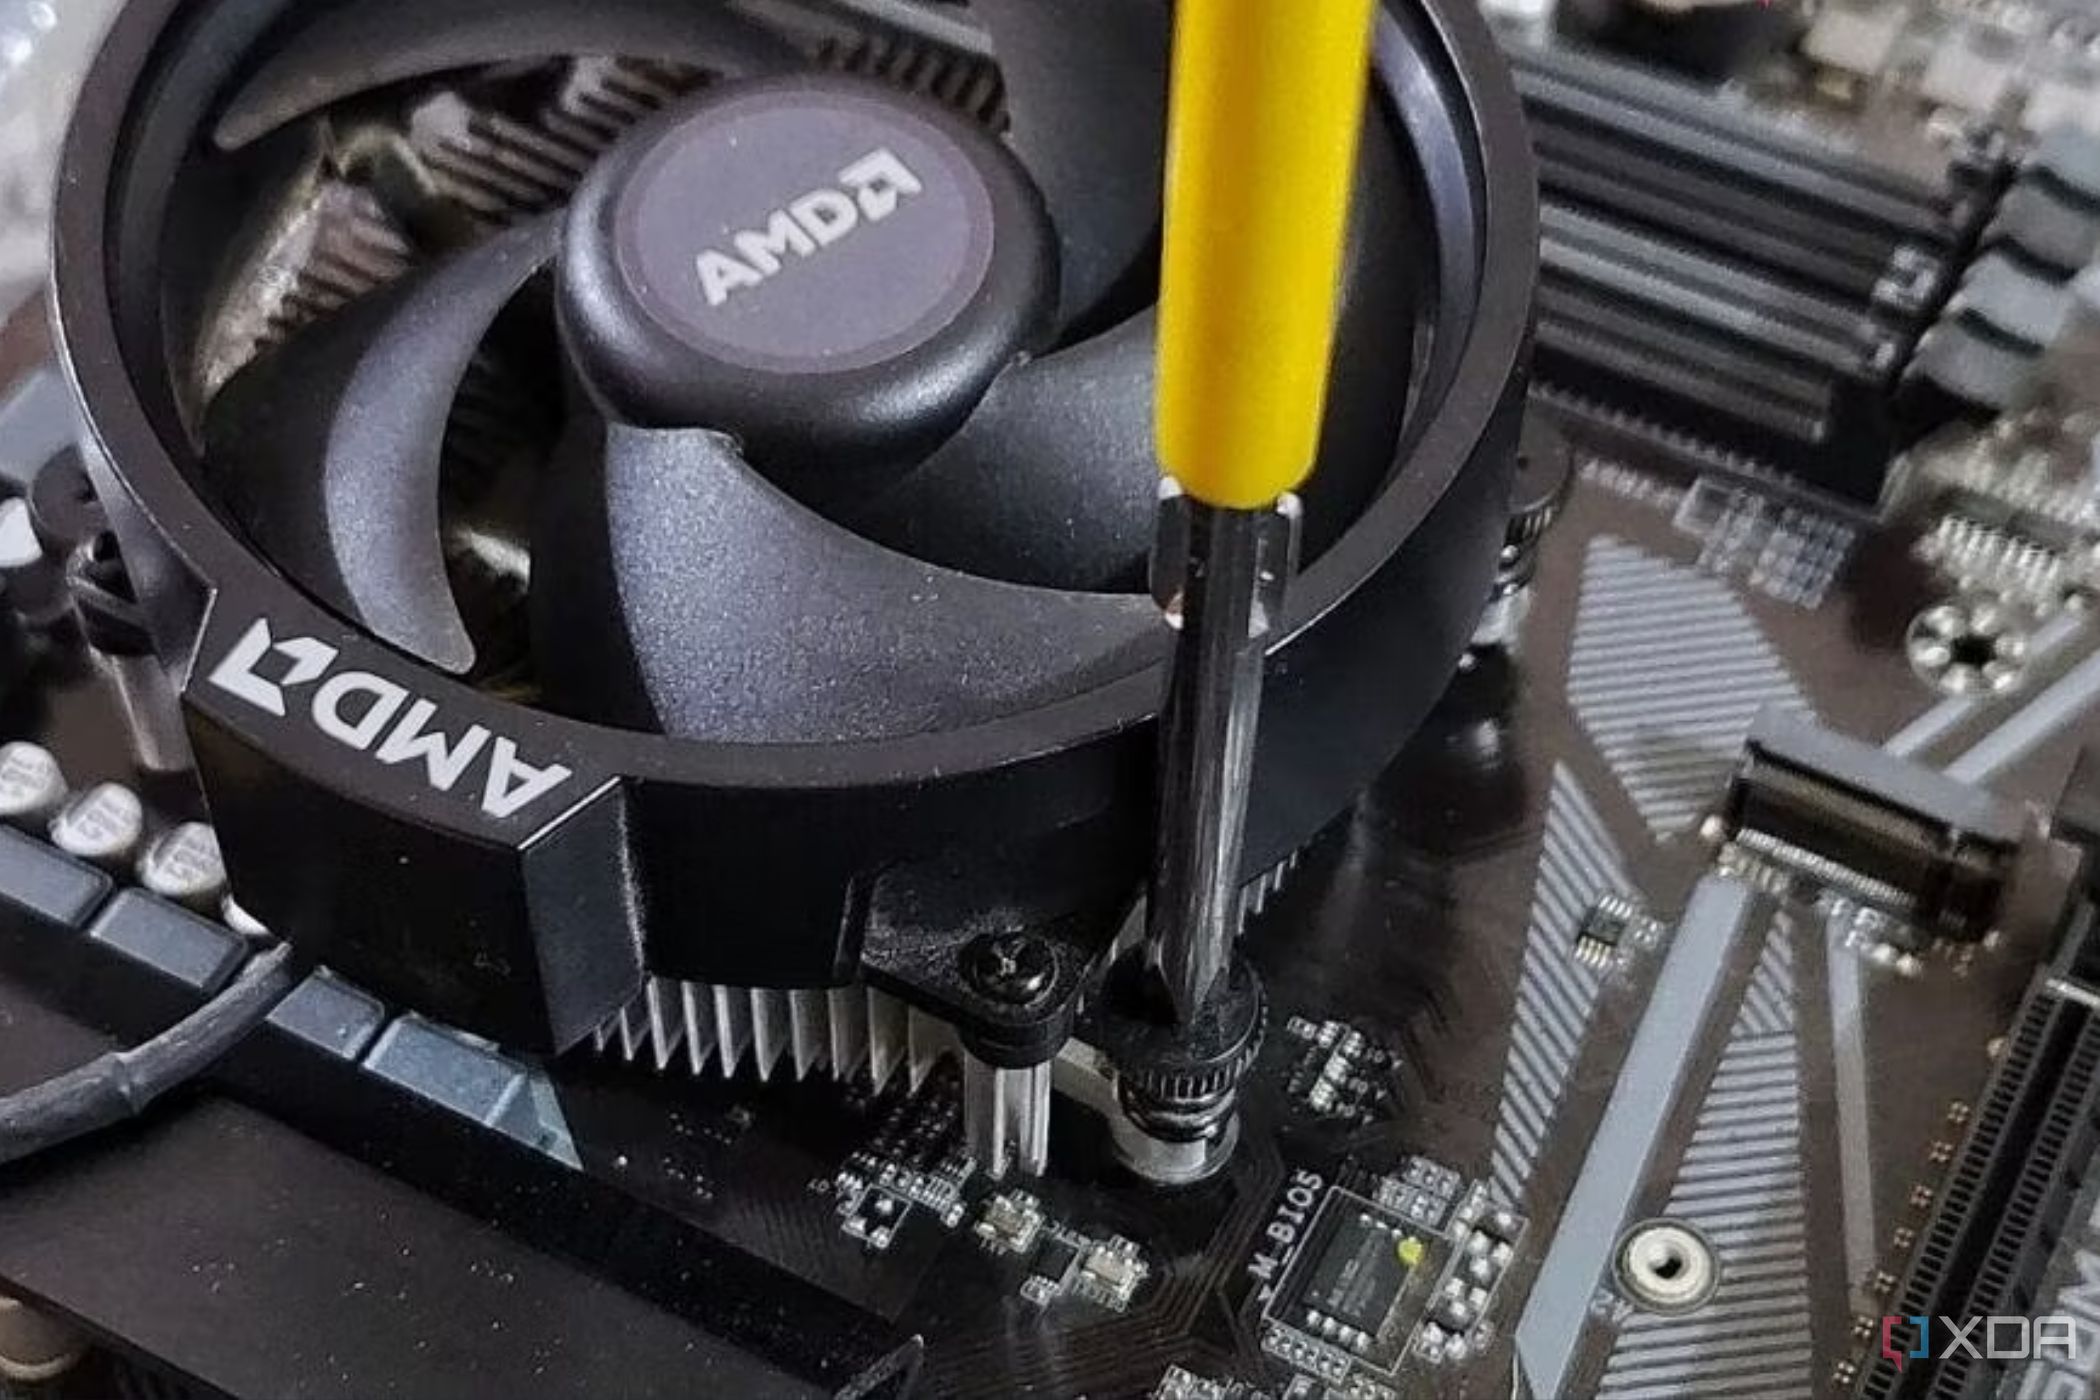
- Secure the CPU cooler by securing the diagonally opposite screws to create even pressure on the CPU's integrated heat spreader (or IHS).
- Carefully mount the fans on the heatsink now if you removed them earlier to complete the installation. Consult the manual if you don't remember which way to attach the fans.


And that's it, you should now connect the air cooler's cable to the fan header on the motherboard to get it up and running.
How to install a liquid cooler
Needs a few additional steps to mount the radiator

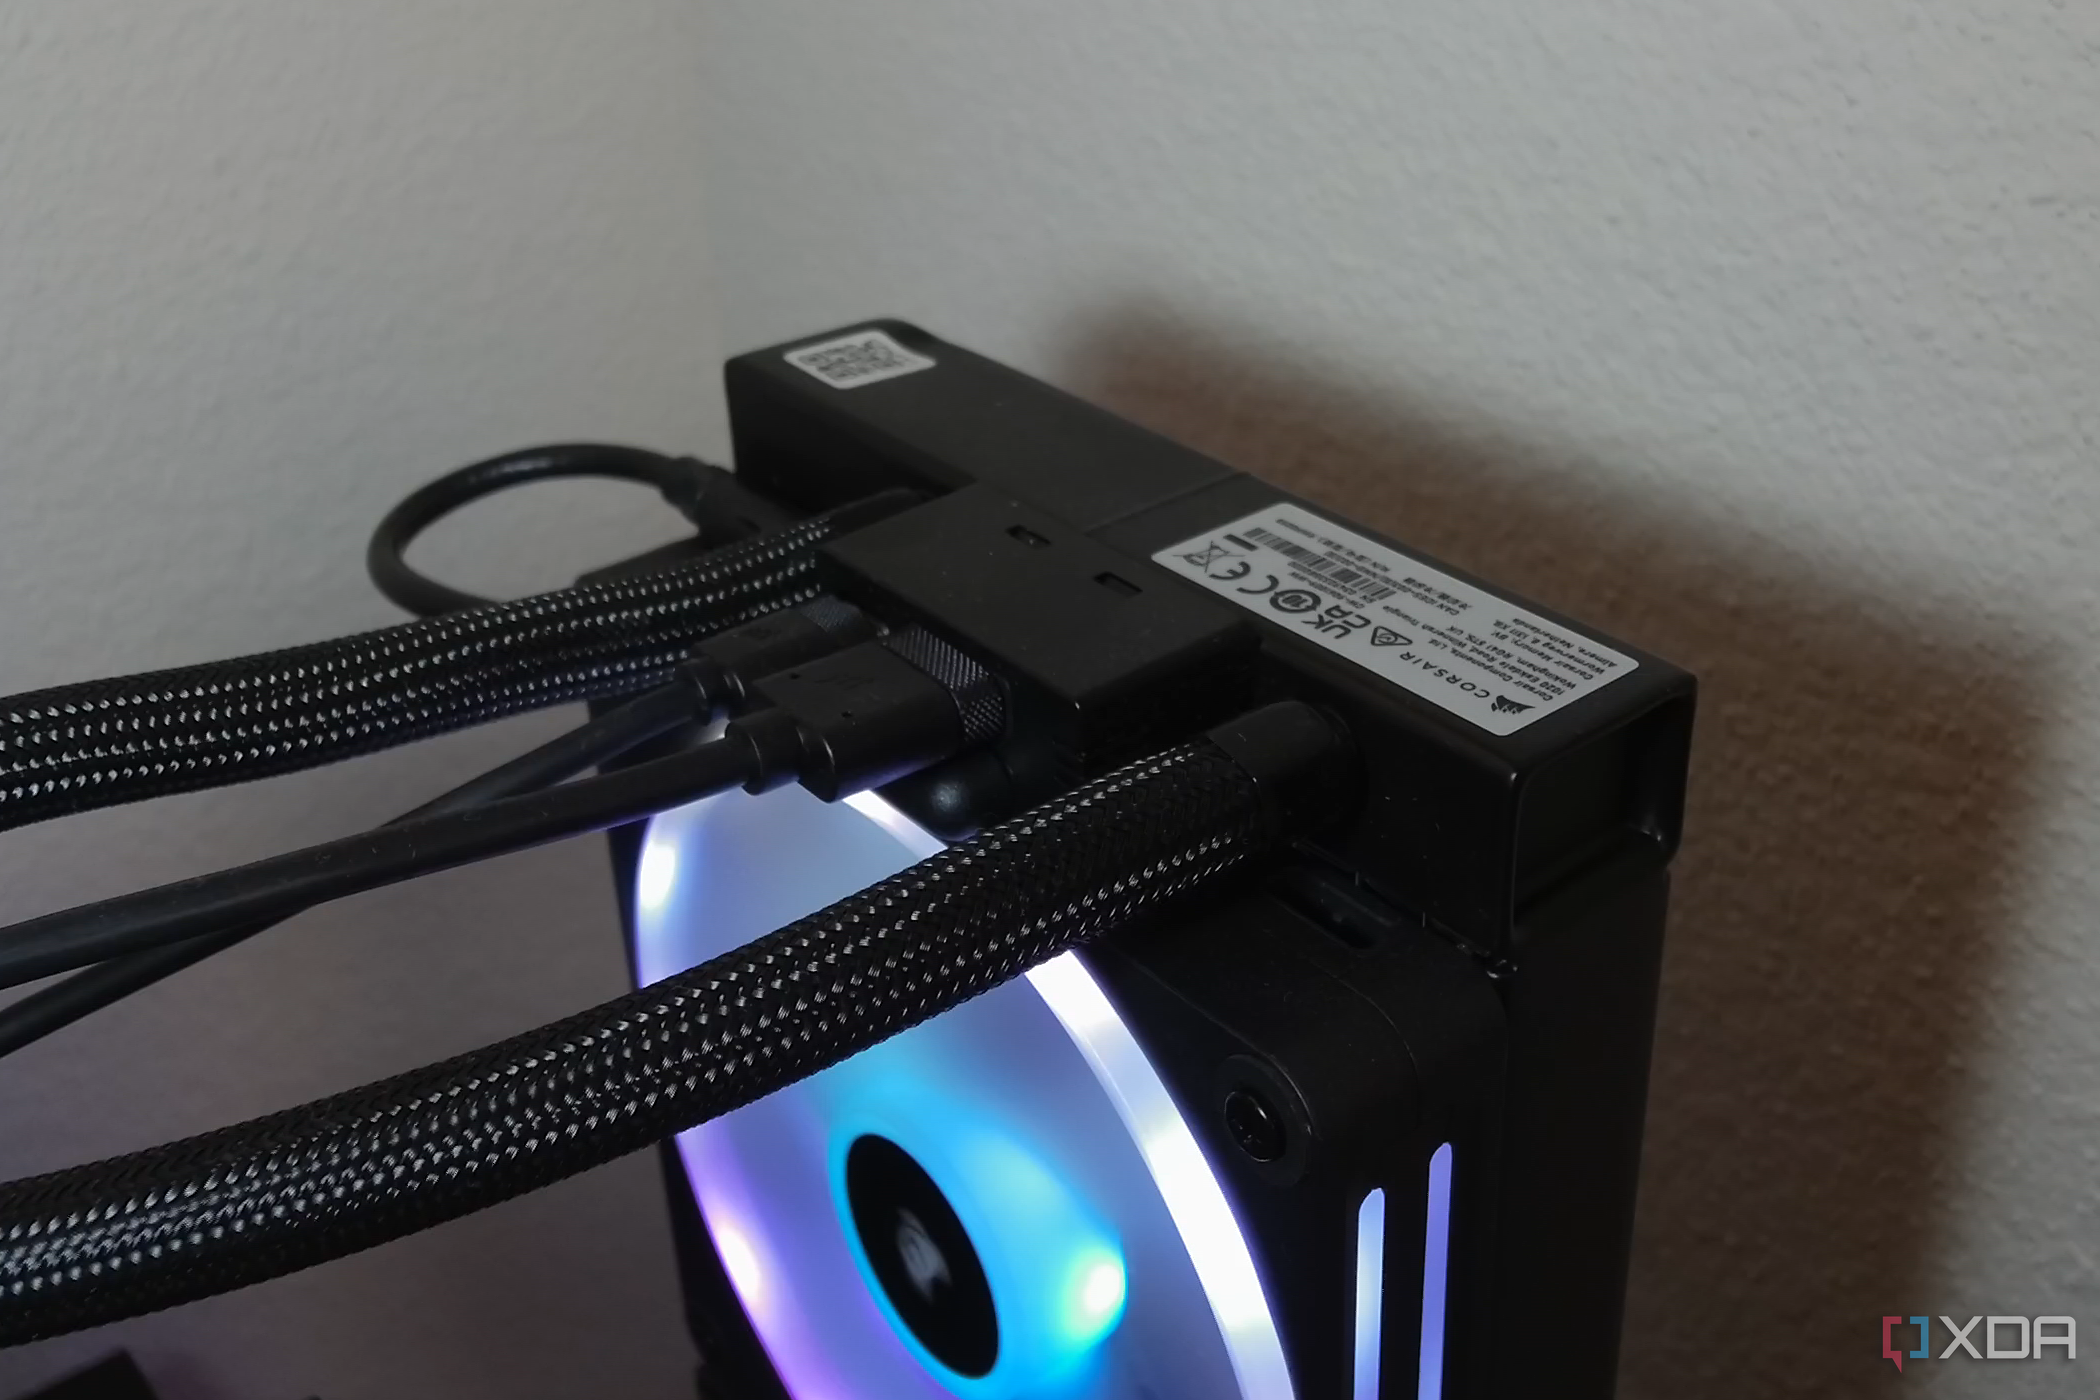
Installing a CPU liquid cooler is a little more complicated and involves a few additional steps. We'll be showing you how to install an all-in-one (AIO) liquid cooler in this guide. The AIO liquid coolers are closed-loop liquid coolers that come with a pre-assembled CPU water block, pipes, a radiator, and anywhere from one to three fans. The process of setting up a custom cooling loop is a bit more complex, but it's beyond the scope of this beginner's guide.
We're installing a high-end AIO for this guide with a 360mm radiator, but the process remains the same for all sizes, including the smaller 120mm unit.
- Start by installing the backplate at the back of the motherboard, by holding it in place and securing it with the help of standoffs on the front.
-
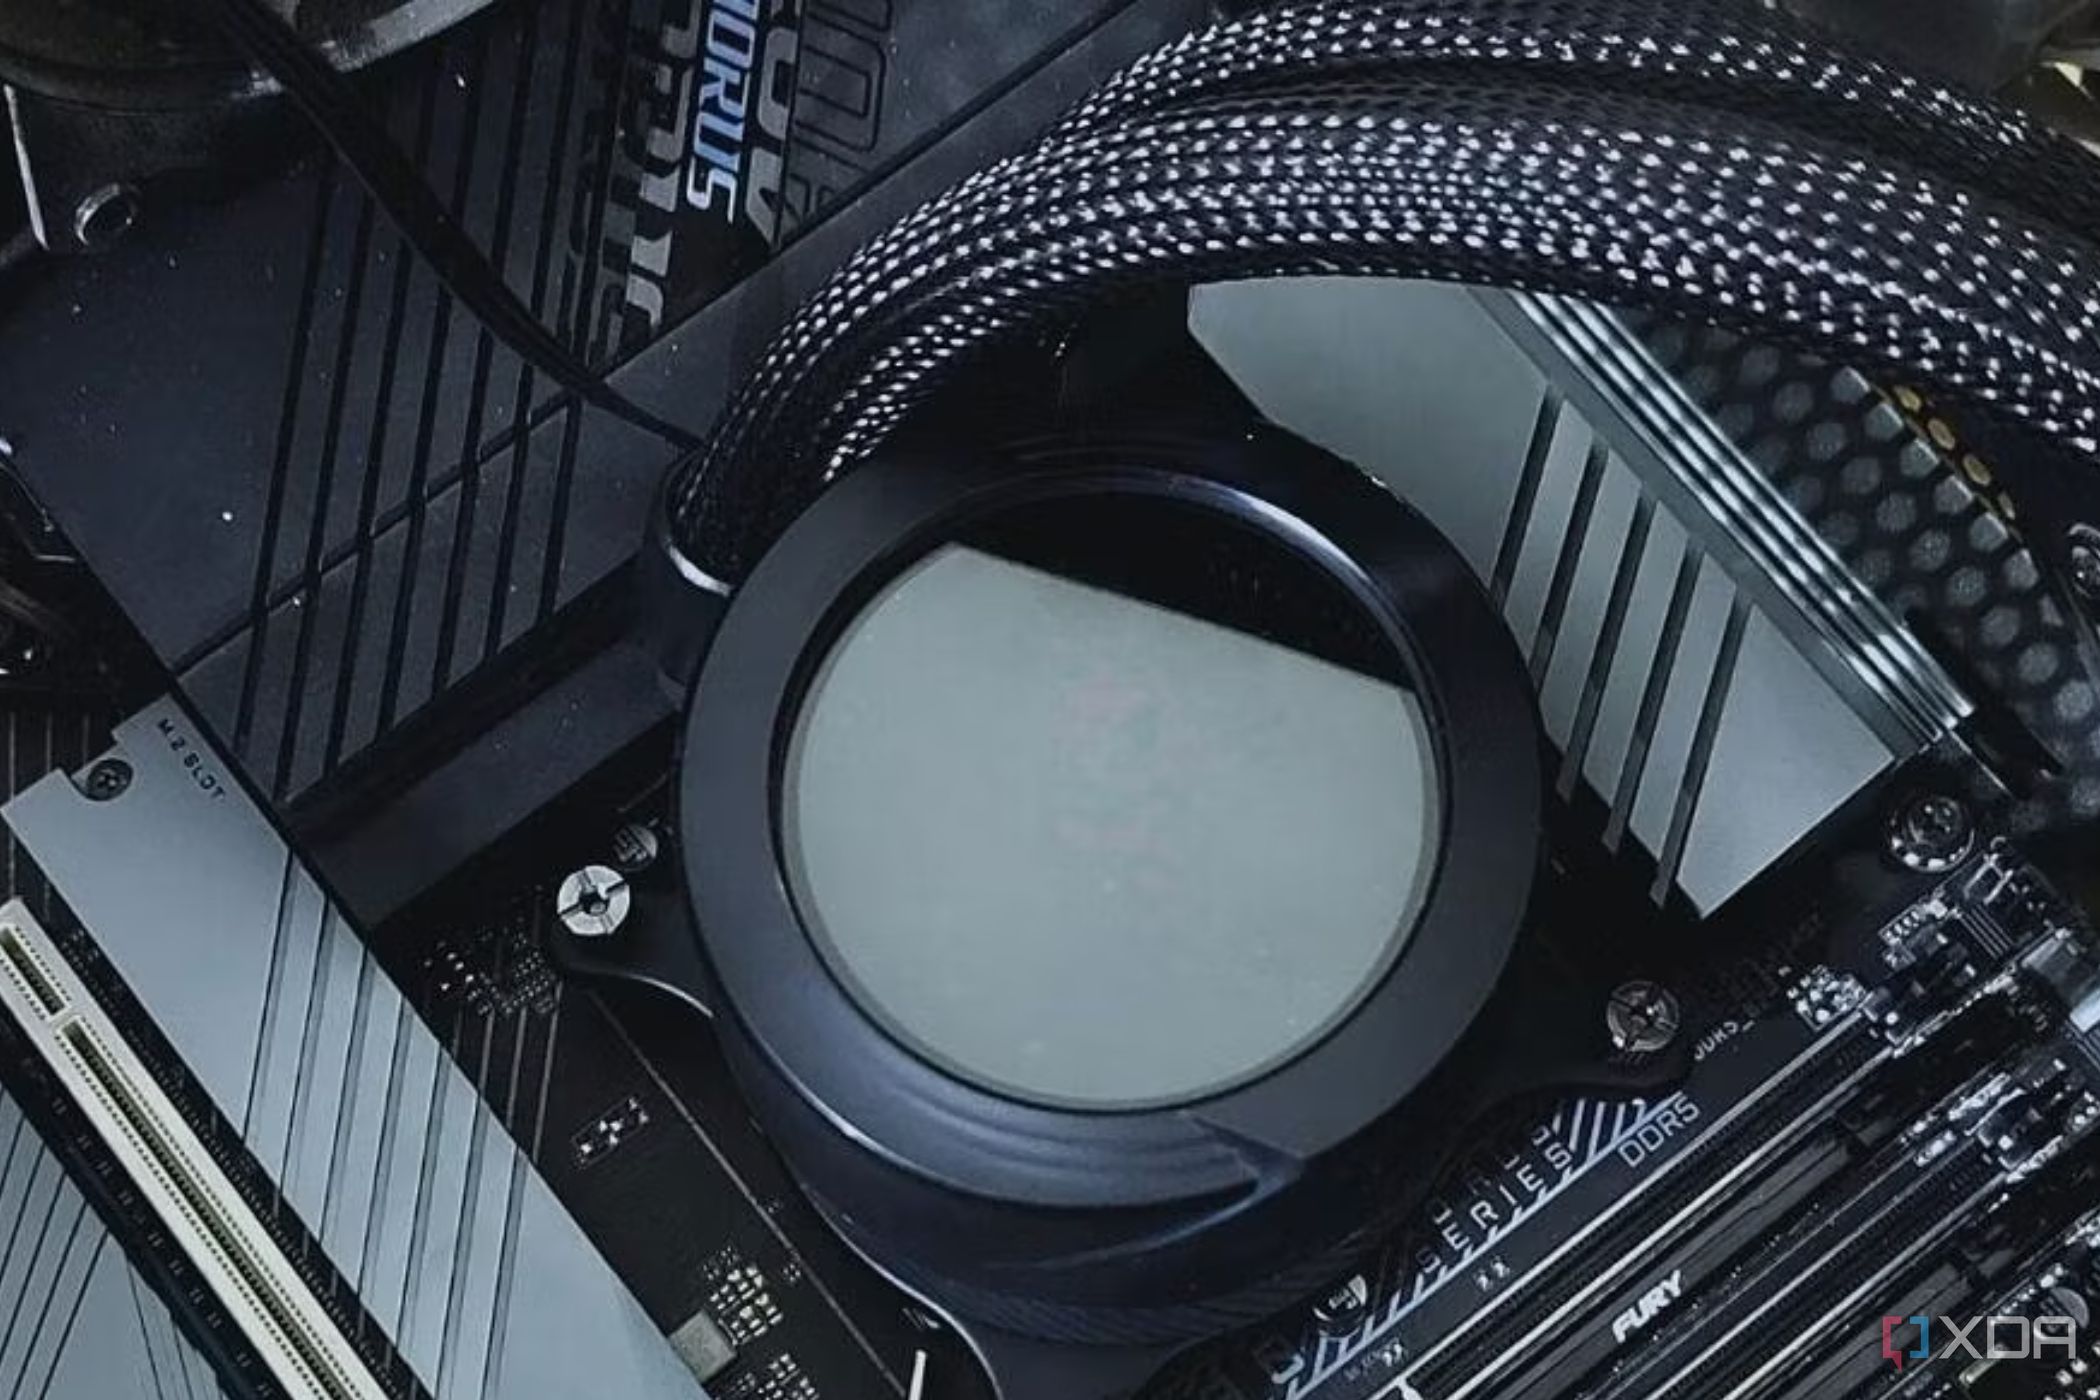
Apply thermal paste if needed, and mount the waterblock by holding it on top of the CPU, carefully lining it up with the holes on the board or the standoffs.
- Install the fans for the radiator. You can either mount the fans on the radiator itself or install them separately on the case depending on how much space you have.
-
Mount the radiator on the case depending on the clearance for it, and secure them with long screws that are bundled with the cooler. 240mm radiator and above are typically installed either at the front or the top panel of the case.
- Make sure the coolant pipes move freely and aren't in contact with other components, especially the case fans.


And that's it. Your liquid cooler is now ready to be powered on and cool the CPU.
Plug everything in for power
The final step

Once you have everything attached, it's time to ensure you've connected the power and RGB cables to their respective headers on the motherboard. This is a crucial step without which your CPU cooler won't work, and you won't have a working PC. For CPU air coolers, you just need to make sure all the fans are plugged in, but liquid coolers also need the pump connected as well. Usually, there's a specific fan header on the motherboard for pumps. Depending on the number of fans, you may have to use a controller to make your connections easier to manage. We recommend consulting both the CPU cooler and the motherboard manual to find the proper headers to connect them, since the steps change depending on the cooler.
Closing thoughts
With that, you've successfully installed the CPU cooler for your build. Picking the best CPU cooler for your build is extremely important. There are plenty of CPU coolers to choose from, so be sure to go with the one that suits your build. Stock coolers bundled with the CPU are more than enough to maintain the thermal output of the CPUs under stock settings. That being said, we recommend stepping up to a better third-party cooler if you plan on overclocking the CPU. Good luck!