You just bought a new processor, a shiny new motherboard, and a new graphics card (that probably set you back quite a bit sadly). Great! What's next? Grabbing all the new components and putting them together to build a new computer. The first thing you need to do is toss that CPU on the motherboard to bring your PC to life. Installing a CPU is like putting the brains into your computer. Fortunately, it's a fairly simple task and there's no need to stress. You are less likely to make a mistake and mess up the CPU installation as long as you pay attention to a few important things.
Prerequisites
Things you'll need to install a CPU
You really only need just the CPU and motherboard to perform the steps mentioned in this guide, but let's look at a couple of other things that you might want to grab, and also some things to consider while picking up the parts if you haven't already.
- Thermal Paste: You'll need a thermal paste after installing the CPU, especially if you are planning to install the motherboard and mount the CPU cooler right after. You can, however, ignore it if your CPU cooler already has some pre-applied paste.
- CPU Cooler: It goes without saying that you need a CPU cooler to make sure the CPU doesn't overheat. This isn't optional, so be sure to grab either an air cooler or a liquid cooler.
- A compatible motherboard: Not all CPUs work with all the motherboards on the market. A lot of CPUs drop into different CPU sockets on the board, and they need dedicated and compatible chipsets to work too. Intel's 12th and 13th Gen CPUs are compatible with LGA 1700 motherboards from the 600 and 700 series, Ryzen 7000 CPUs are only compatible with AM5 motherboards using a 600 series chipset, and Ryzen 1000 to 5000 CPUs are compatible with AM4 motherboards using the 300, 400, or 500 series chipsets.
- A clean working area: You do not want to accidentally get something into a CPU socket. Wherever you're doing this, make sure there aren't any liquids or any materials that could potentially damage the socket.
And that's pretty much it for the pre-requisites. Installing just the CPU is a tool-free operation, though installing the CPU cooler (the next step) usually requires at least a screwdriver.
How to install a CPU
A simple process that only takes a few minutes
Installing a CPU on the motherboard is a lot easier if you do it outside the PC case, so do it before mounting the motherboard inside the case. This will give you more space to work with instead of having to restrict yourself with the limited space inside the chassis. If you're installing a new CPU in an existing build, then we recommend taking out the motherboard first.
-
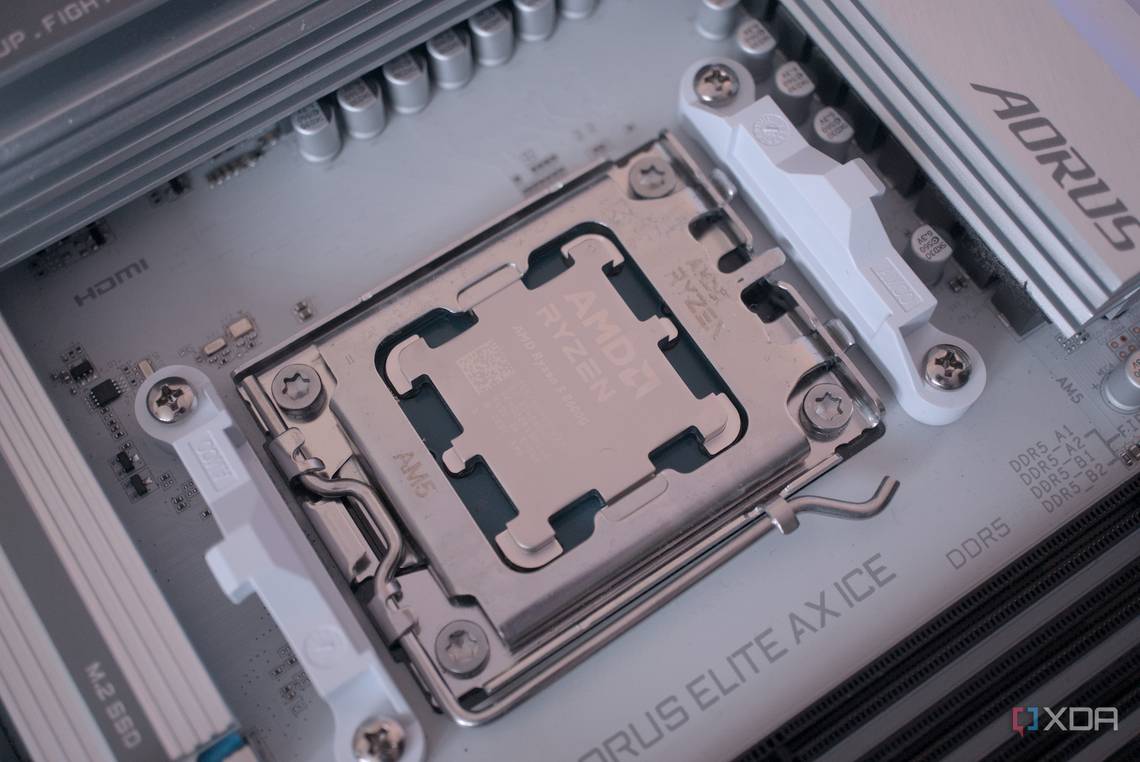
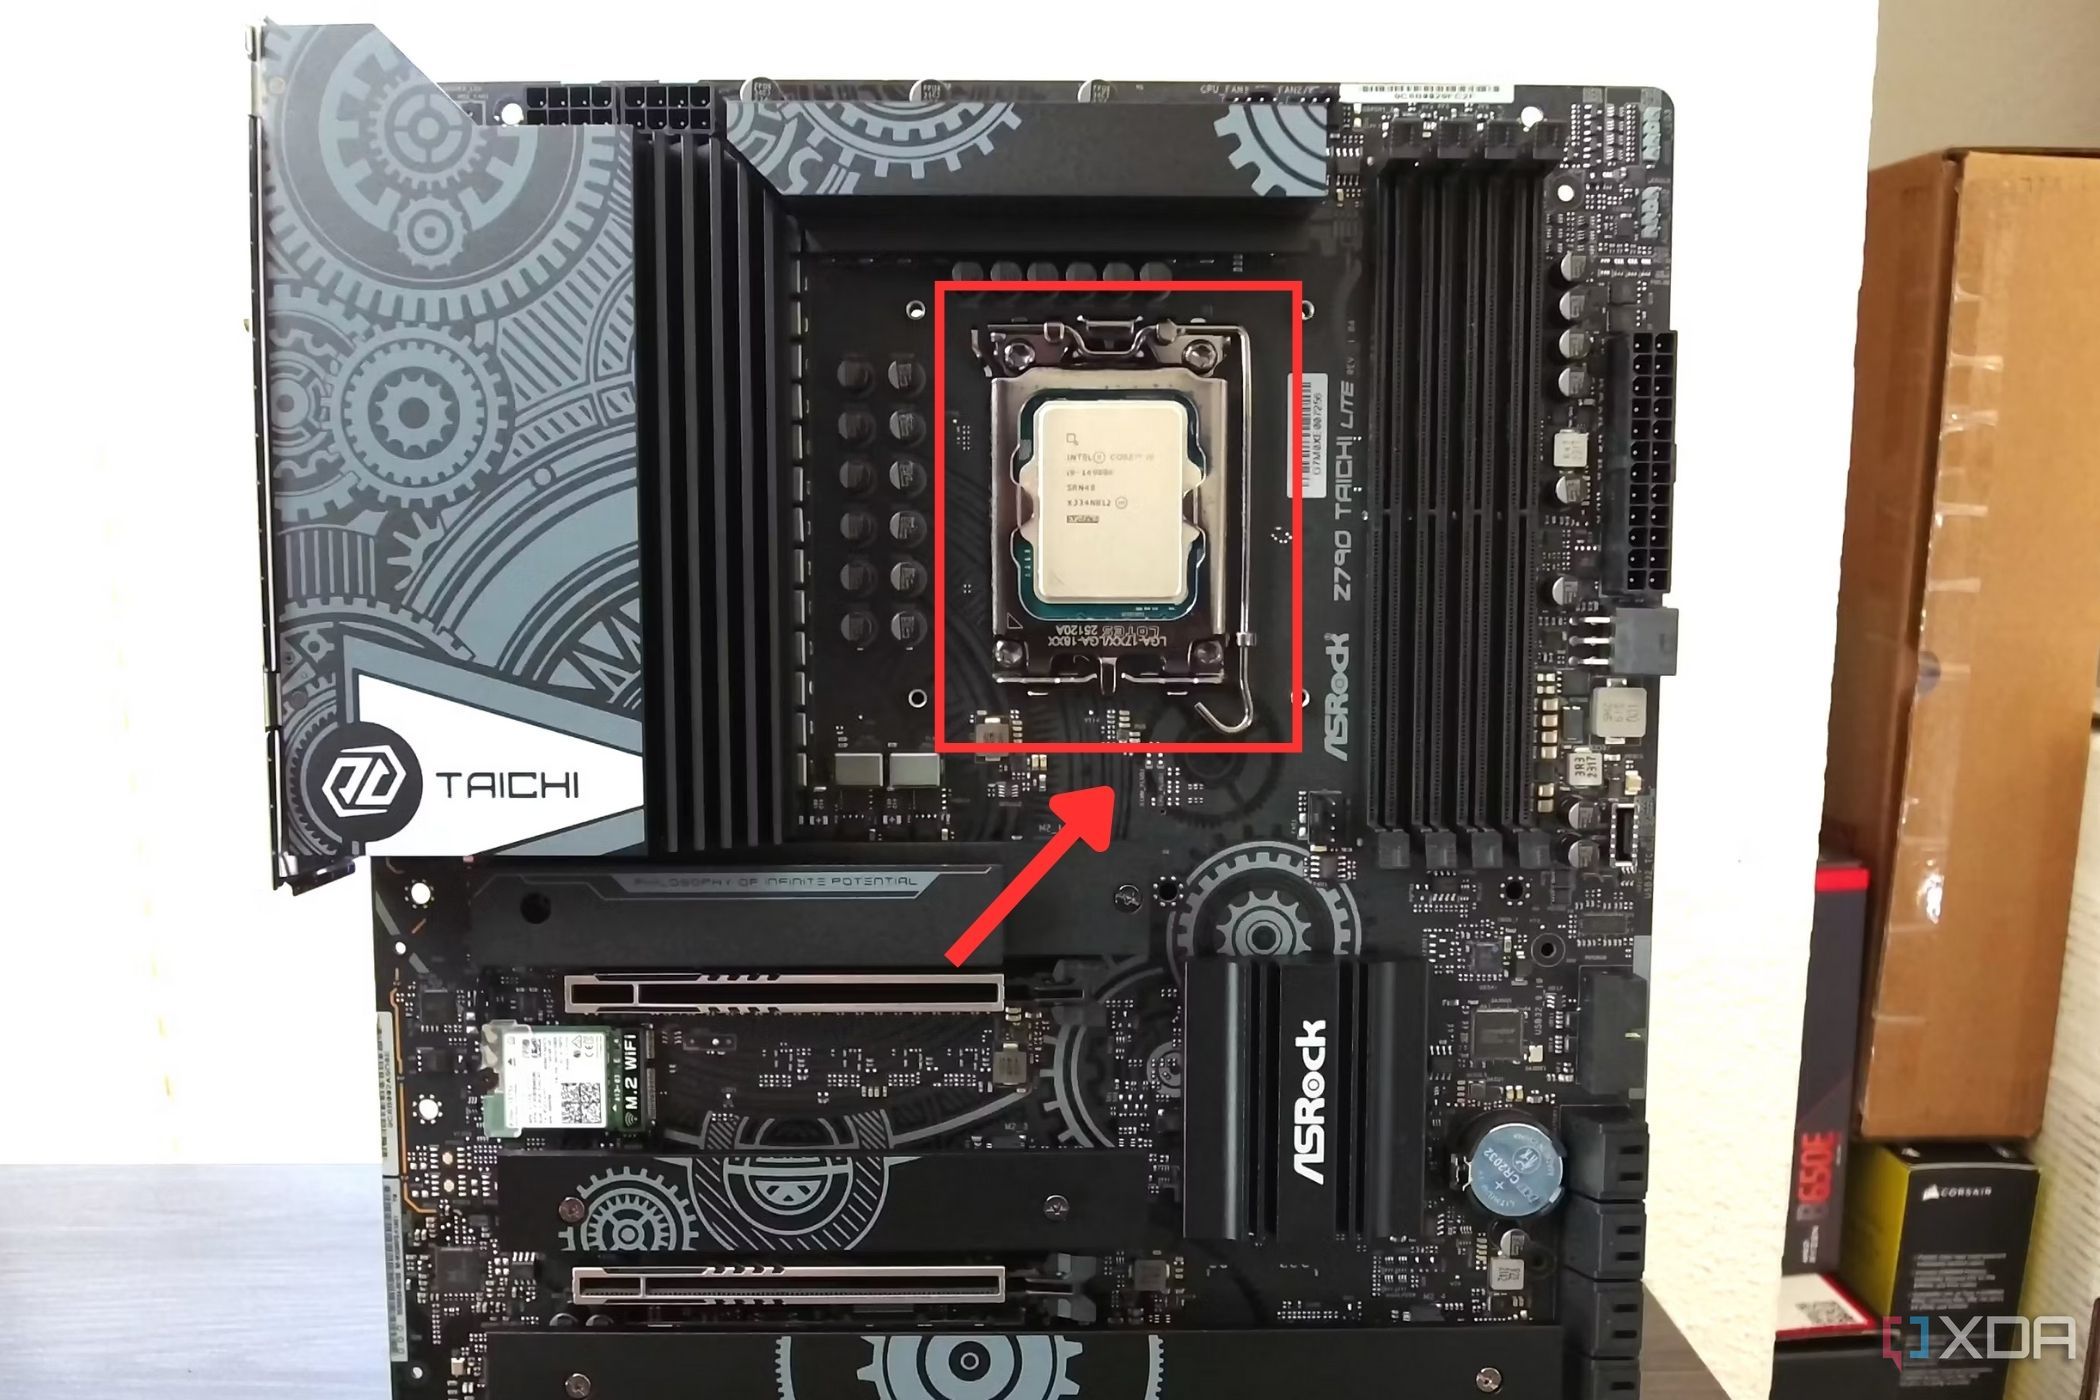
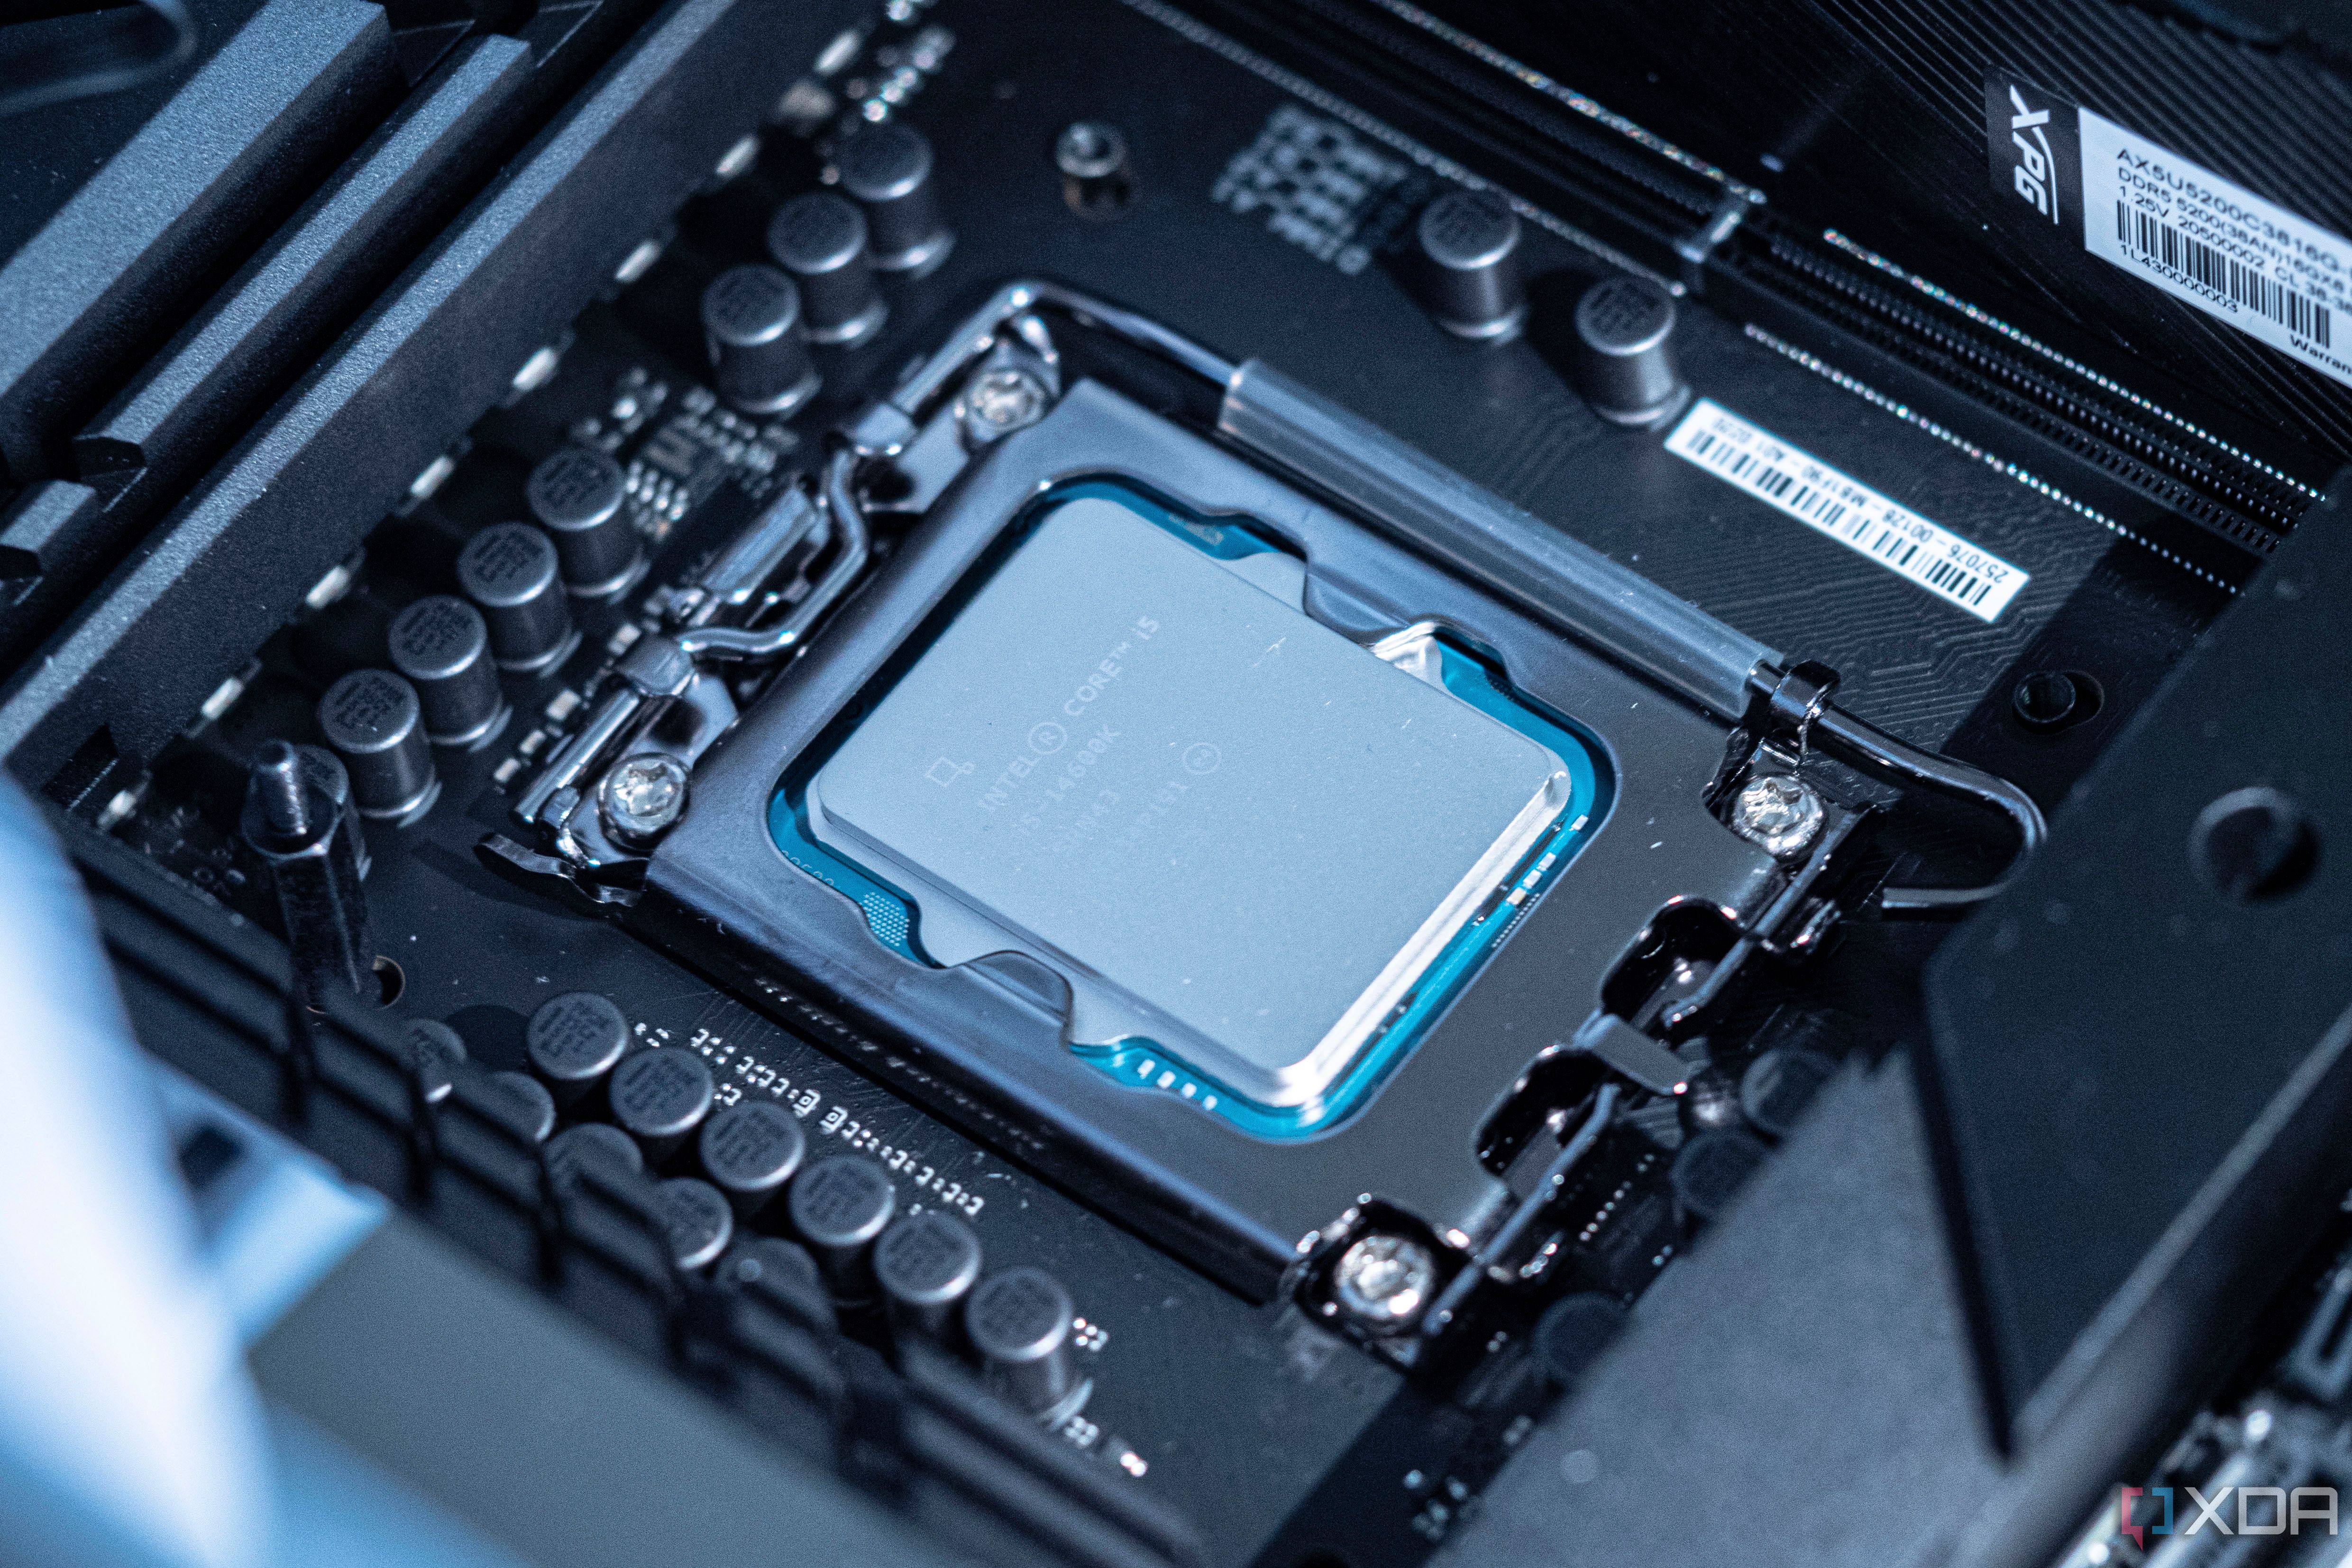
Look for the CPU socket on the motherboard that is located at the center towards the top next to the RAM slots.
-
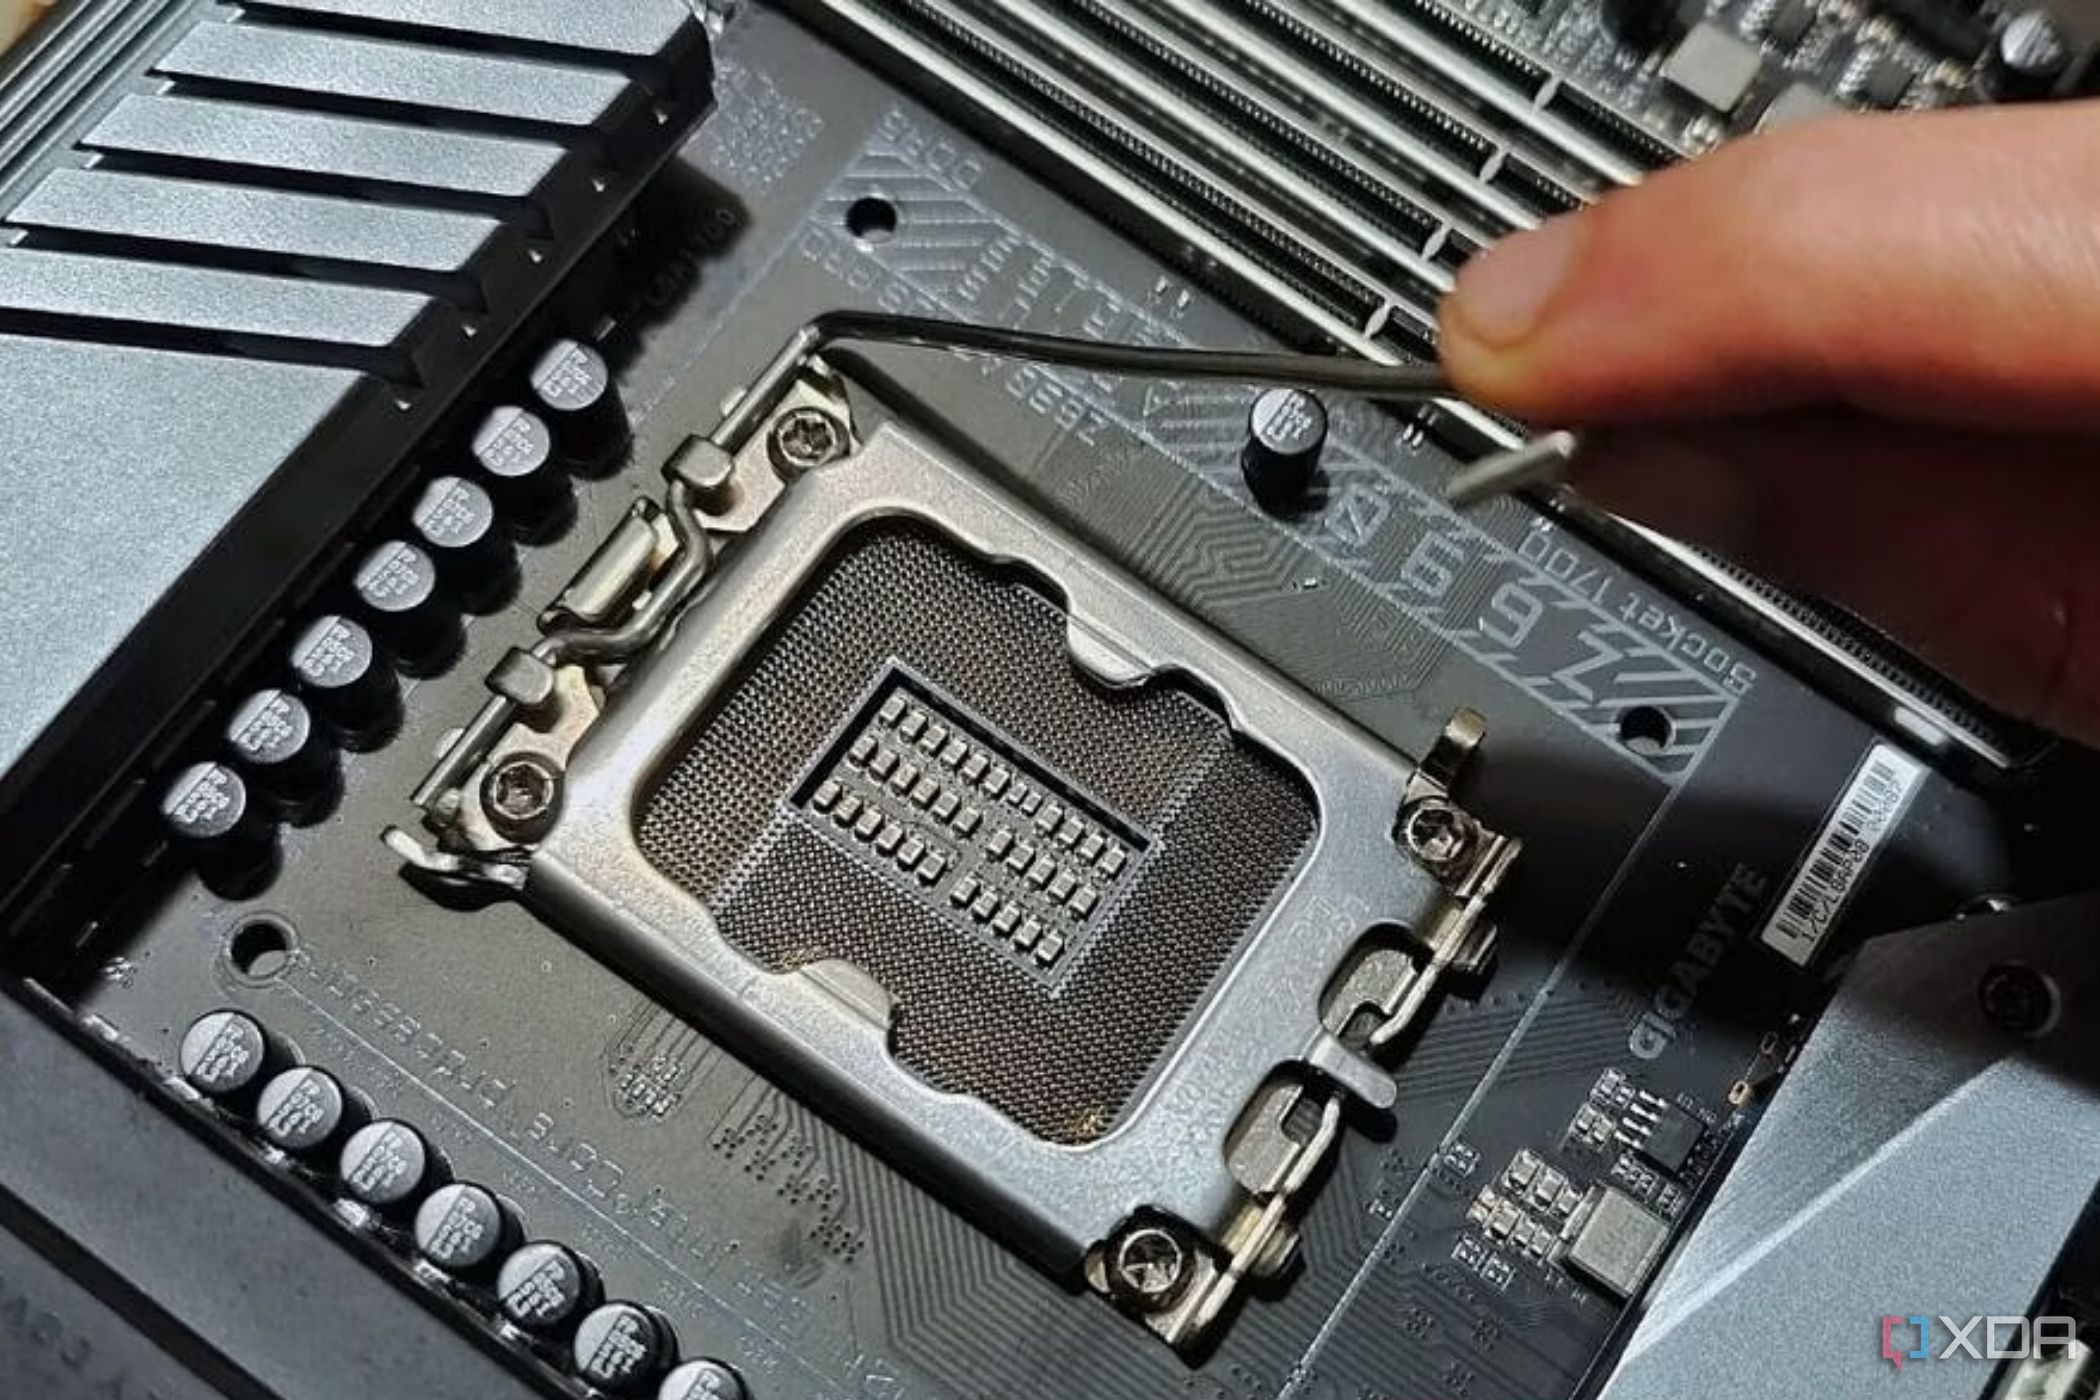
Place your finger or thumb on the metal lever on the right side, and push it down while moving it slightly away from the socket. For LGA 1700 and AM5 motherboards, you just need to lift this arm up enough that it frees the metal frame covering the CPU socket. For AM4 motherboards, make sure this arm is pointing directly upwards.
- Pick up the CPU by only holding on to its sides, and prepare to insert it into the socket. Avoid touching any pins on the motherboard or CPU.
-
Look for a small triangle indicator on the corner of the CPU and the socket and align them properly.
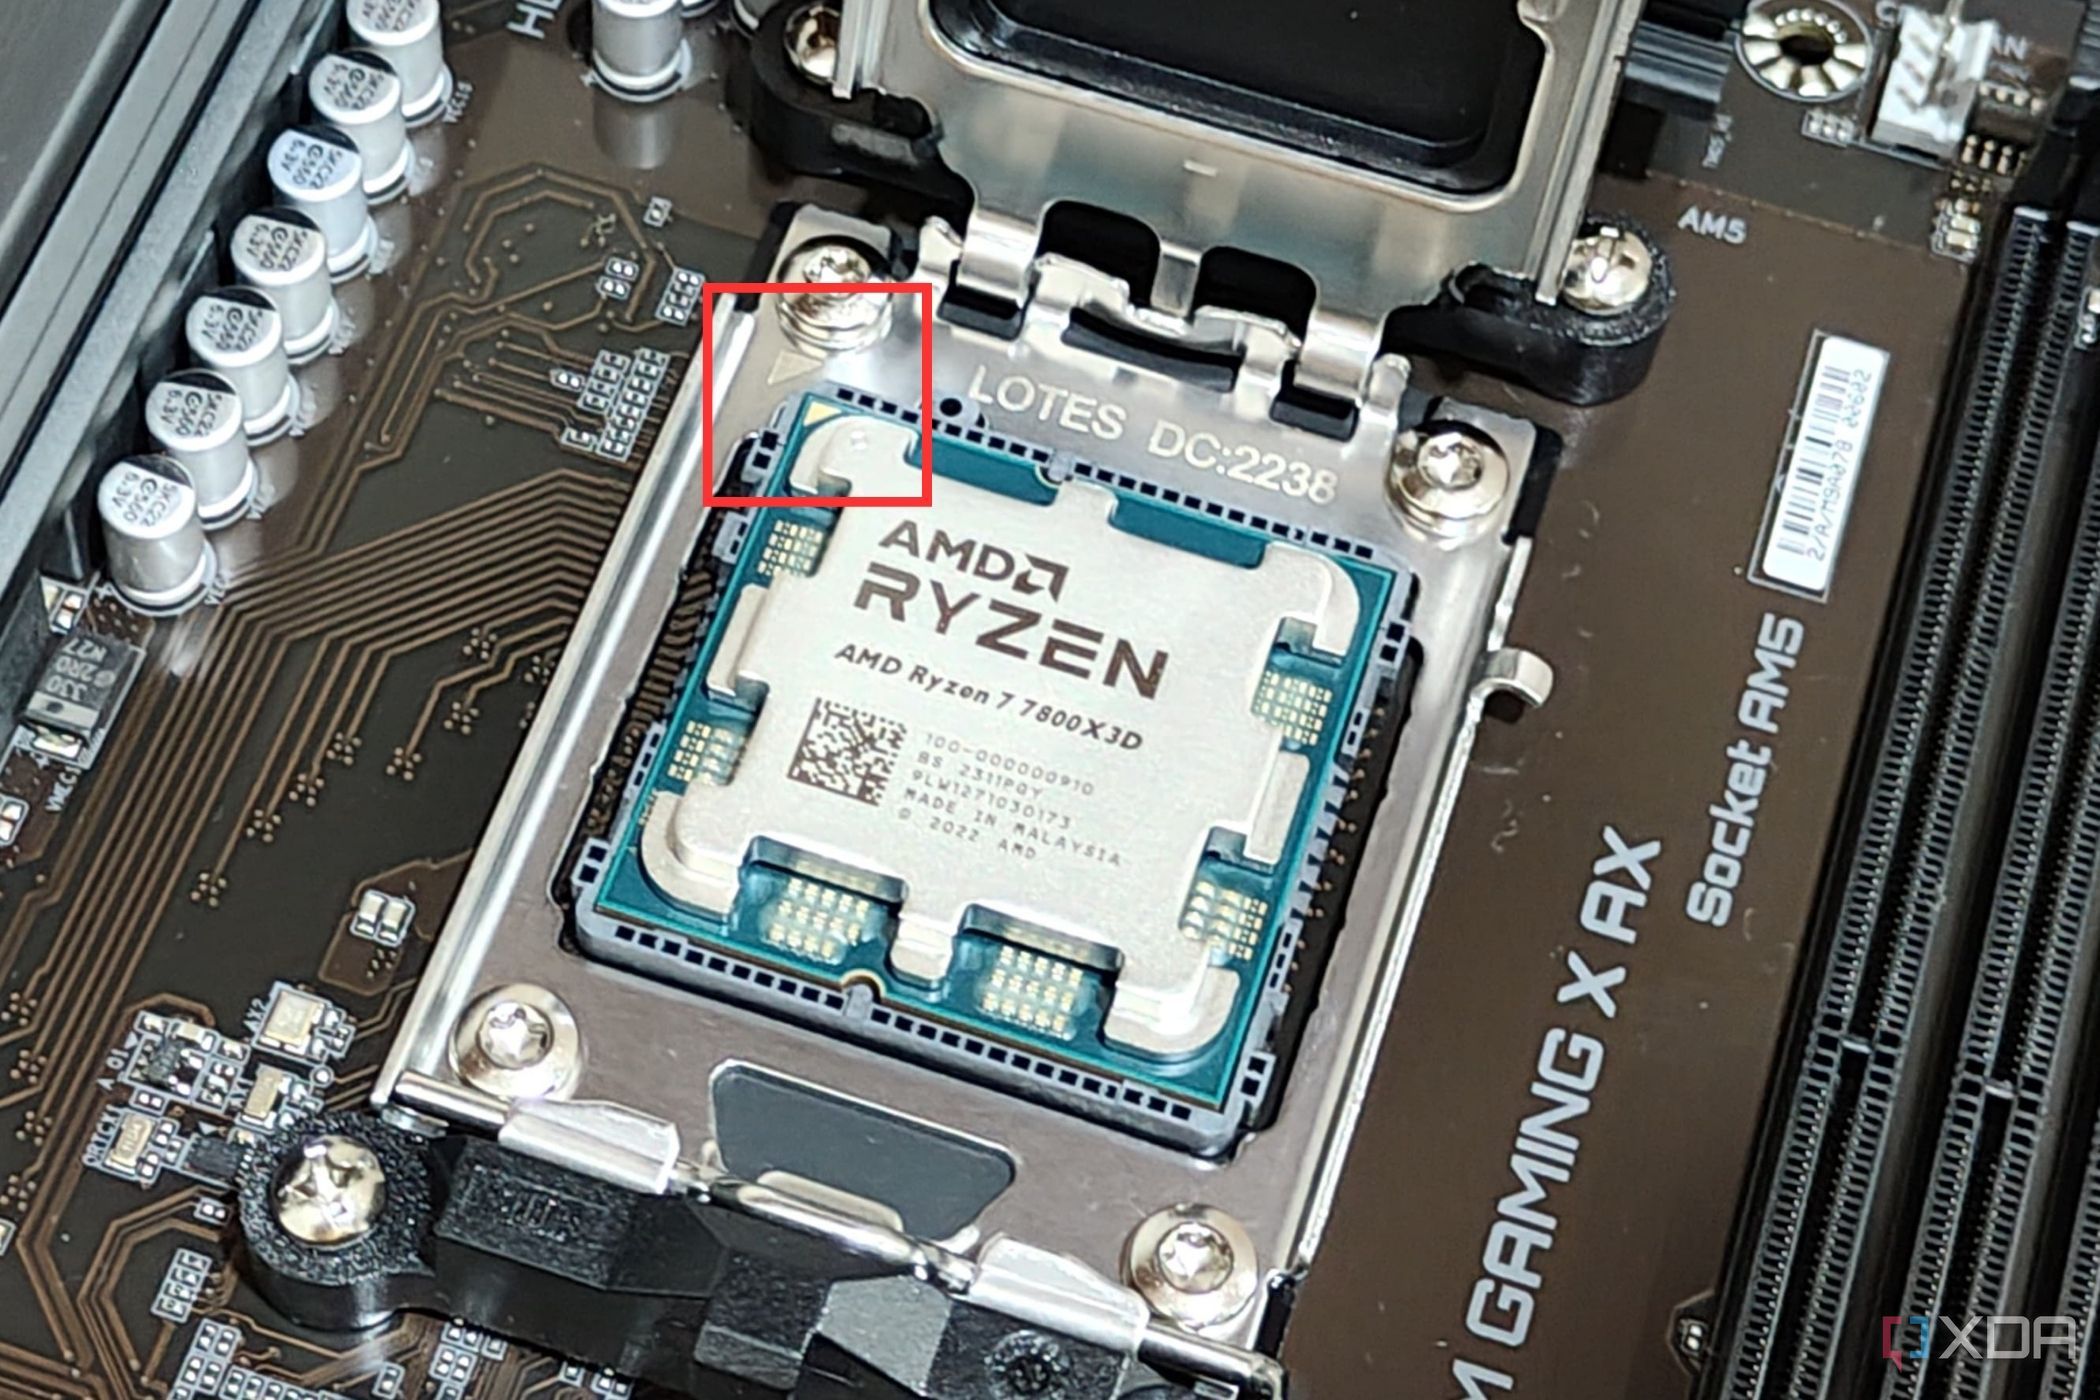
- Place the CPU on the socket, ensuring it sits easily and lays flat without having to apply any external force or pressure.
-
If your motherboard has an LGA socket, then you first need to lower the metal frame onto the CPU, and use the metal lever to secure the metal frame back into its original position. Those using a motherboard with a PGA socket (such as an AM4) simply need to lower the arm down completely to hold the CPU in place. You'll have to apply some force in either case, so keep that in mind.


Closing thoughts
Once you're done installing the CPU and all the other core components on the motherboard such as the RAM and the SSD, it's time to install the CPU cooler (or at least some parts of it), and put this collection of hardware into the case. After that, it's just installing the GPU, plugging in some cables, and you're done building the PC.
The images featured in this guide are for LGA style sockets like LGA 1700 and AM5, but the process is pretty similar for PGA sockets like AM4 and AM3. The process of installing enthusiast chips like the AMD Threadripper and Intel's Xeon CPUs is slightly different, but you probably already know how to install a CPU if you're dealing with those chips.