Picking the best motherboard may not be as exciting as, say, choosing a CPU or a GPU, but it's an important part of any PC build. It's the first component that you start your build with as it's essentially a platform on which you install the components on. Installing the motherboard inside the PC case itself is quite easy, but there are a few important things that you may not know, especially if you're new to the world of PCs. For instance, you might think the first step is to immediately install the motherboard inside the case, but it actually isn't. There is a lot that goes on a motherboard before it's ready to get inside the case, and there are a few prerequisites to take care of as well.
Prerequisites
Things you'll need to install a motherboard inside a PC case
- Core components: Before you even think of mounting the motherboard inside a PC case, it's important to fetch all the core components of the build. This includes the CPU, RAM modules, and the M.2 SSD. It's best to install these core components before mounting the board inside the case.
- Tools: Unlike other components, installing a motherboard is not a toolless operation, at least not yet. You'll need at least one Philips head screwdriver to put everything together.
- A compatible PC case: Pick the right PC case based on the size of the motherboard you're planning to use. A full-tower PC case, for instance, supports E-ATX, ATX, mATX, and miniITX motherboards. An SFF case, however, will only support a miniITX or, at times, an mATX motherboard.
- Motherboard manual: Not all motherboards are built the same, so you'll definitely need a manual to figure out power leads, headers for USB, fans, RGB lights, and more.
Installing core components on the board
The first step of putting together a PC
It's best to install some of the core components of the build, including the CPU, the RAM modules, the M.2 SSDs, and in some cases, the CPU cooler on the motherboard before mounting it in the case. Even the biggest full-tower PC cases on the market have limited space, so it's easier to install as many components as possible before dropping the board inside.
The first step is to install a CPU, followed by the RAM modules and SSDs. You can check out our How to install RAM and How to install M.2 SSD guides to know how to install those components. You can't install all the components on the motherboard before dropping it all inside the case, but the objective is to install as many as you can to avoid working with less space inside the chassis. You can also install a CPU air cooler at this time, especially if it's a stock cooler or an air cooler like the Noctua NH-D15. Liquid coolers can only be fully installed on the motherboard is inside the case as they come with radiators and such to deal with.
How to install the motherboard inside the case
A step-by-step guide
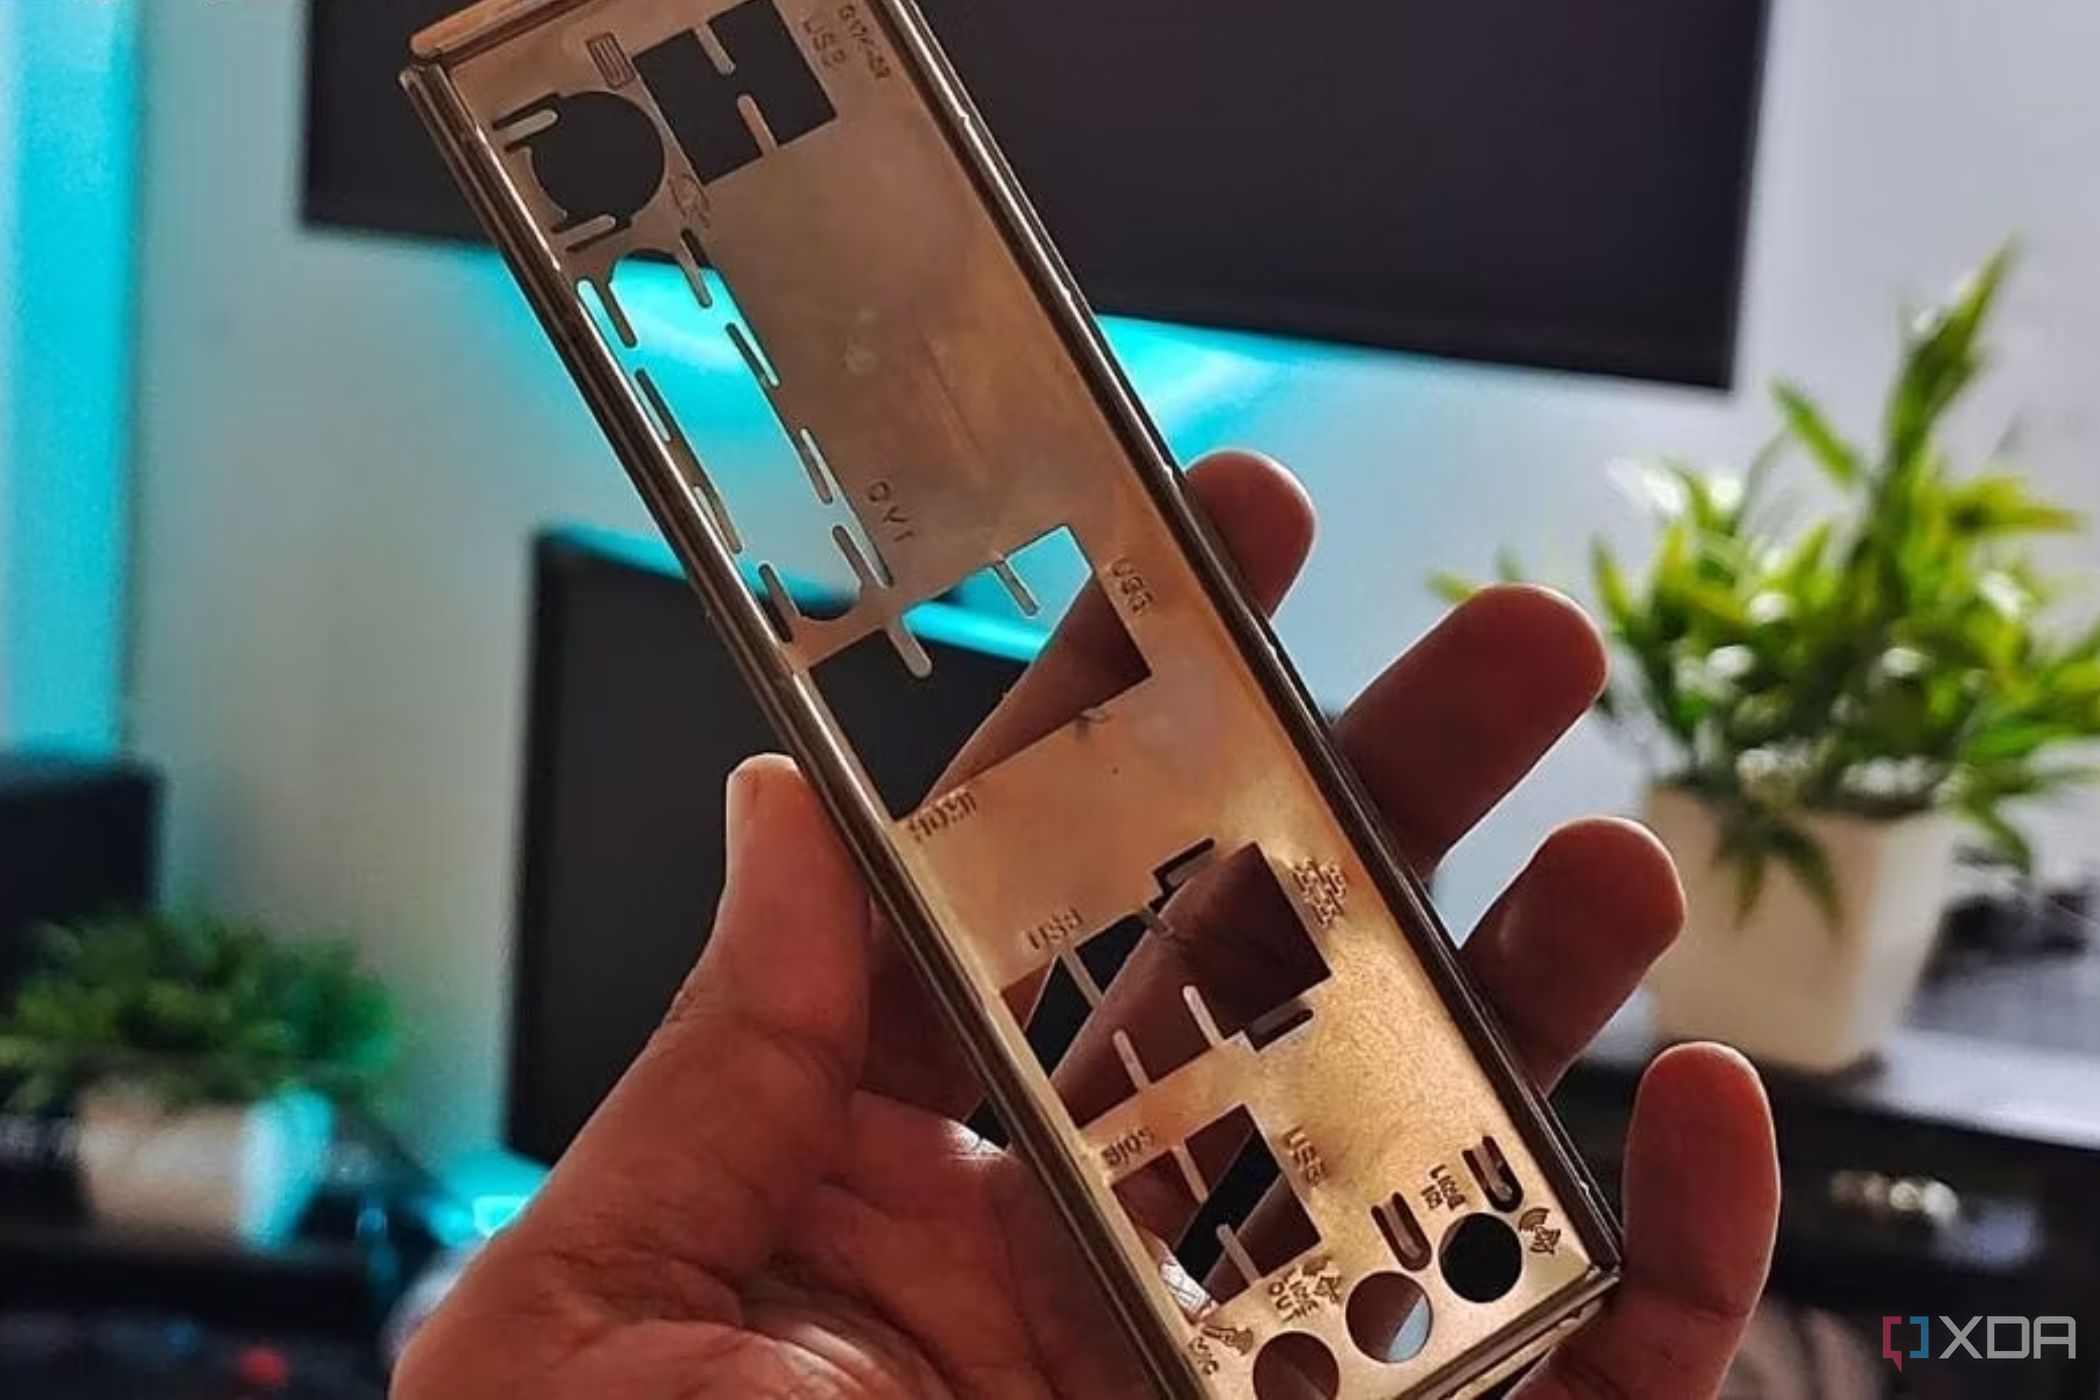
The first thing you need to do is install the IO plate on the PC. Most motherboards — especially the high-end ones — have pre-installed IO panels, but you'll have to manually install this piece if you're using a relatively old or inexpensive board. You can install the plate at the back of the PC case in the designated IO plate slot. Just be careful not to hurt yourself while dealing with IO plates because they tend to have very sharp edges.
To install the motherboard:
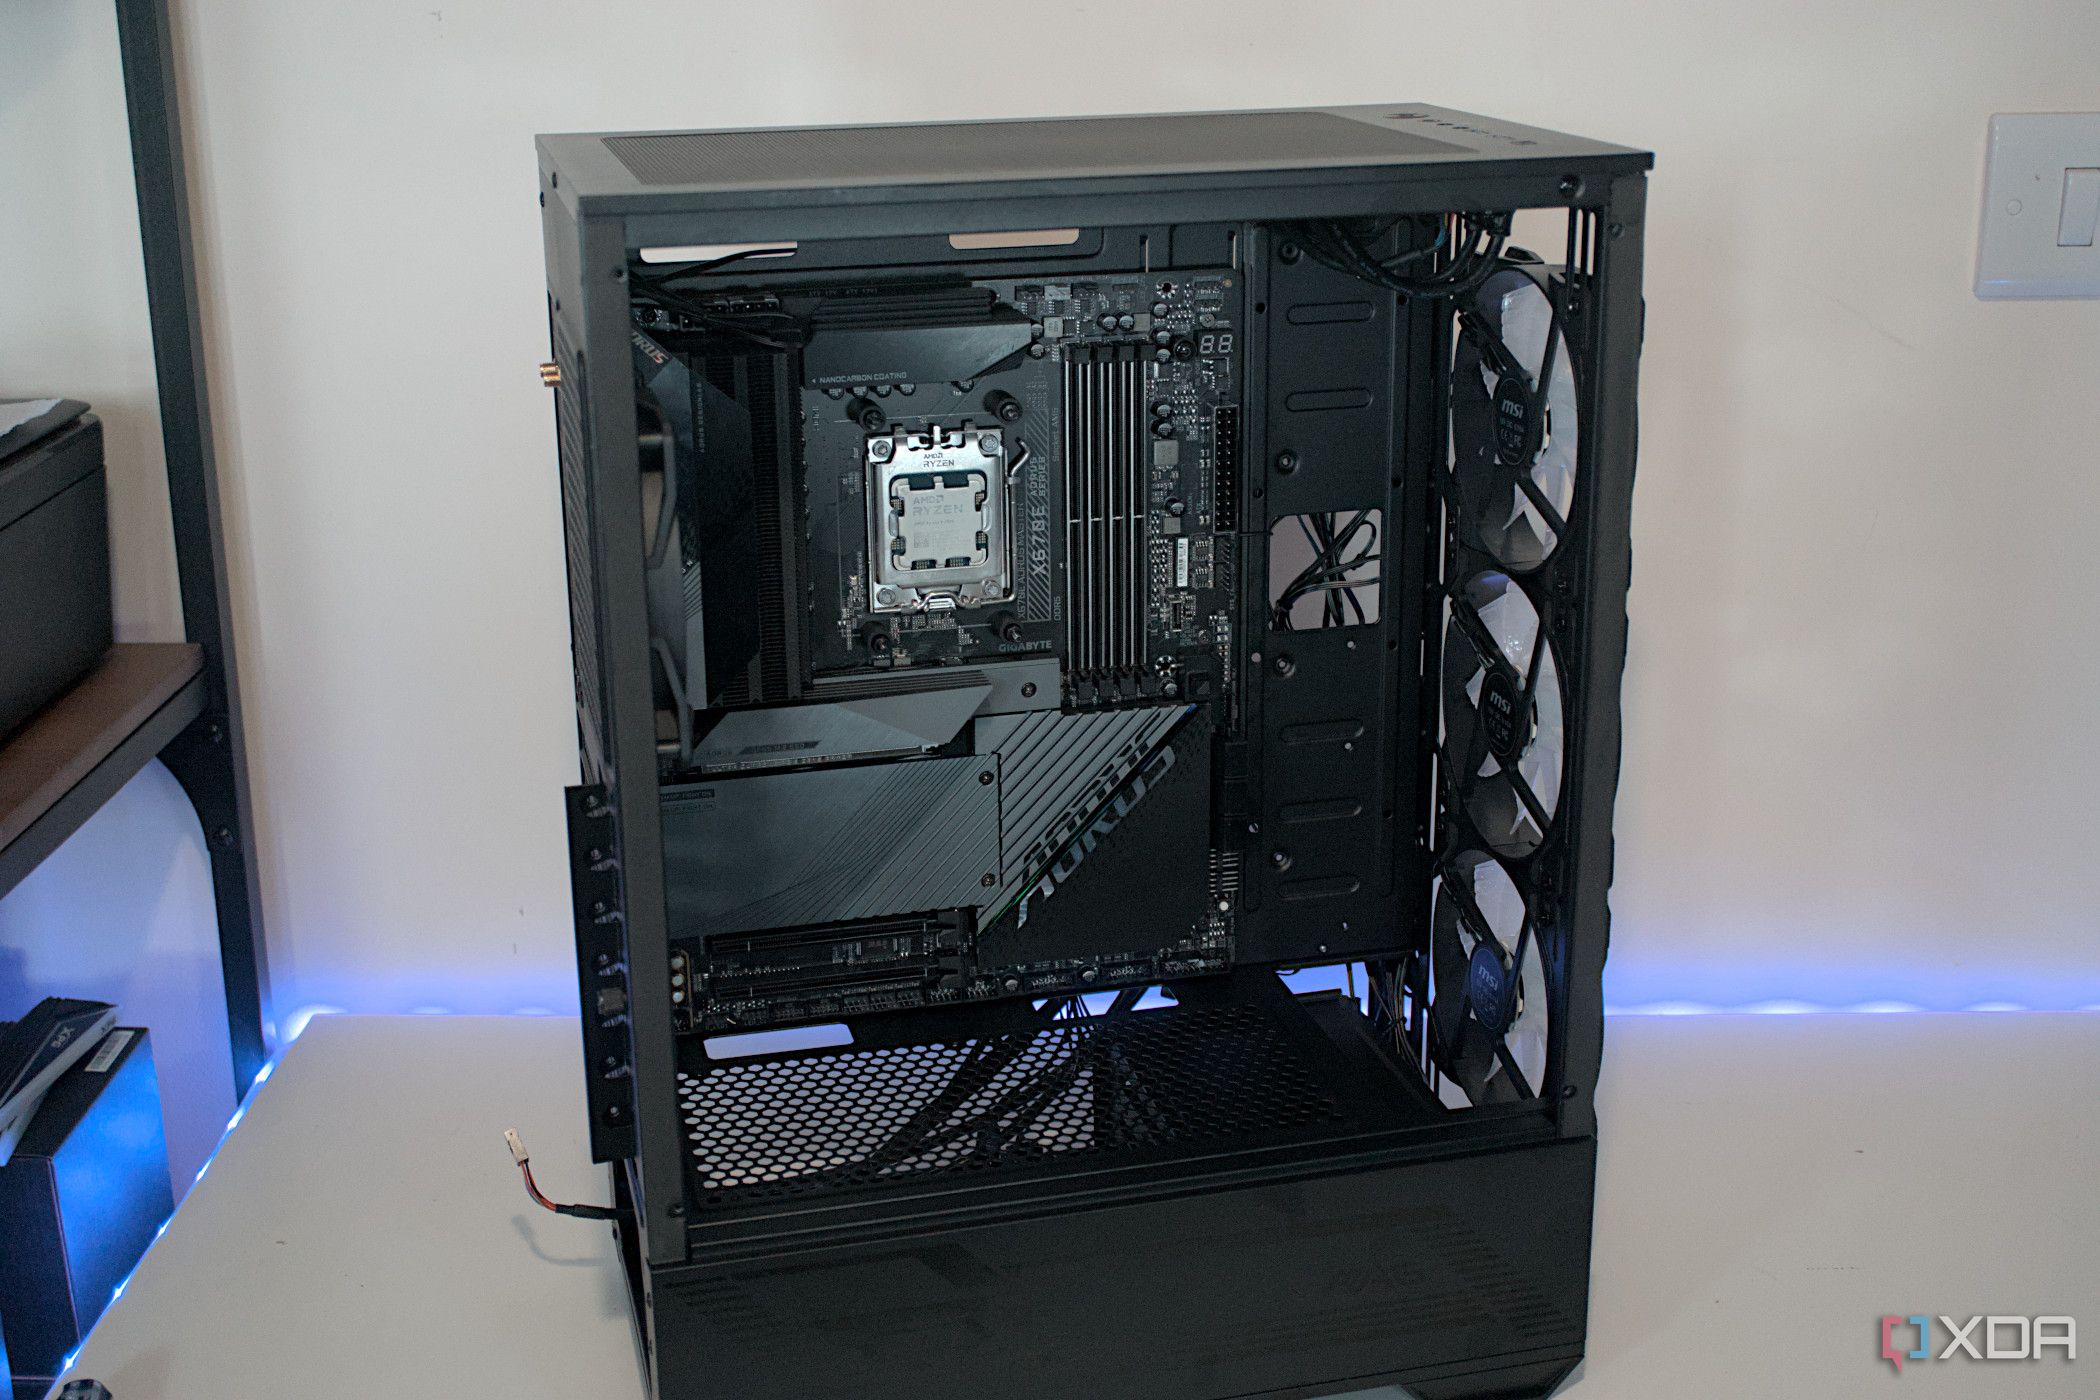
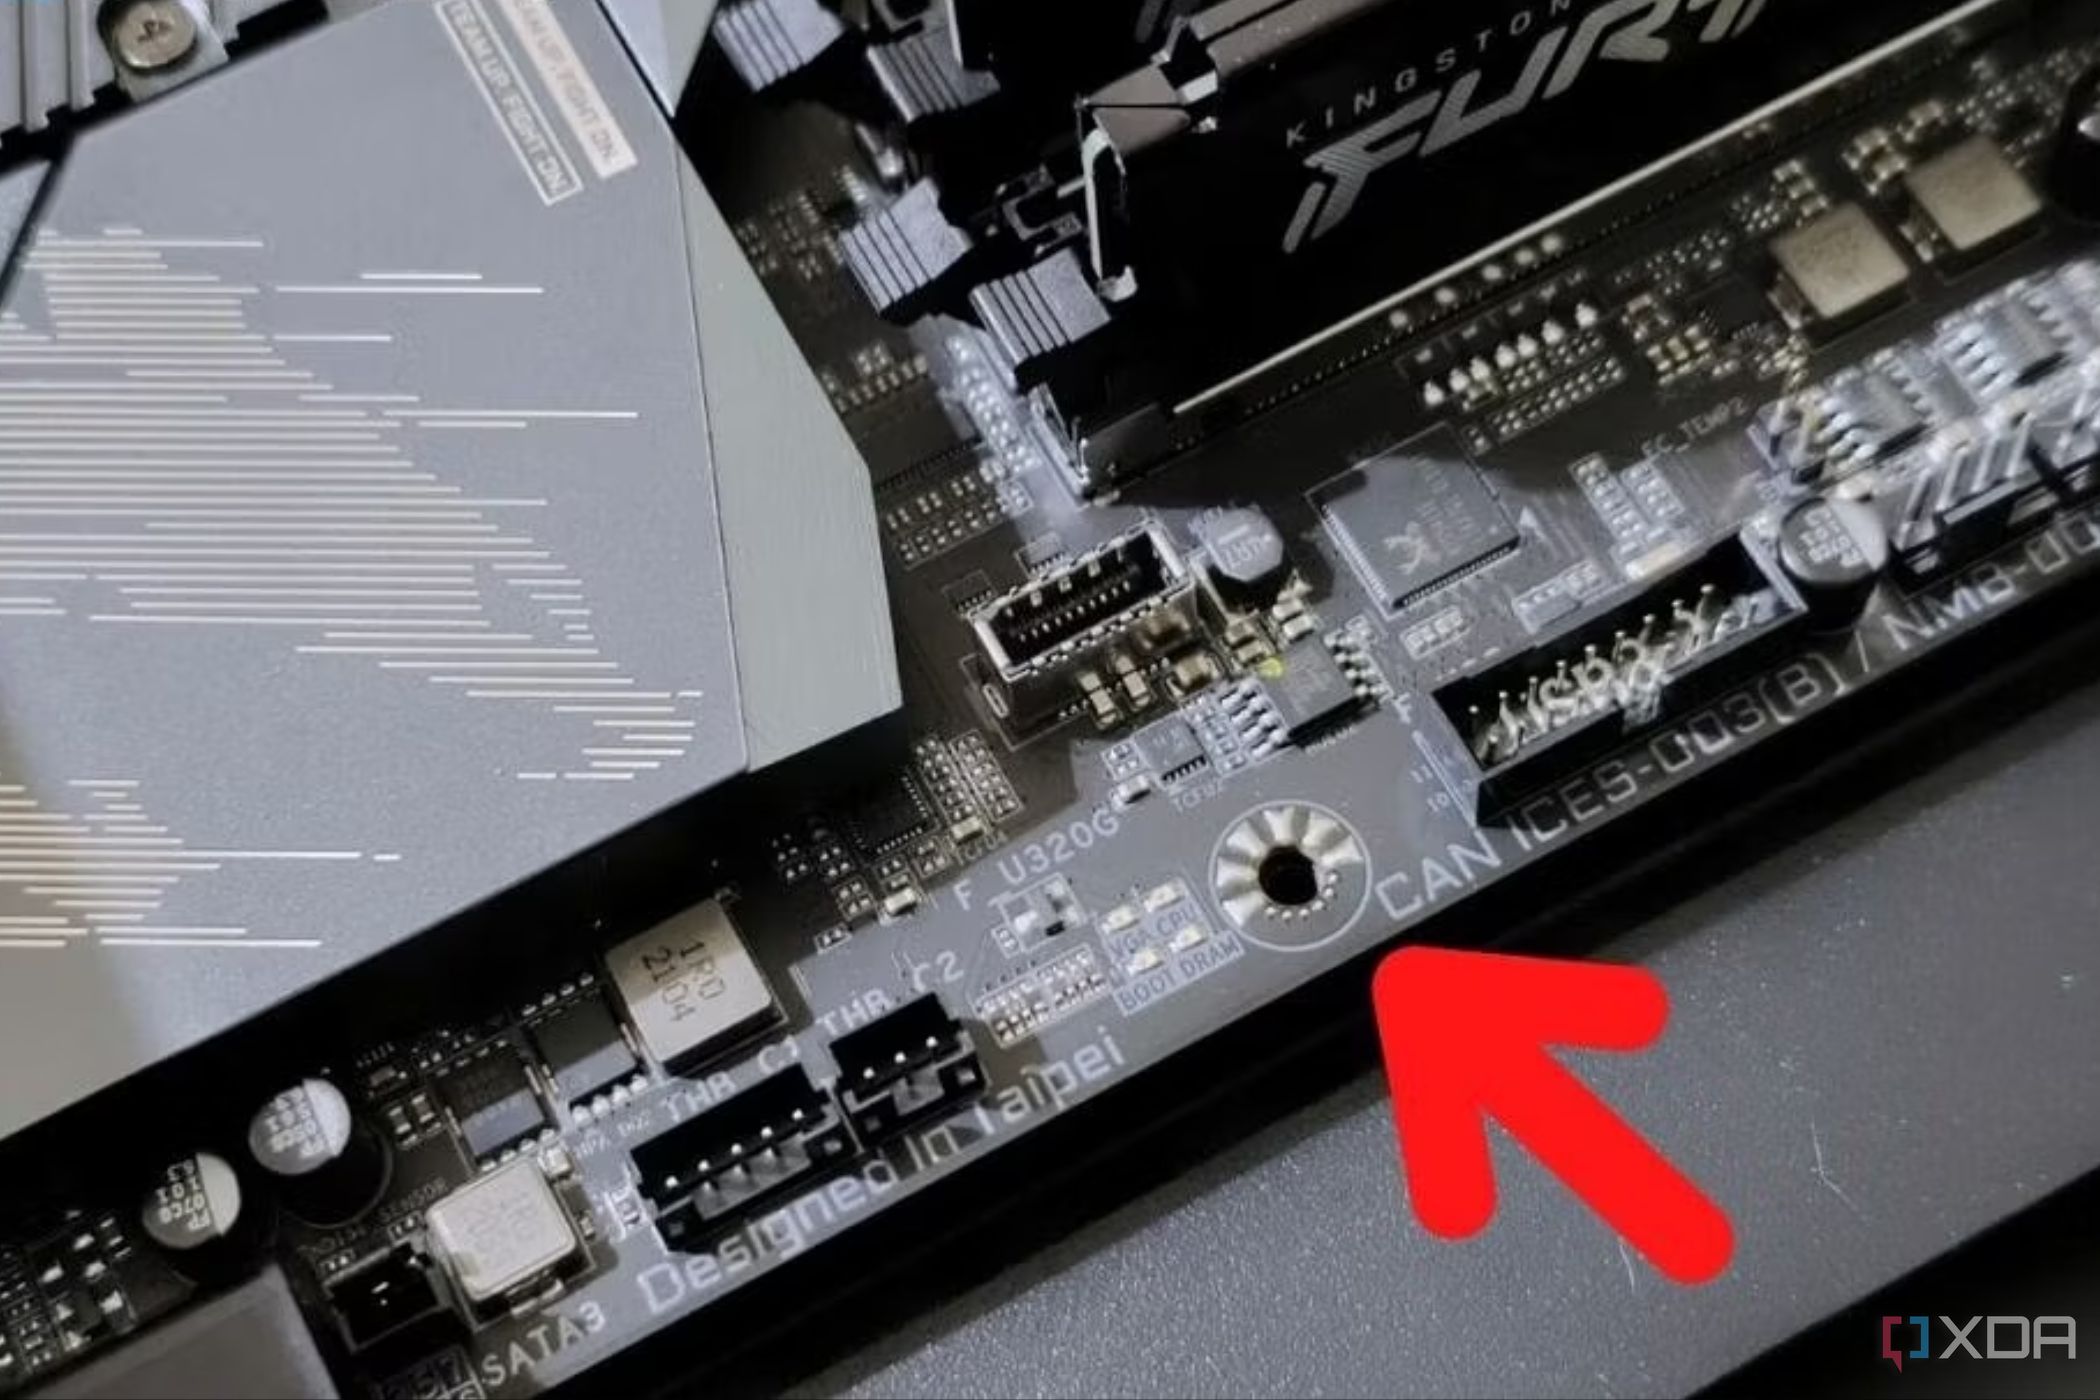
- Install the motherboard standoffs on the PC case if it's not already pre-installed, and hover the motherboard inside the case to align it with the standoffs.
-
Align the standoffs and place the motherboard carefully inside the case.
- Screw the motherboard down by following an 'X' pattern, meaning you need to work the screws that is diagonally opposite to the one that you tightened first.
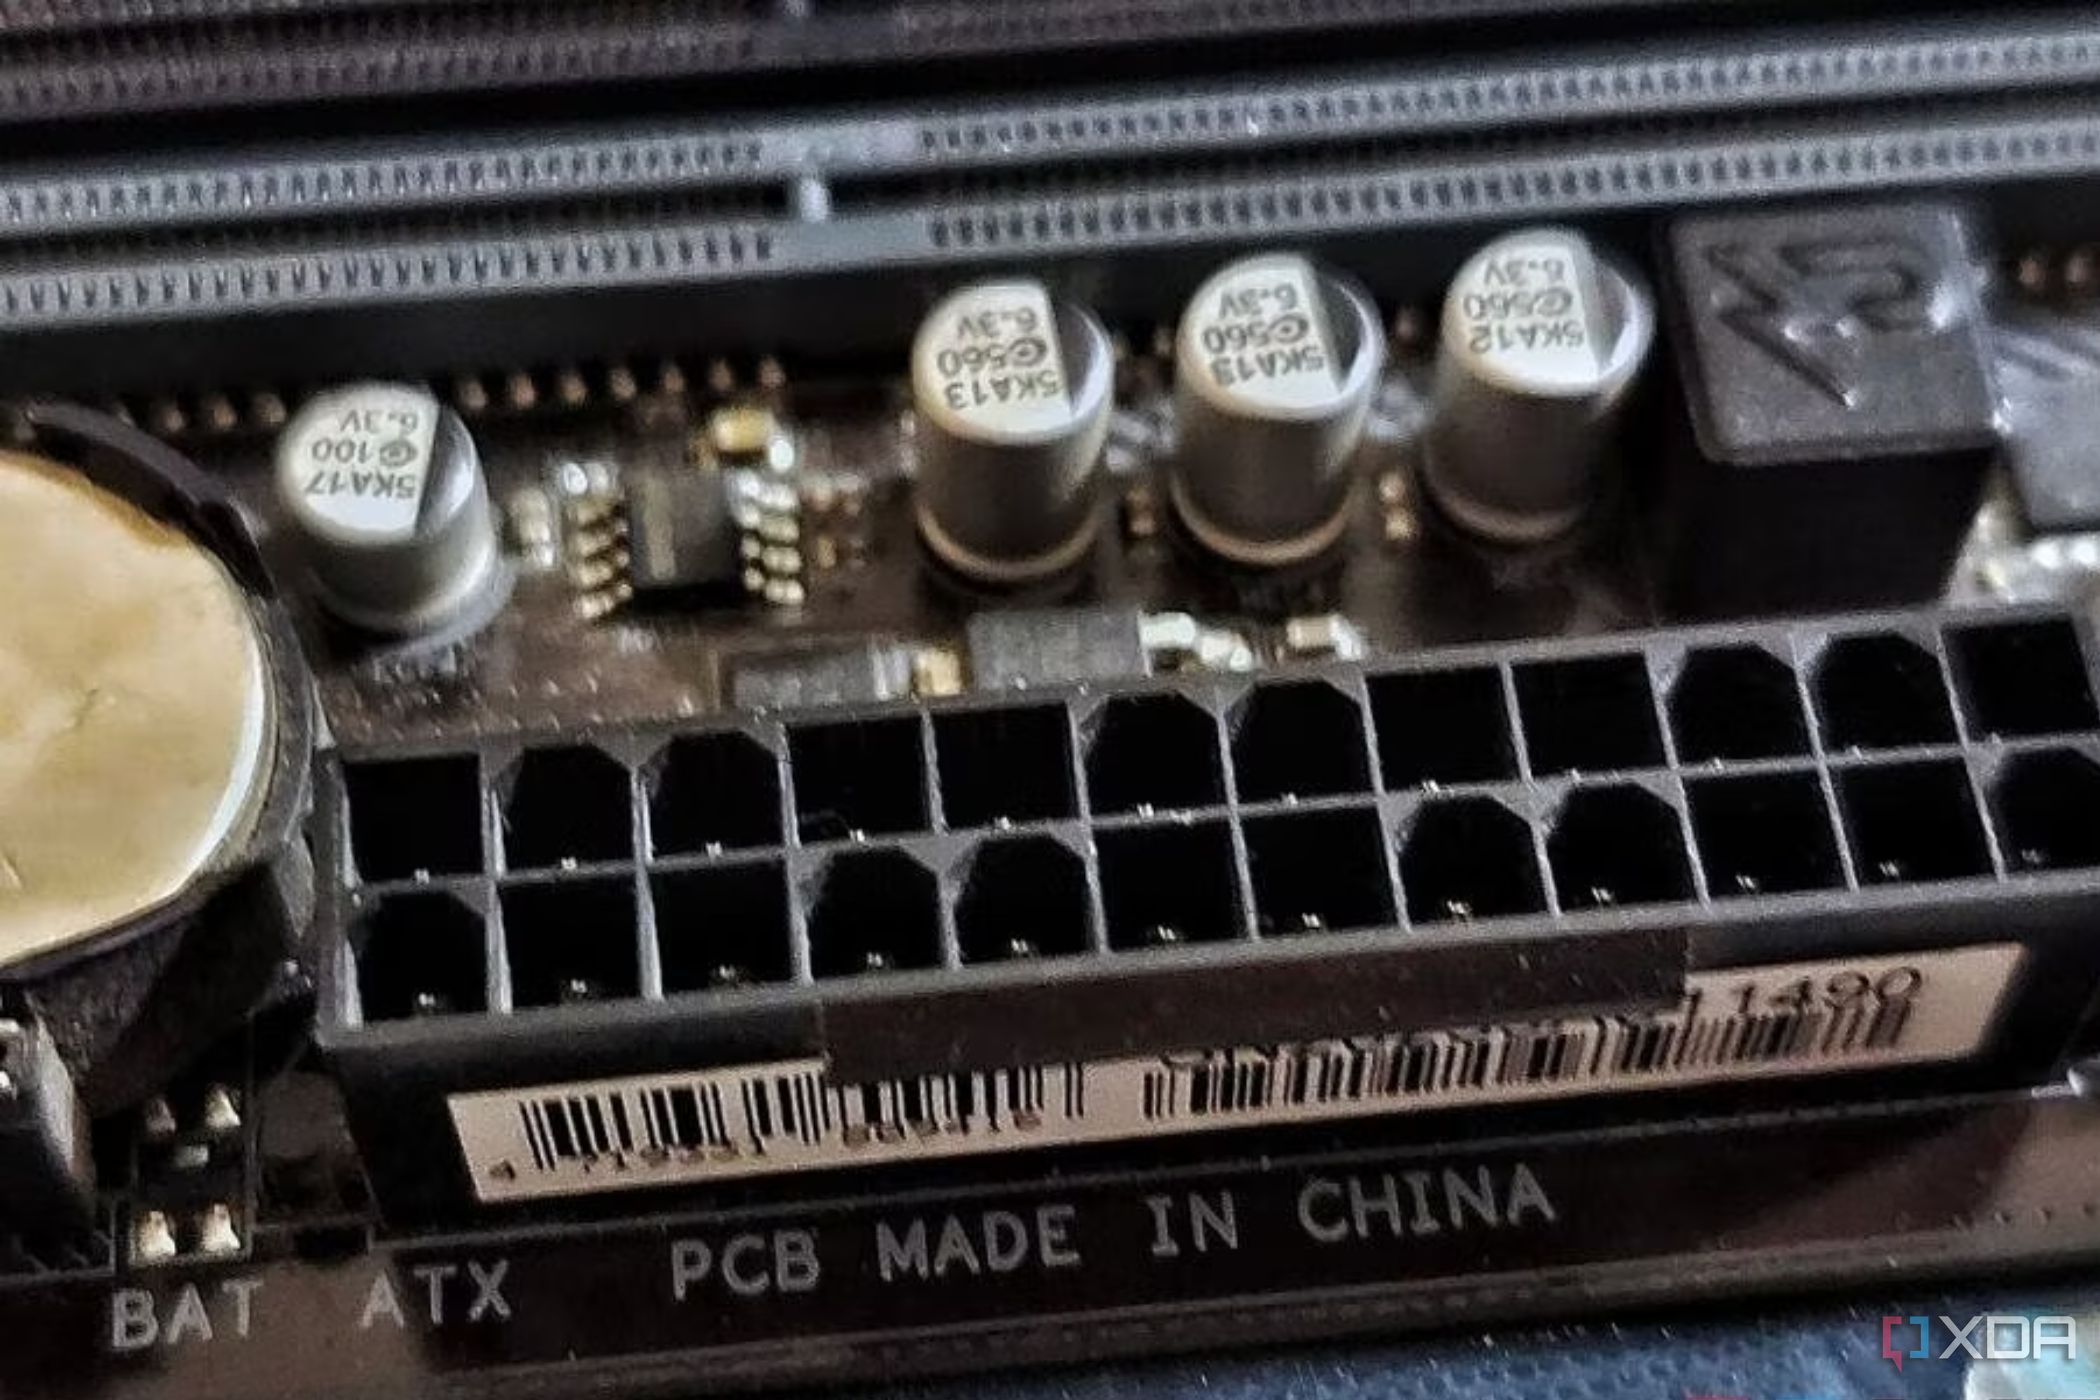
Just be wary of the amount of force applied while screwing down the board. The main idea is to secure the board inside the case, not overtighten them. And that's it! That's how easy it is to install a motherboard inside the PC case. You'll now need to connect the main ATX power cable and the CPU power leads. These two cables will ensure the board can supply power to the components.
As much as we'd love to help you figure out which cables go where on the board, it's not an easy task since no two motherboards are the same. The location of the ports and leads will likely differ on your motherboard from where it's located on the Aorus Z690 Pro motherboard we're using for this guide. Thankfully, almost all cables and the corresponding ports and leads are marked with their names, so you shouldn't have any issues figuring out which cable goes where. If not, you'll have to refer to the motherboard manual to find appropriate leads.
Closing thoughts
Installing the board itself isn't a difficult task. Installing all the components before and after mounting the motherboard is what takes up a lot of time. The next step after dropping the motherboard inside the case involves installing the rest of the components. After that, turn the PC on to see if everything works. Also, don't forget to spend some time on cable management, too, as it helps a lot in keeping track of all the cables. Good luck!


