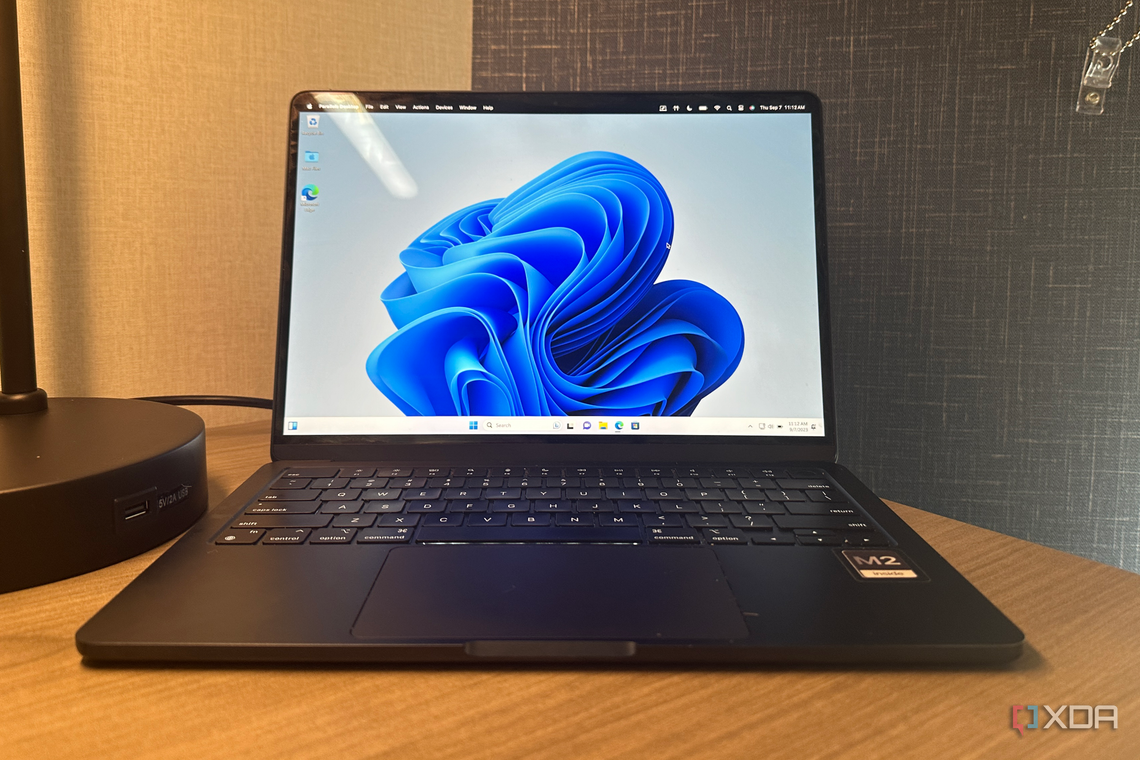
Many people use Mac computers due to macOS, which is Apple's proprietary operating system. It looks great and is optimized specifically for Apple's hardware, which means it'll run quickly and smoothly on your Mac. However, there might be times when you need to use Windows. Instead of going out and buying a new computer, you can run Windows on your great Mac by using a virtual machine (VM). We've tried Parallels Desktop 19 for Mac, and we've found it to be our favorite way to virtualize Windows 11 within macOS. You can follow this guide to install Windows on your Mac.
Can you install Windows on a Mac without third-party software?

Apple previously used built-in software called Boot Camp that would help you install Windows on your Mac. It installed Windows by partitioning your storage device, essentially creating two completely separate operating systems, a process more commonly known as dual-booting. This is different from running a VM, which creates a virtual operating system within your main operating system.
However, while this program is still available for Macs with Intel processors, no Mac with an Apple Silicon chip has access. Since Silicon Macs can't use Boot Camp, the only way to install Windows is through a VM. Thankfully, this process isn't that complicated with the right tools.
We recommend Parallels Desktop 19, which is the newest version of the longtime Mac virtualization software and can let you run virtual machines of macOS, Windows, and Linux. By following the steps below, you can download Parallels 19 and start using Windows 11 on your Mac with ease. Although this guide is oriented towards Macs with Apple Silicon processors, Intel-based Mac computers can still follow along.
How to install Parallels Desktop 19
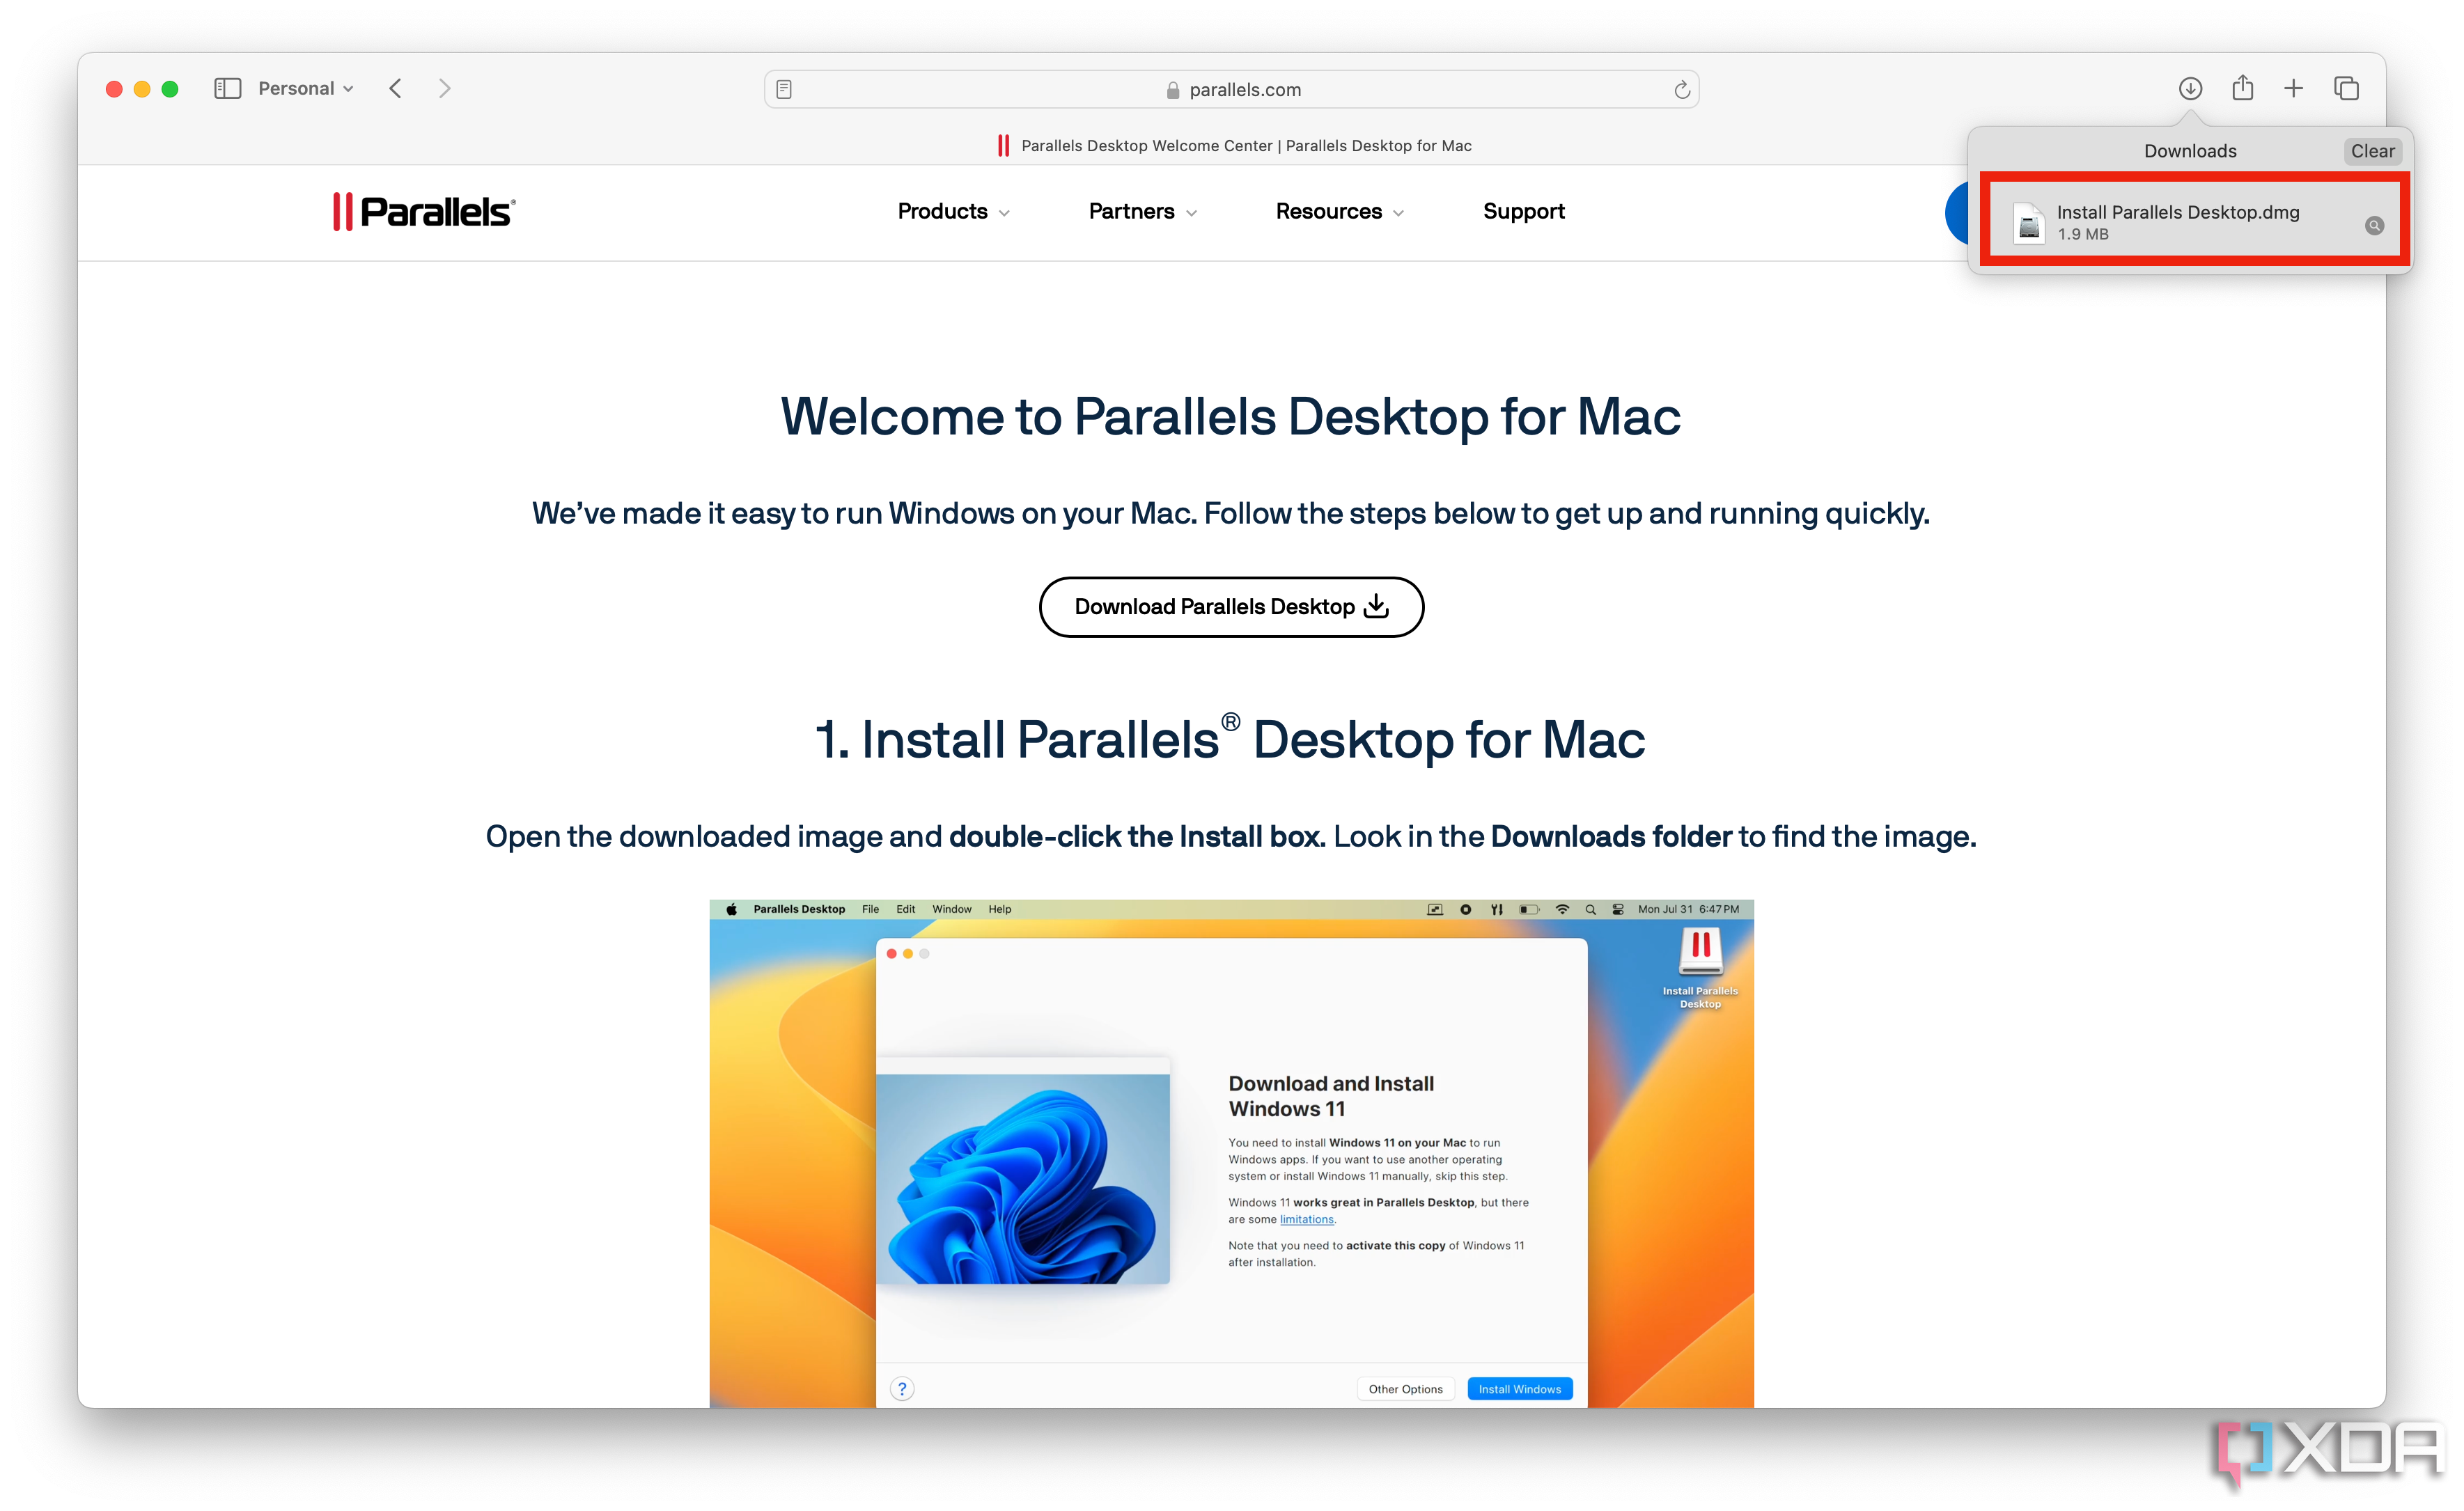
The first step towards installing Windows 11 on your Mac is to download Parallels 19 Desktop. You can accomplish this by heading to the Parallels trial page and clicking the Download Free Trial button.
-
The Parallels Desktop 19 installer DMG file will appear in your Downloads folder, which you can double-click to begin the installation.
-
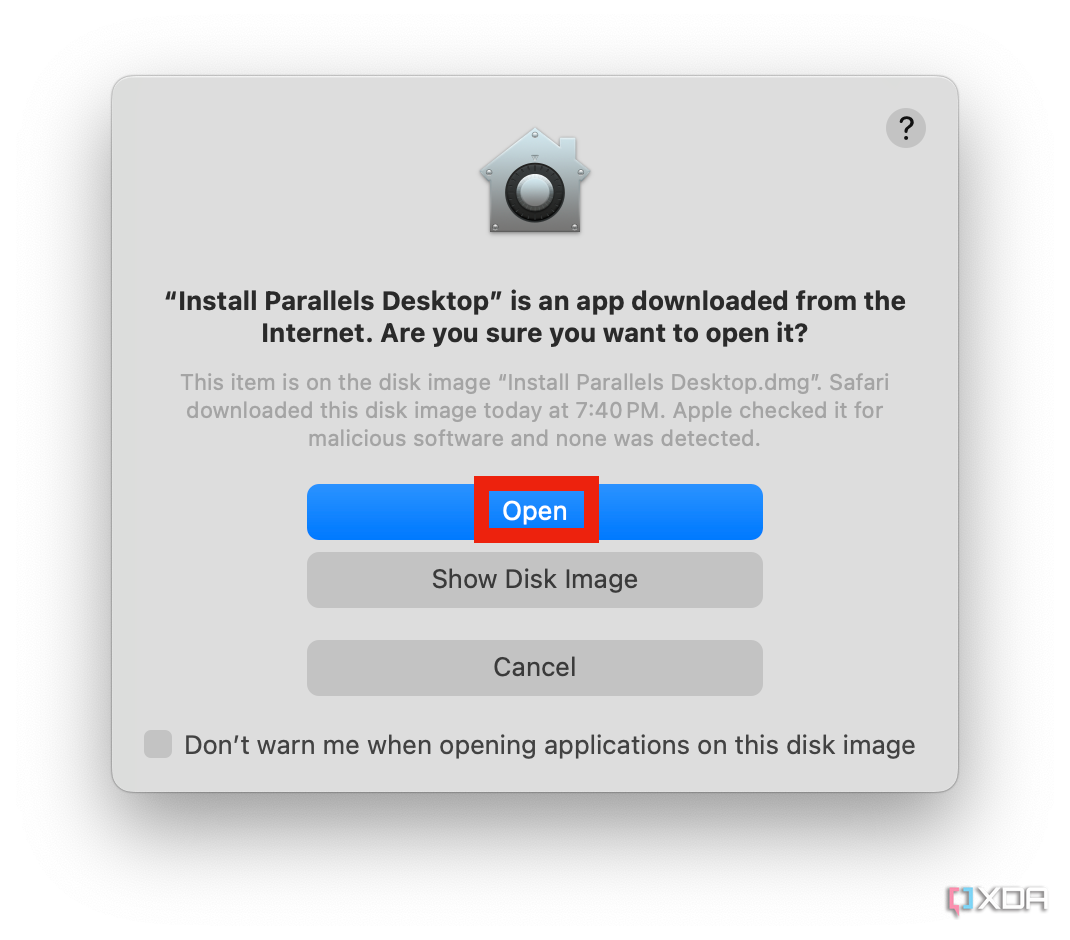
You'll likely get a warning that Parallels Desktop is an app you downloaded from the internet. This is a standard Apple dialog box for security purposes. Click Open to continue.
-
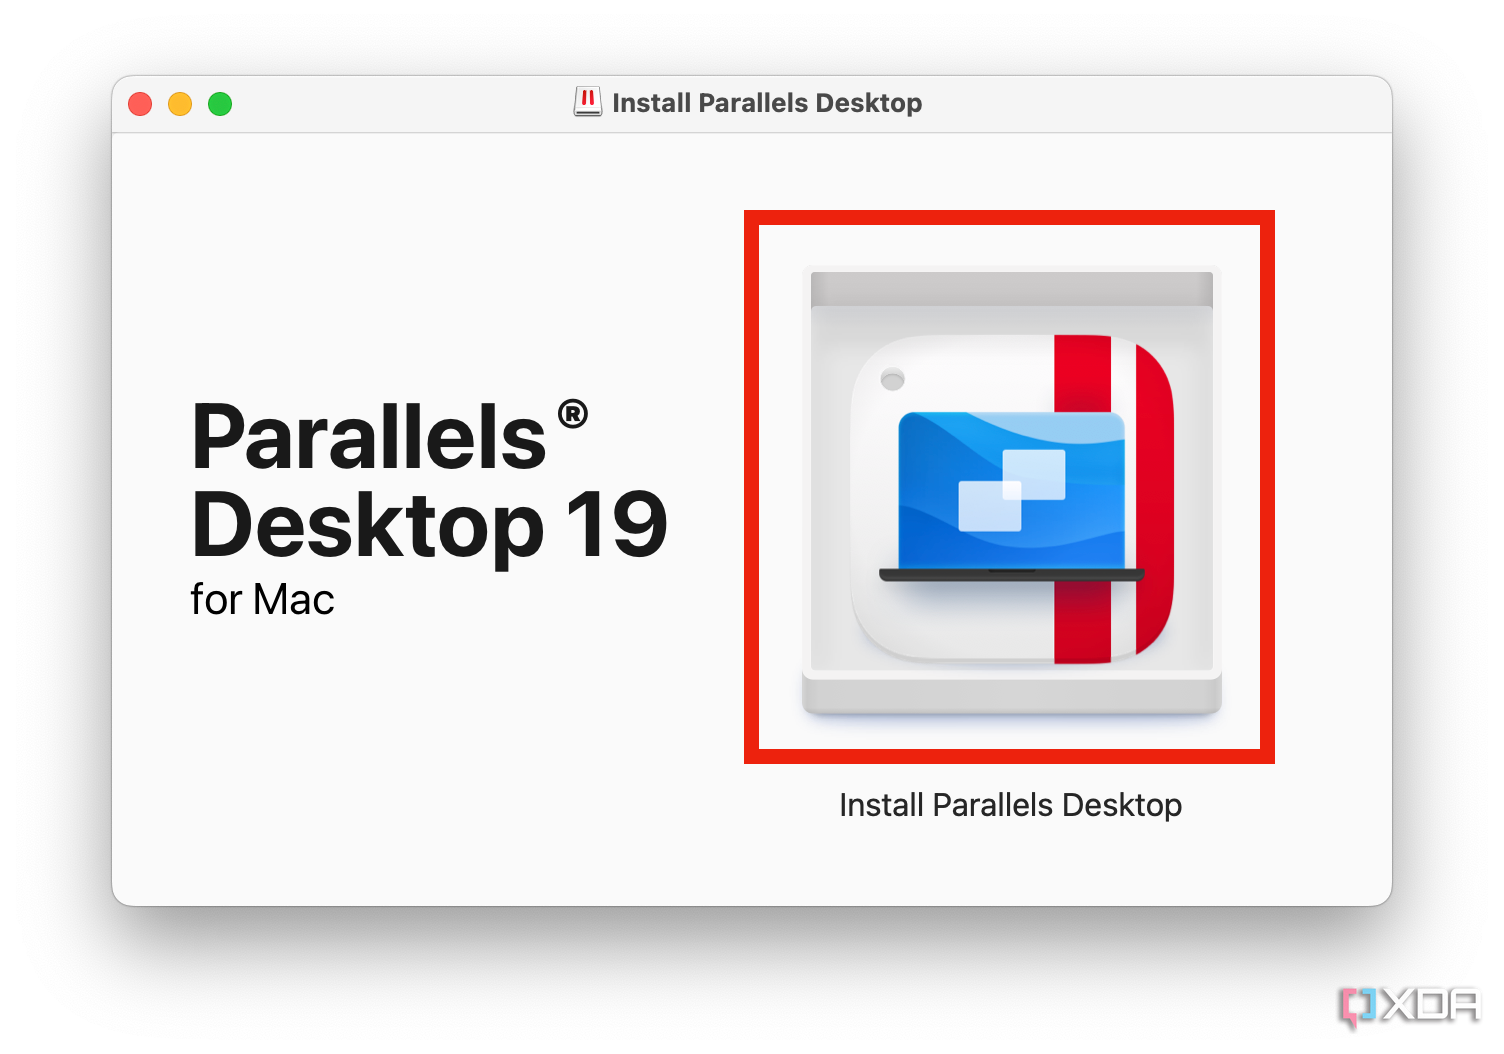
Double-click on the box icon with the Windows display. At this point, the installer will download the entire Parallels Desktop 19 software package to prepare for installation.
-
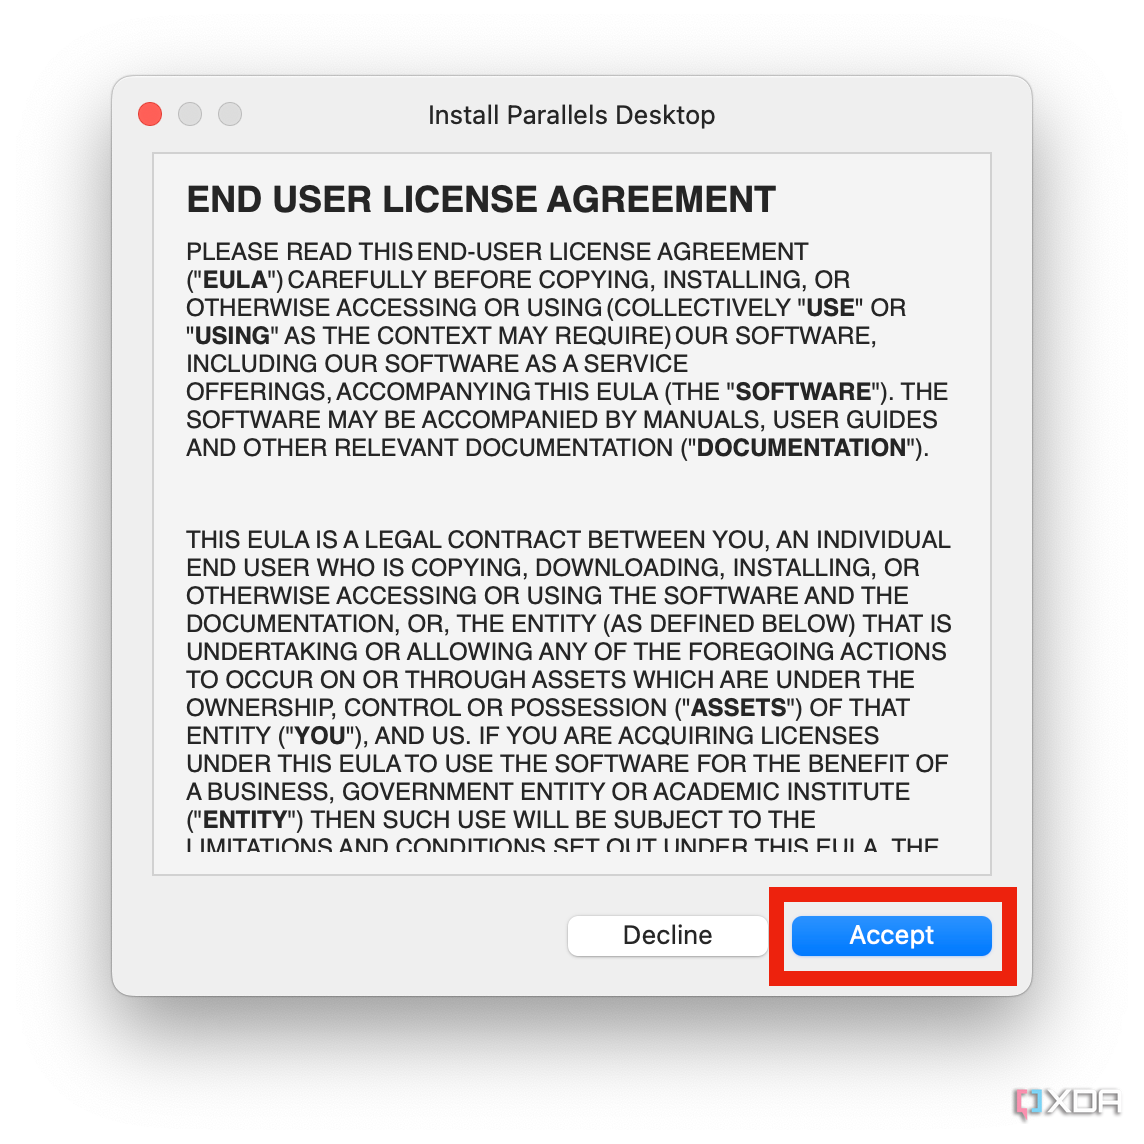
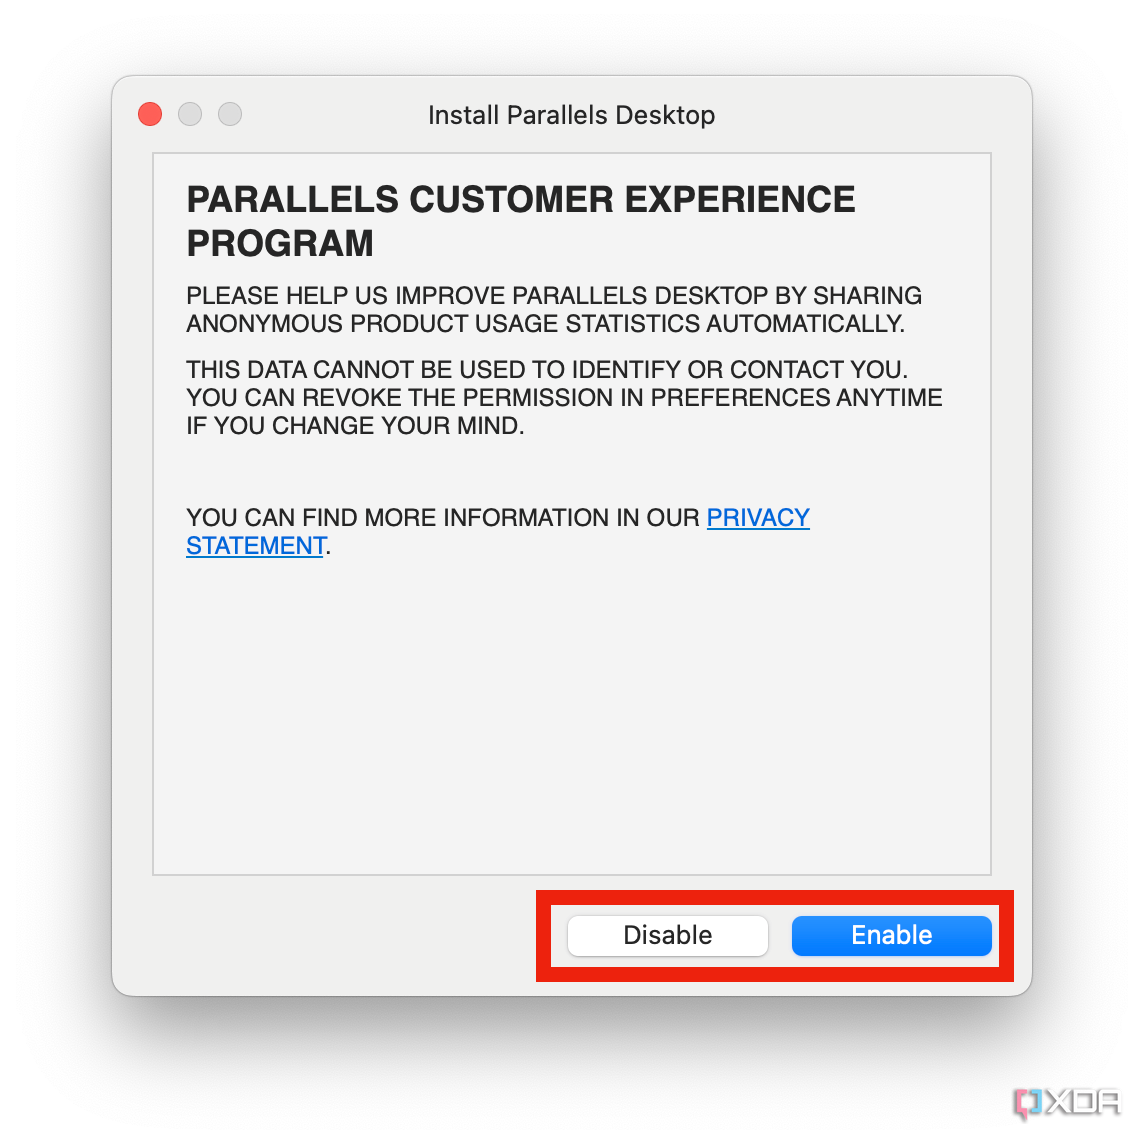
Now, accept the Parallels 19 software license agreement. You can also choose to share information with Parallels to help improve the stability of the software. If you don't want to share this information, simply click 'Disable' on the next prompt.


Now that Parallels is installed on your machine, you'll need to download Windows 11. The good news is Parallels handles the entire Windows 11 download process for you.
How to download and install Windows 11
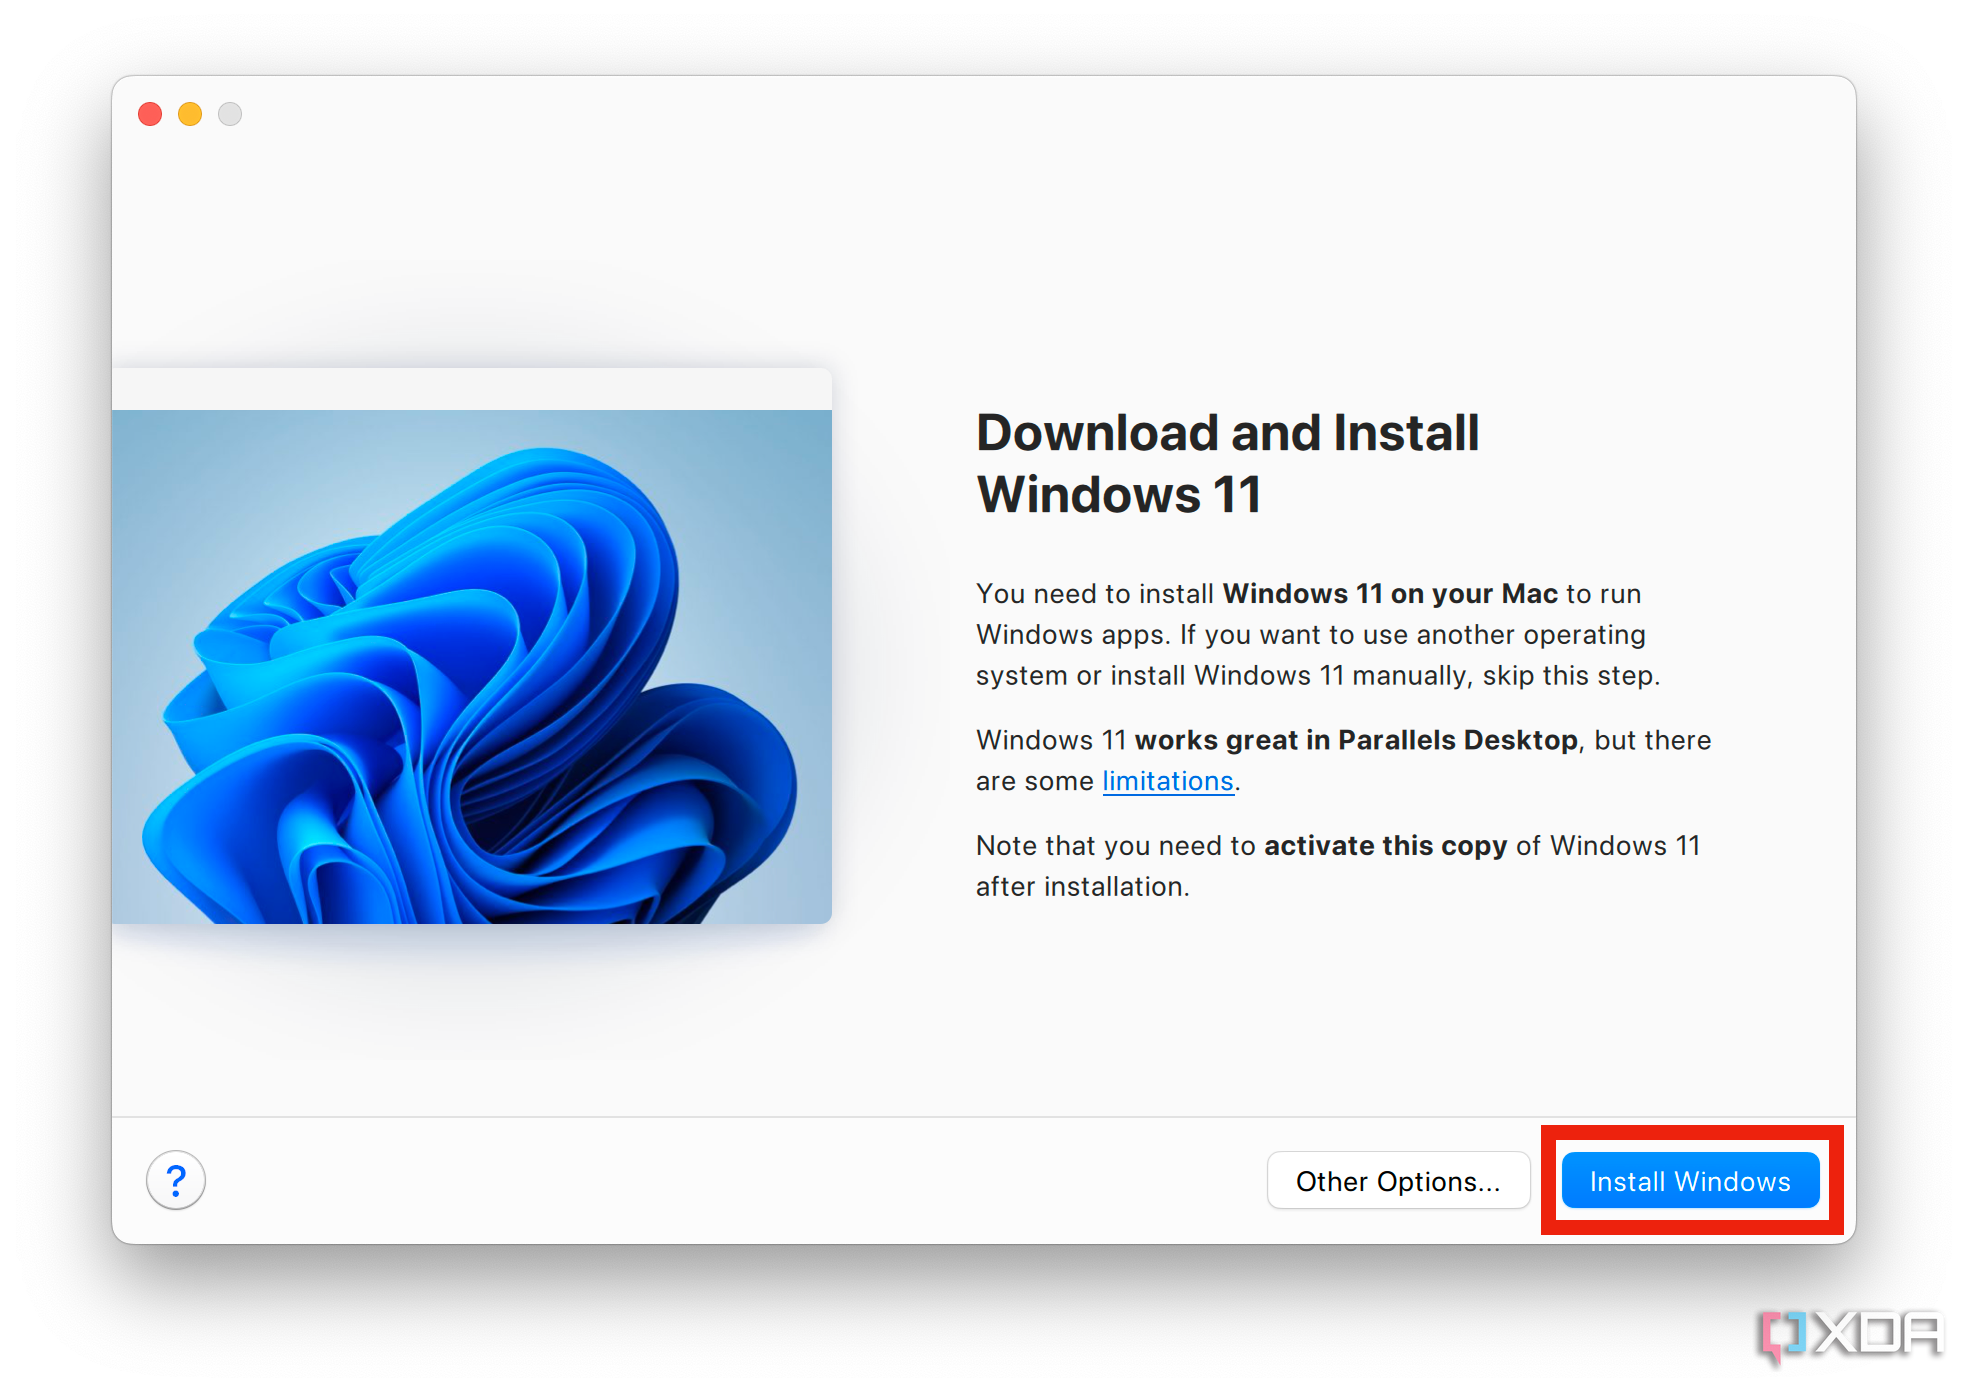
The Parallels 19 Installation assistant will present you with a dialog box for downloading Windows 11. Keep in mind you can also run other operating systems using Parallels, like Linux or older versions of macOS.
-
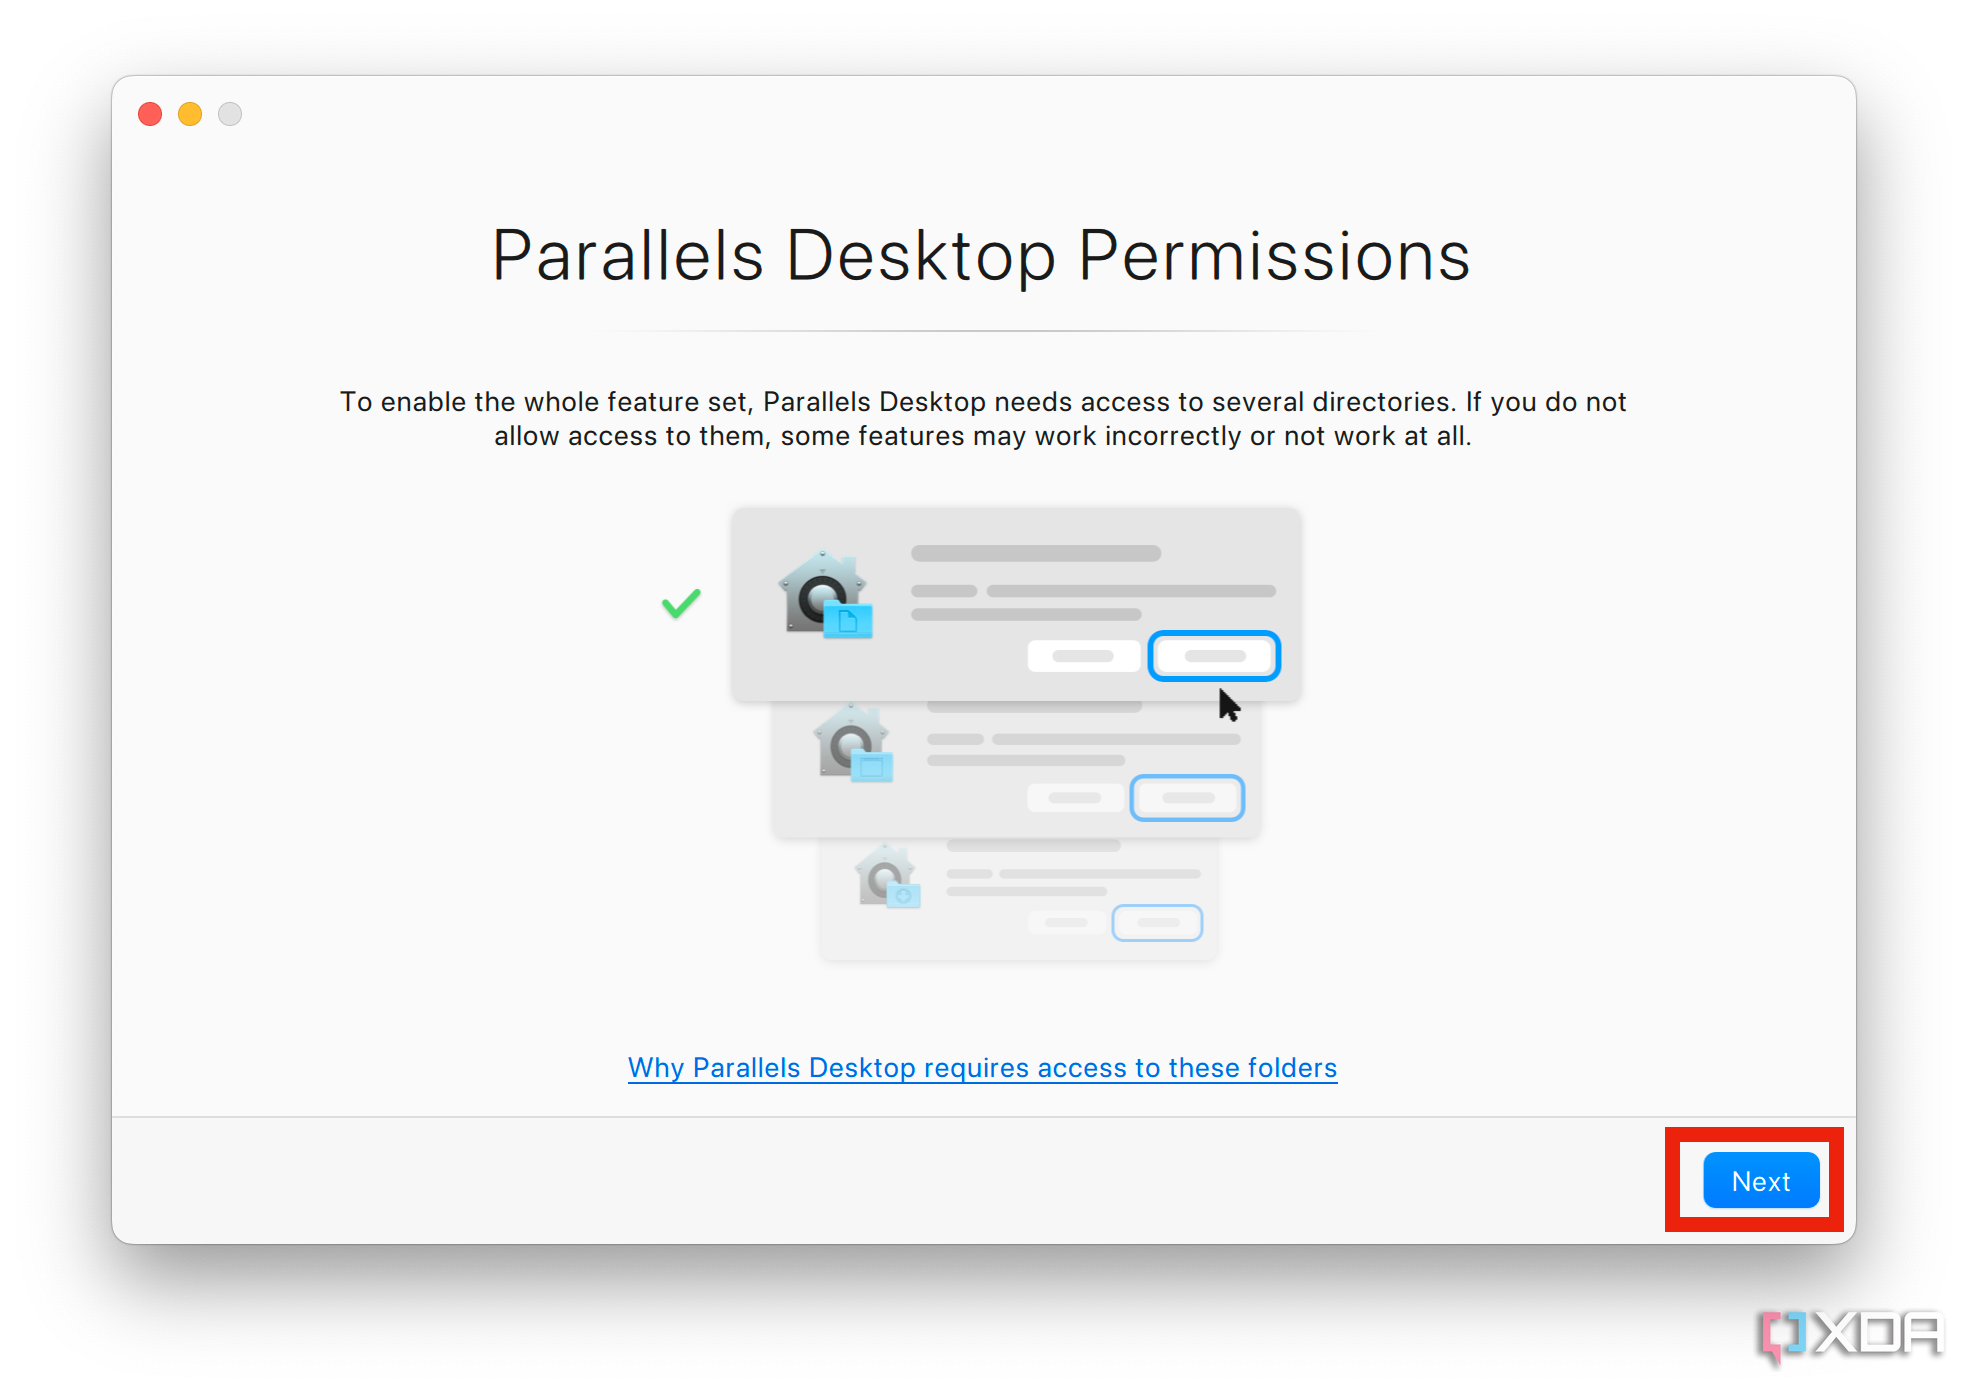
Before downloading Windows, follow the on-screen prompts to accept a few permissions.
-
Choose the Install Windows option to begin downloading Windows 11. The download is quite large, so this step can take a long time, depending on your internet speeds.
-
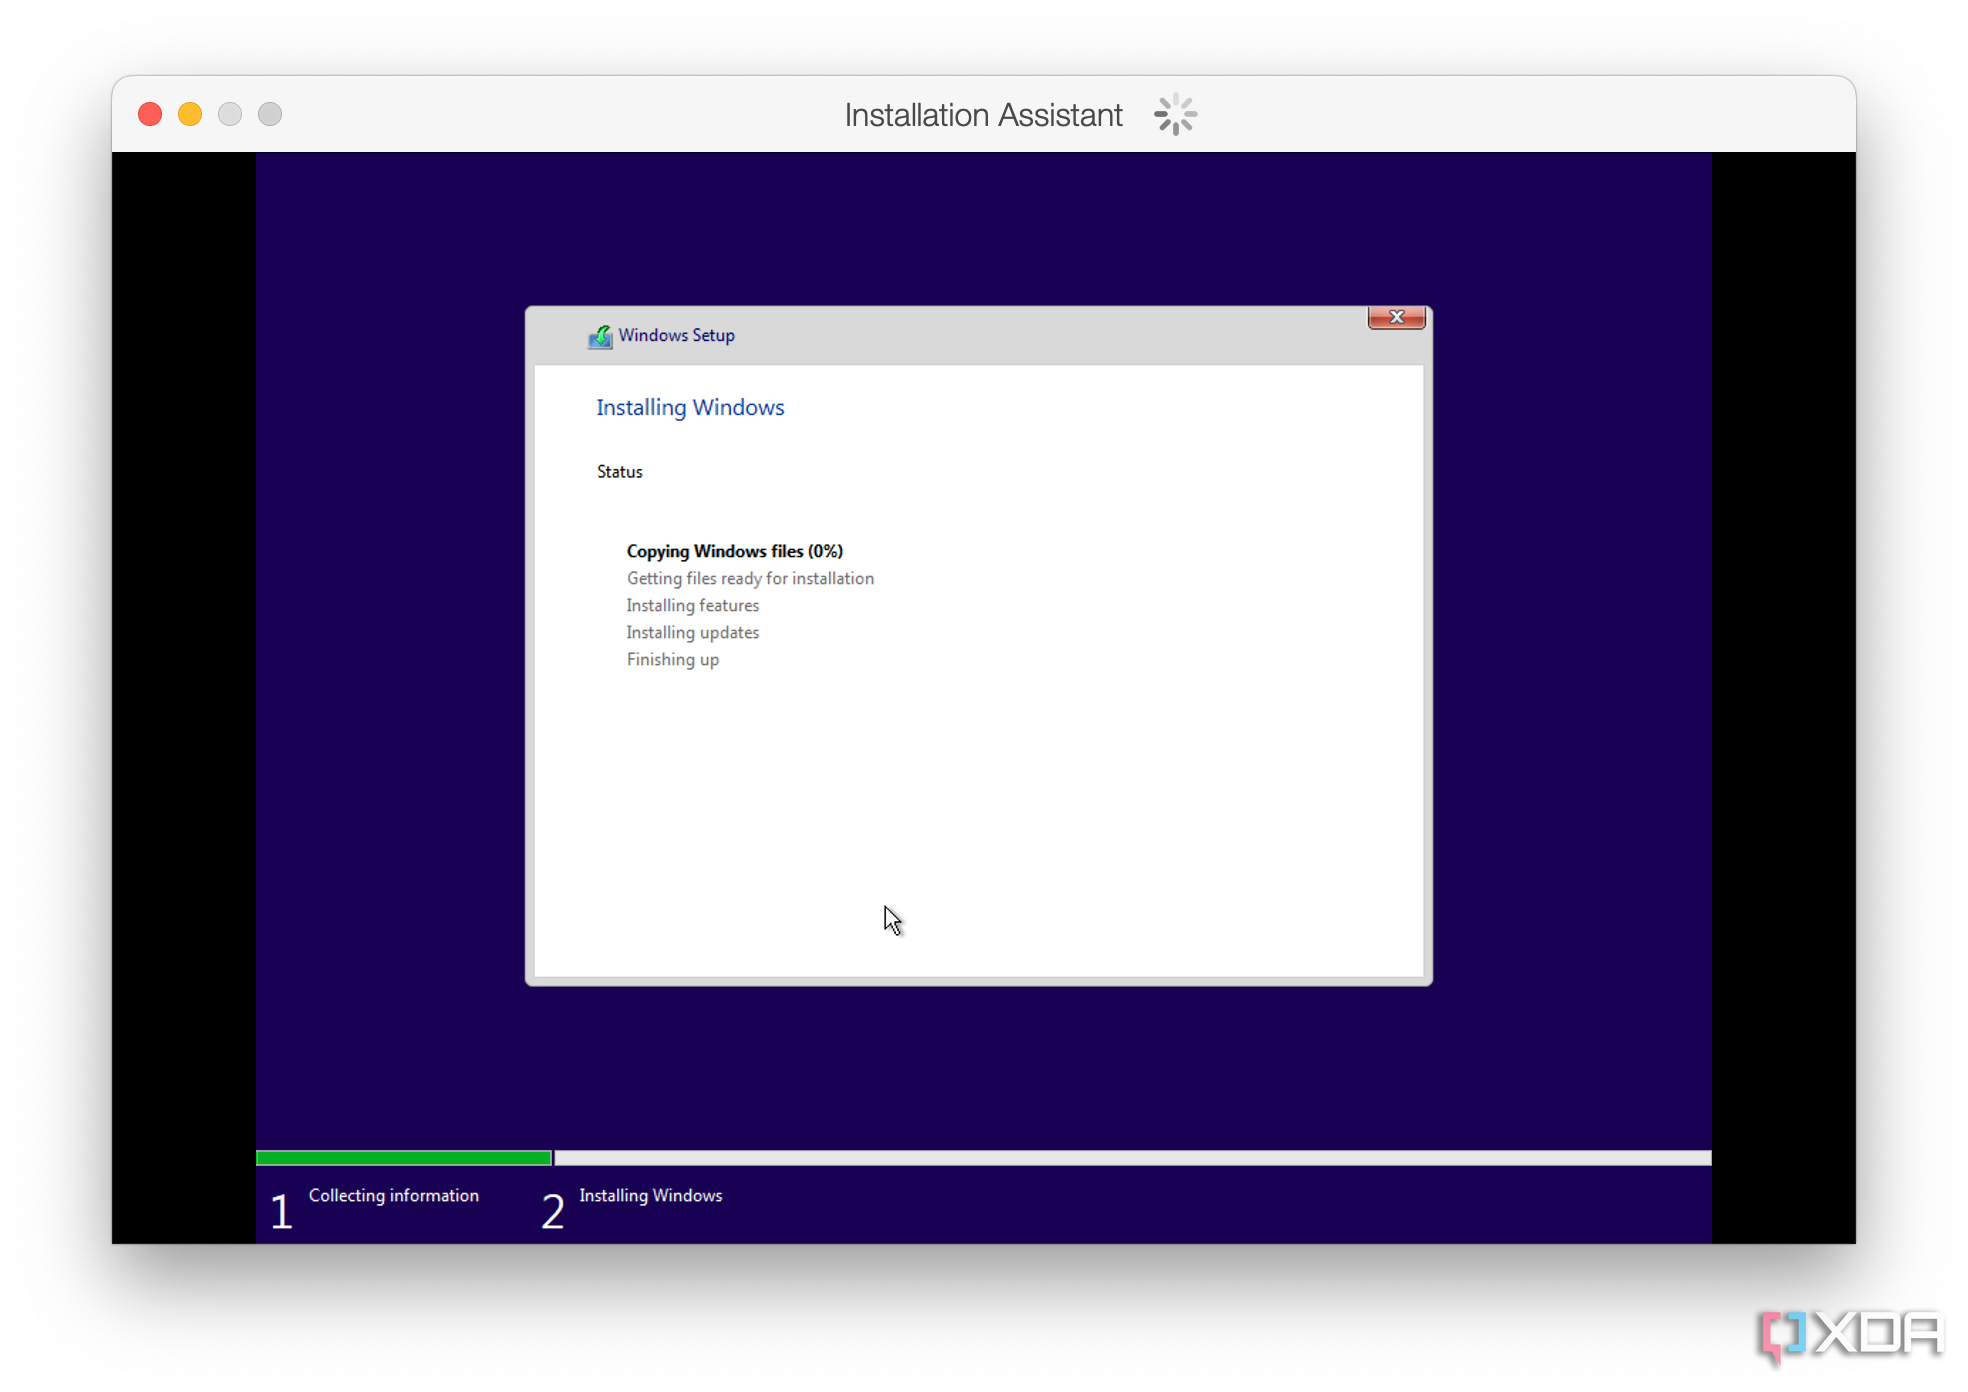
Windows 11 will now complete the startup process, which can also take around 10 minutes total, depending on which Mac you're using.
-
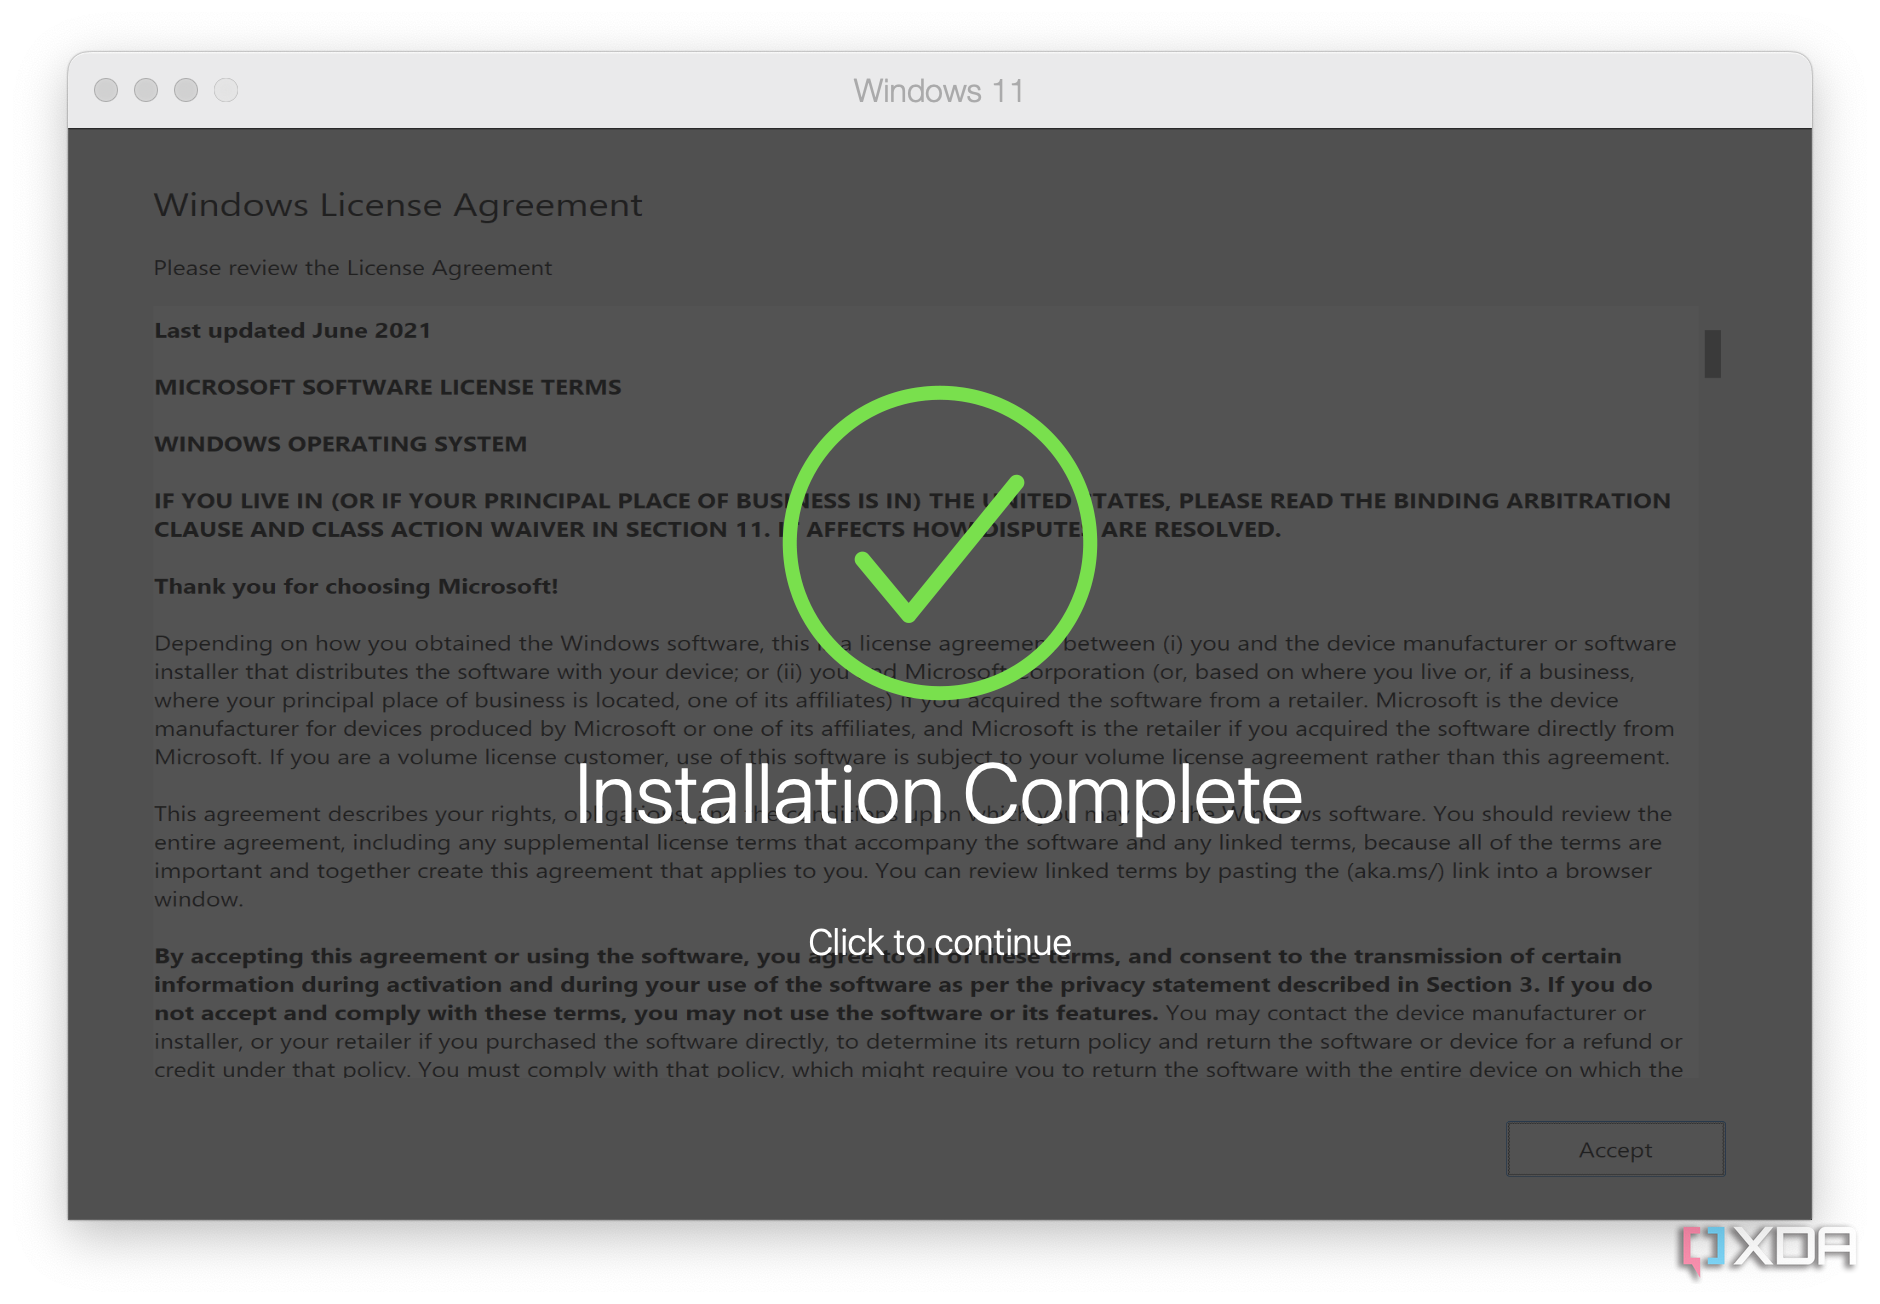
Finally, you'll see a completion screen with a large green checkmark. Windows 11 is now installed and running as a virtual machine in Parallels Desktop 19 for Mac.


How to use Parallels to run Windows 11
Installing typical Windows applications
Since you have installed Windows 11 from scratch on a virtual machine, you won't have some Microsoft applications that you'd typically find on a Windows device. You can choose to install these automatically before continuing, like the Microsoft 365 suite or the Microsoft Visual Studio. This is recommended if you prefer to use the Windows versions of these applications. Since there are Microsoft 365 apps for macOS, this isn't necessary if you don't want to use them.
Coherence mode vs Full Screen mode

You can also choose how Windows interacts with macOS and other Mac applications. The two options are called Coherence mode and Full Screen mode. The latter is exactly what you'd expect; it means your Windows VM will open as a full-screen window. The Windows 11 desktop will be housed there and any Windows applications you run will be limited to that window. This is preferred if you want some separation between macOS and Windows on your computer.
Coherence mode is great if you want to use macOS and Windows 11 applications within your macOS desktop. In this mode, your Windows 11 start menu lives in the macOS dock. When you want to launch a Windows app, you'll use the start menu, and the app will open as its own window in the macOS desktop. This is perfect for using macOS and Windows apps side-by-side. Luckily, you can switch between these modes easily, so this initial decision doesn't lock you into one or the other.
Opening Mac files in a Windows virtual machine
The final dialog box simply mentions that all of your Mac files are accessible within the Windows user profile folders. This is one of the best features of Parallels, as it allows you to use macOS and Windows side by side in a seamless fashion. You can even choose to set files in macOS to open in a Windows app by default, which is really cool.
Install Parallels Toolbox for Mac and Windows (optional)
At this point, I would recommend taking a few minutes to install Parallels Toolbox. This program is actually a standalone product, but it comes bundled with Parallels Desktop 19. These toolboxes allow you to complete several common tasks on both macOS and Windows. The Mac version of the toolbox has quite a few more options, such as presentation mode, image resizing, and the ability to uninstall programs from your Mac. Here's how to install it:
- A window will pop up and offer to install both the Mac and Windows toolbox. Follow the prompts to start the installation.
- After the installation finishes, you will see a confirmation window appear.
-
Press the Restart button to restart Windows 11. Alternatively, you can postpone the restart, and the features won't become available until you restart.

-
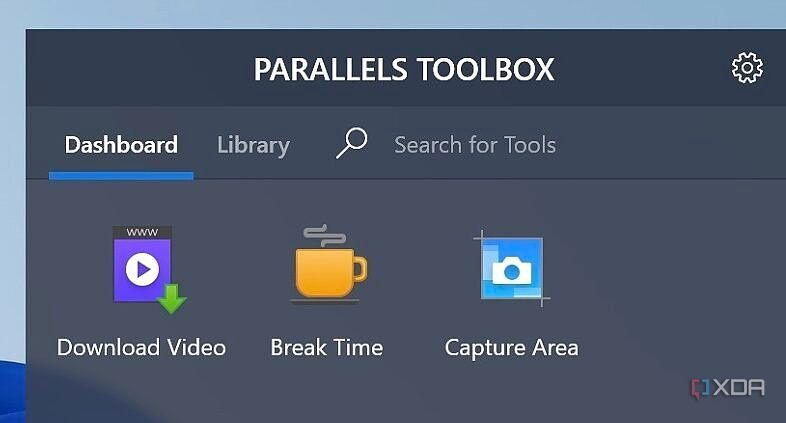
You will now be able to access the Parallels Toolbox.


Personalize Windows settings for Parallels
Now you've installed Windows 11 on your Mac, you should configure some of the settings for Windows within Parallels Desktop 19. Here's how:
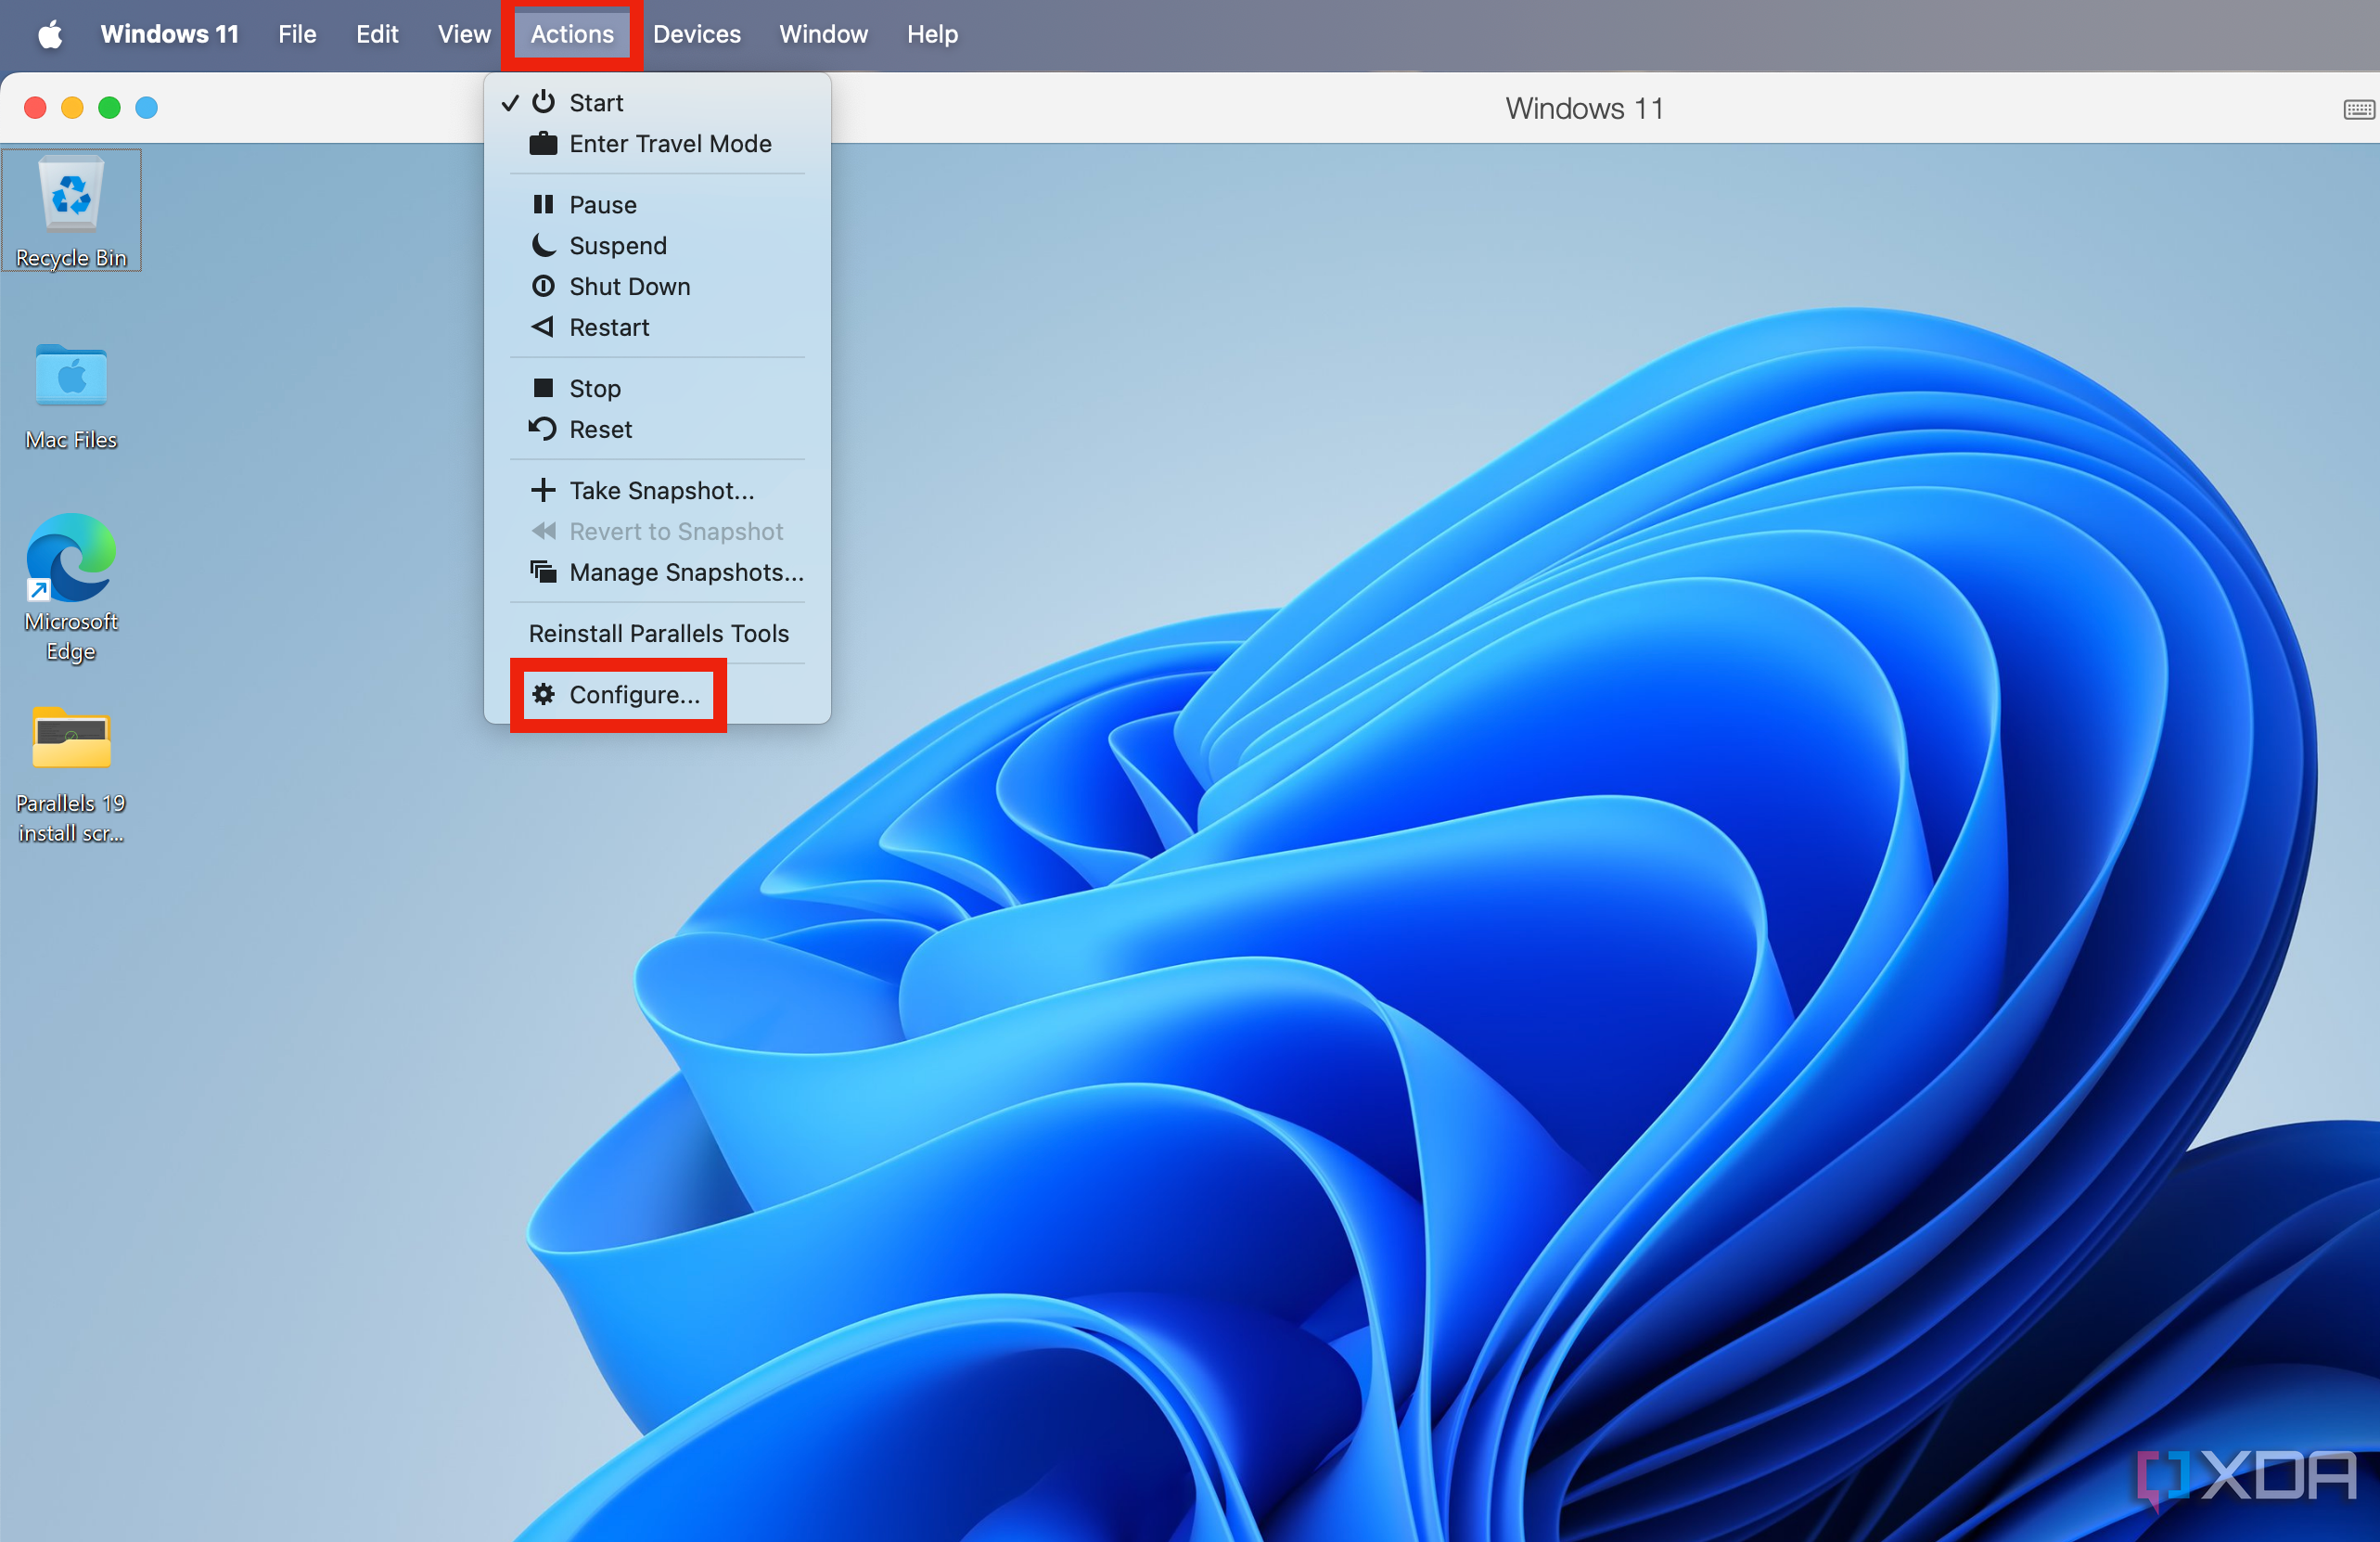
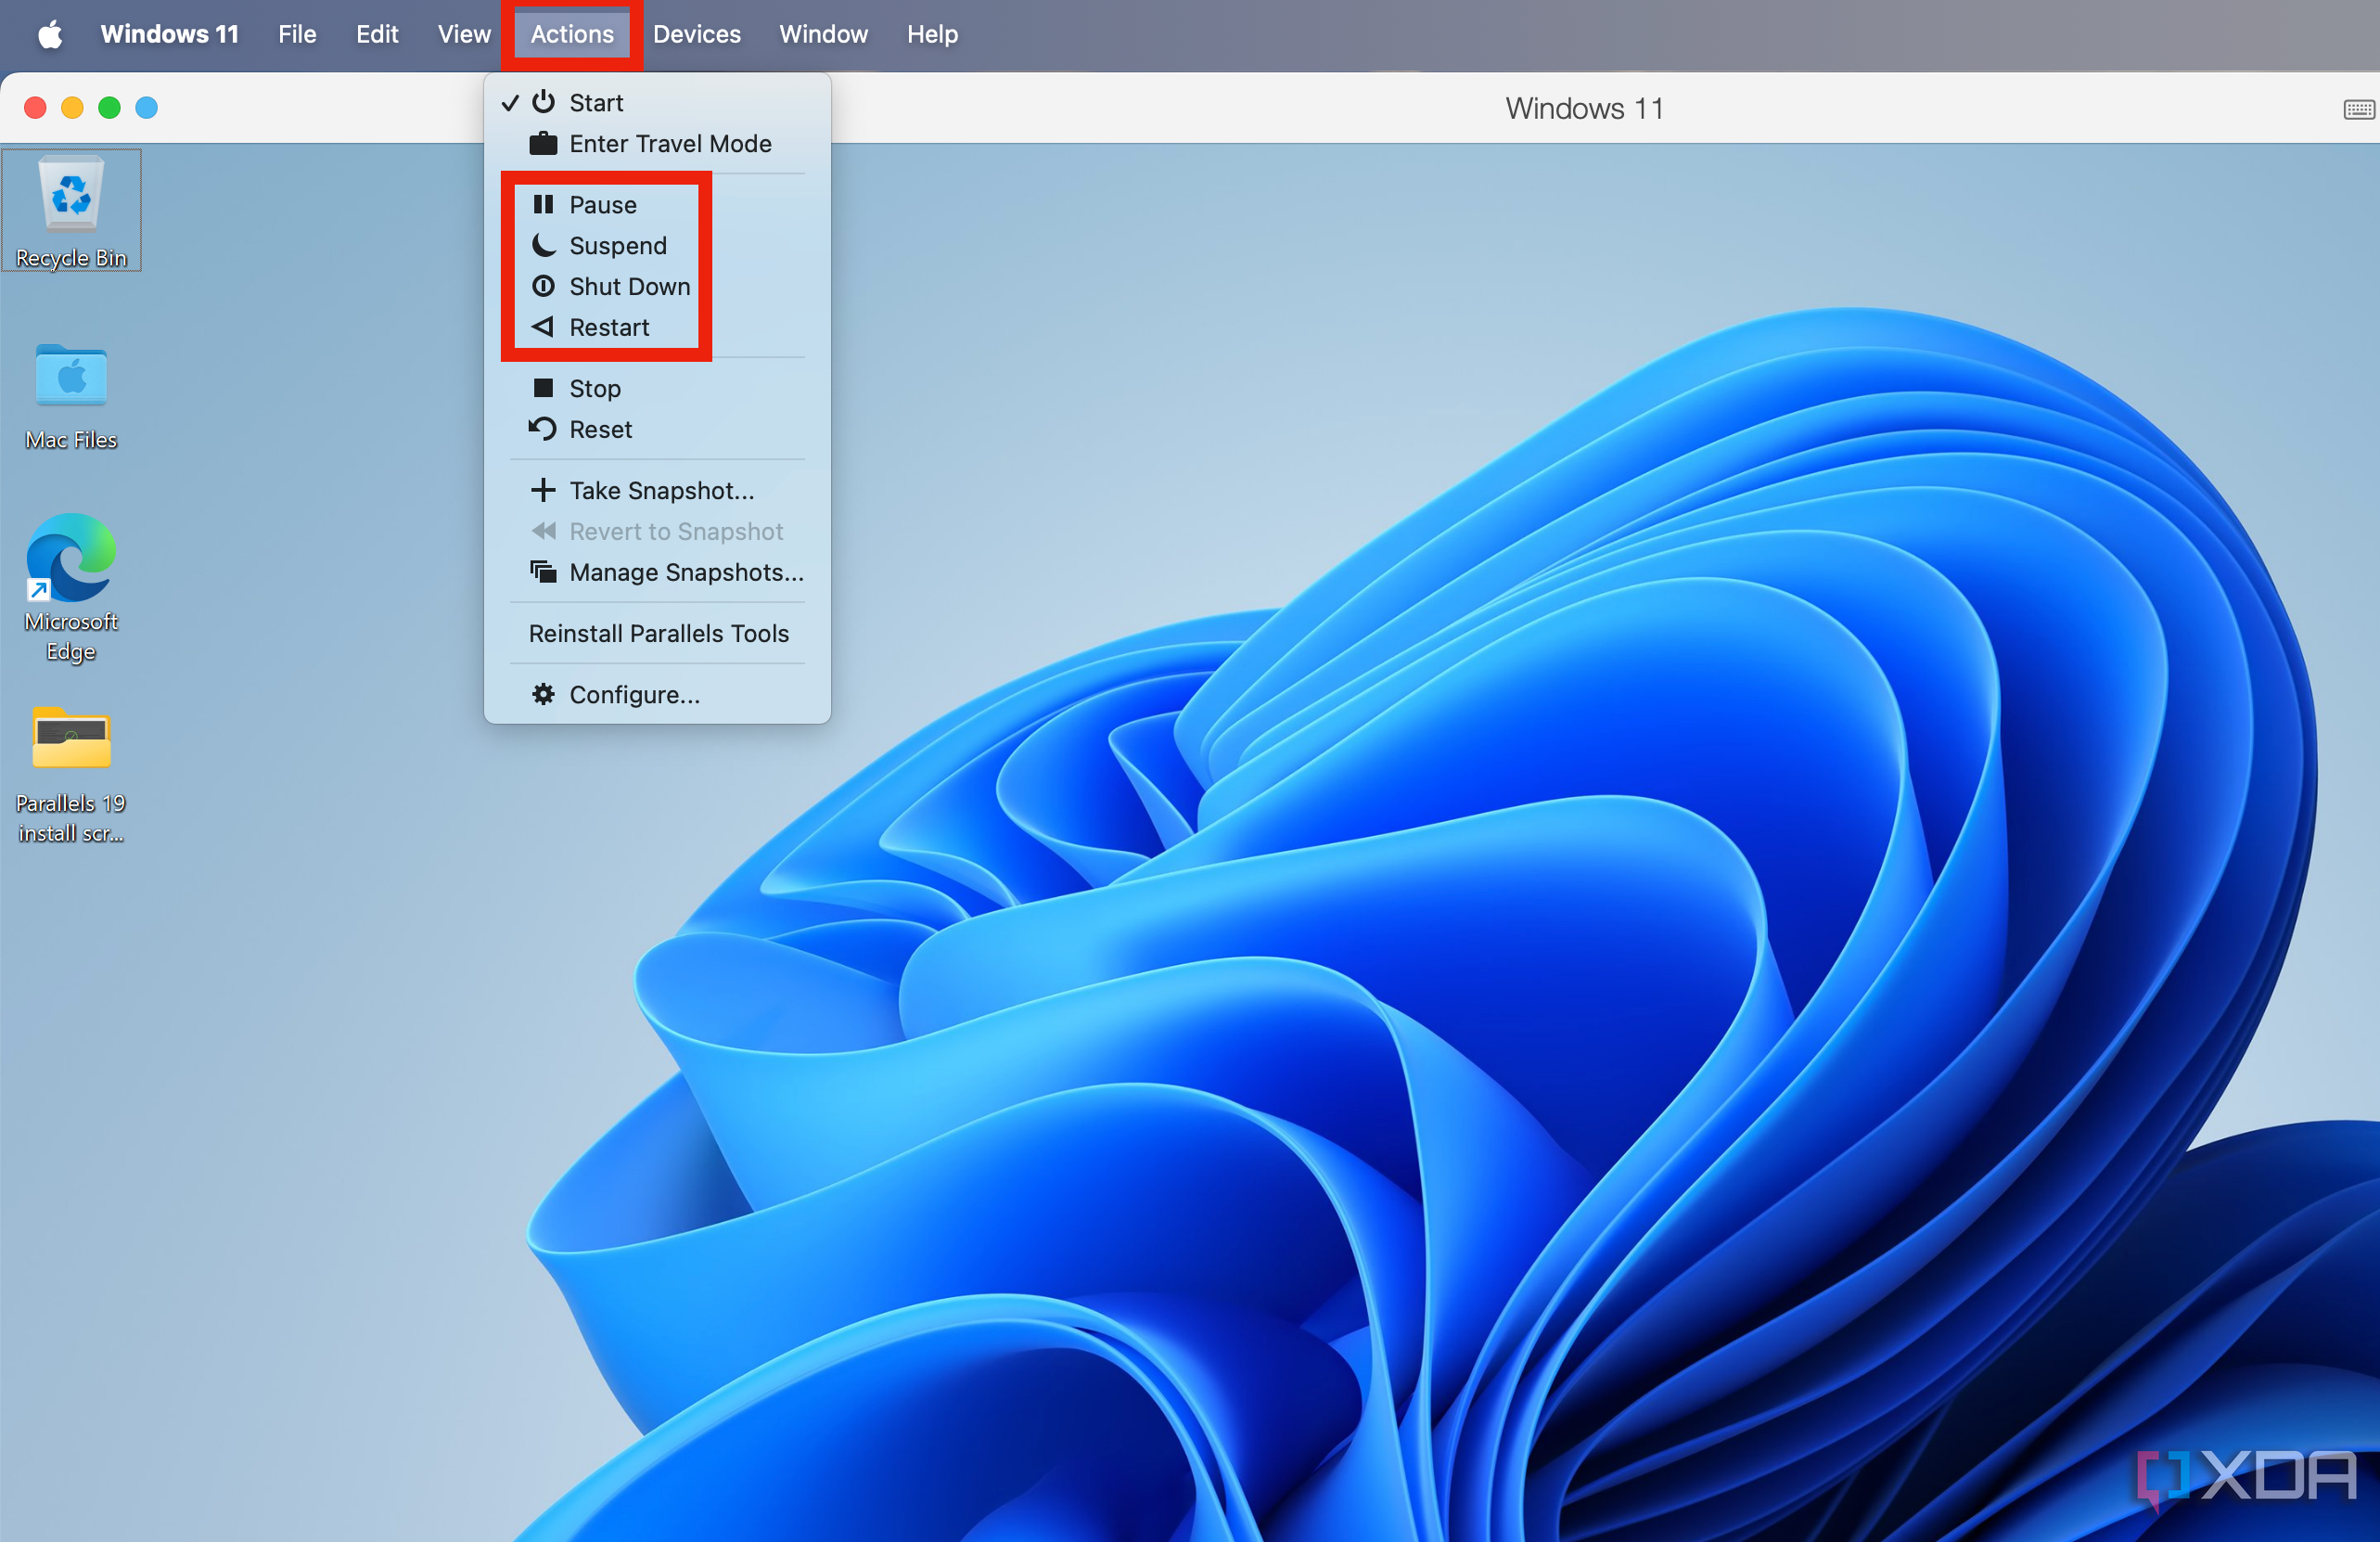
- Make sure Parallels 19 is running, and click the Actions tab in the menu bar.
-
Choose the Configure option from the bottom of this menu.
-
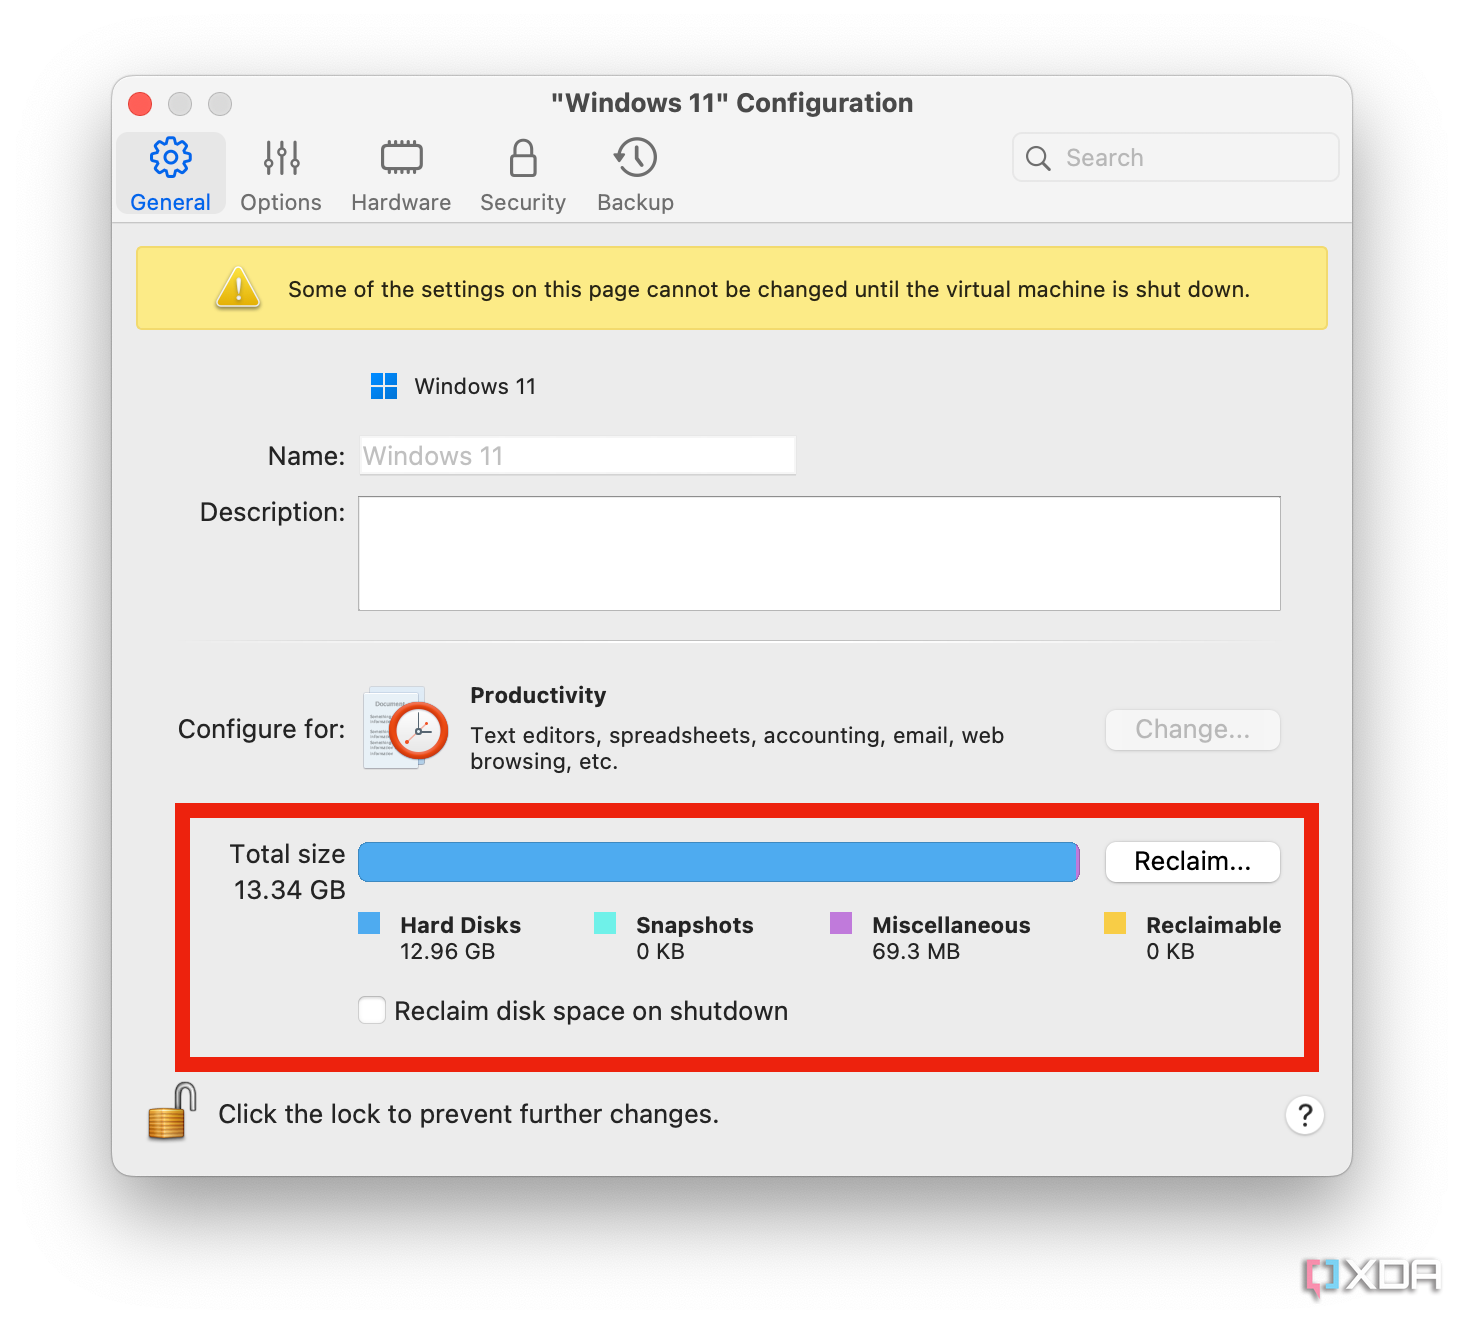
You can configure your Windows installation for different use cases. This changes the total amount of storage reserved for Windows 11 on your Mac.
-
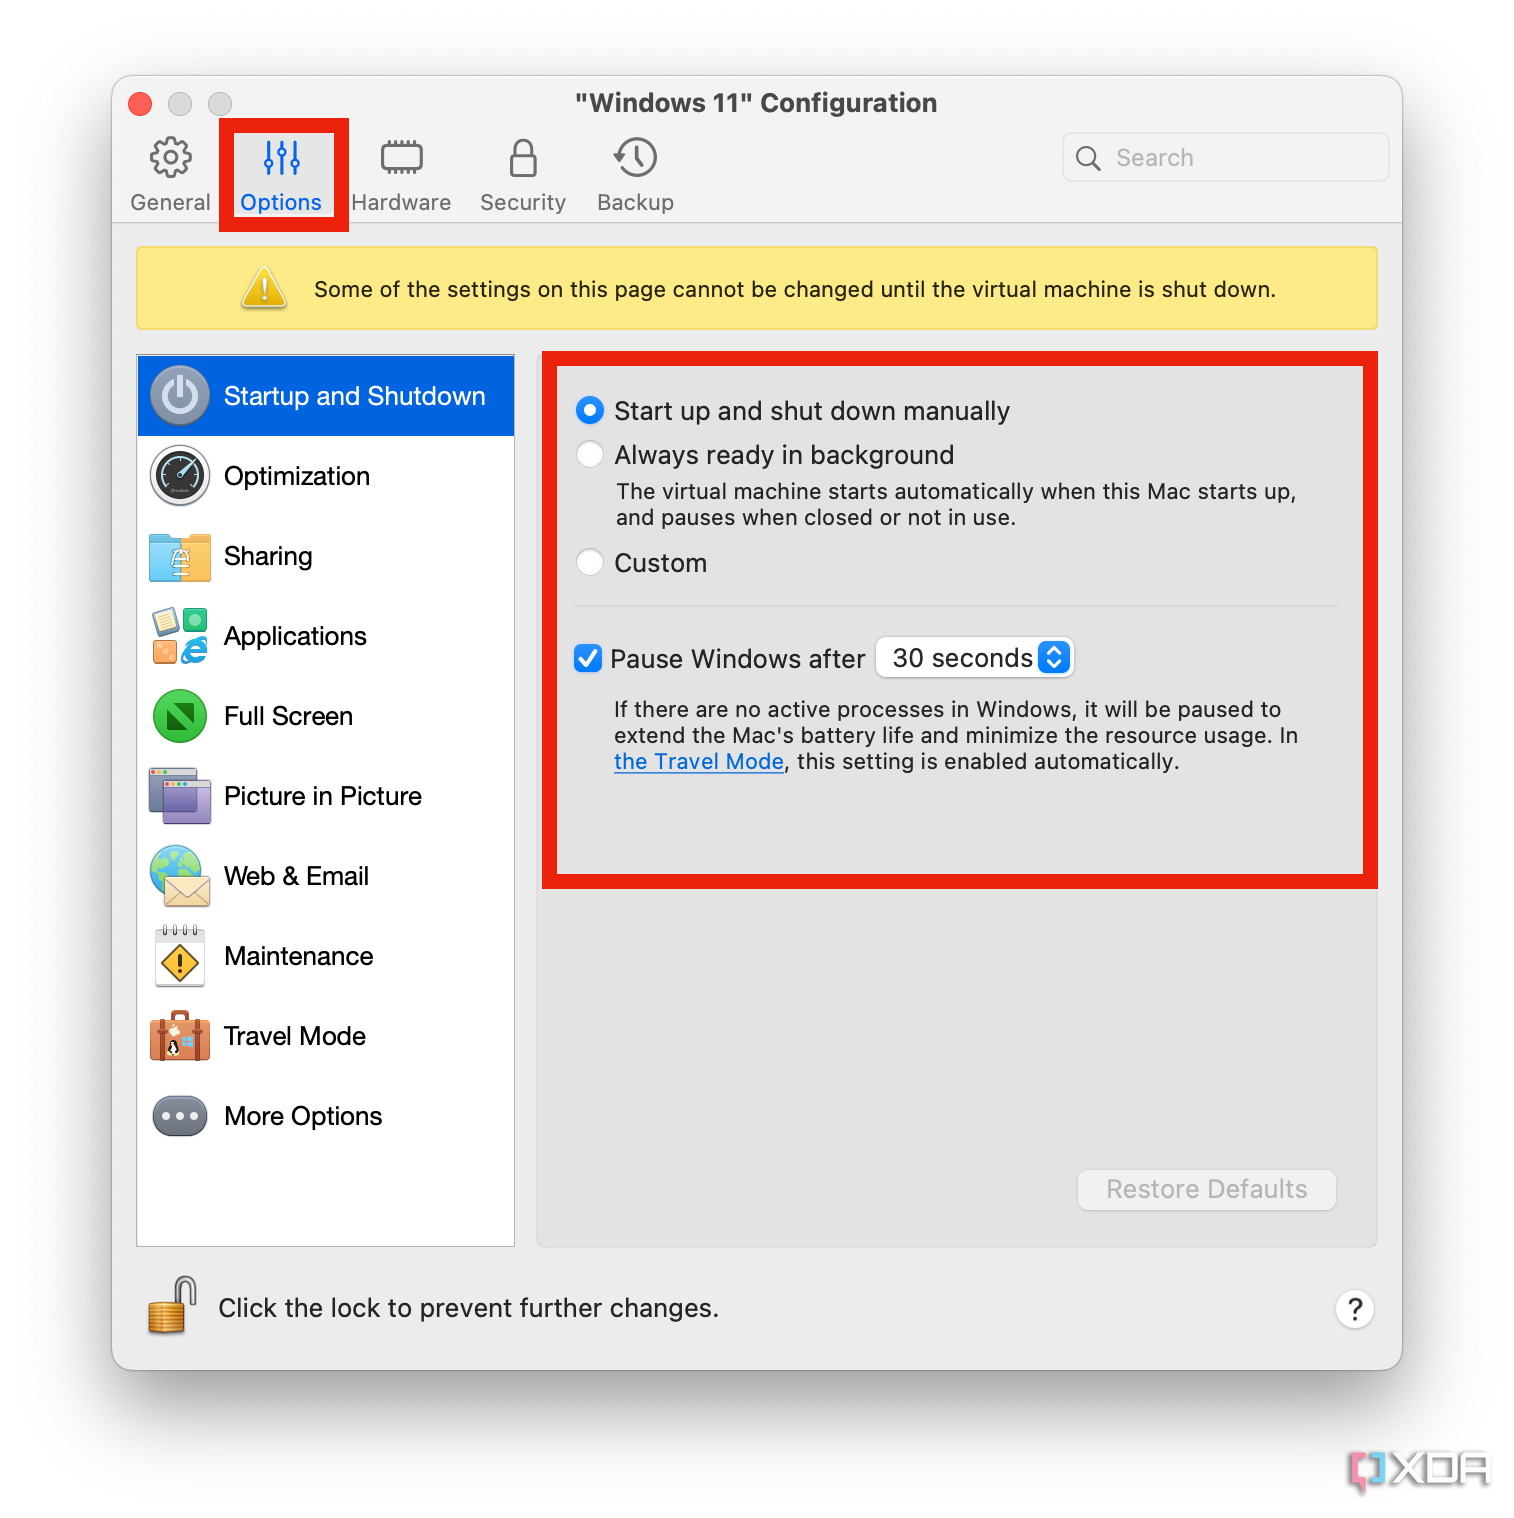
You can also change how Windows starts up and shuts down, optimize for battery saving, and access sharing options within this menu. It's worth spending some time to tune these settings in each tab, especially if you plan to switch back and forth between Windows and macOS.
-
It's a good idea to suspend Windows if you don't plan to use it for a substantial period of time. While Parallels Desktop 19 is better optimized than ever, it can still take up a substantial amount of system resources while running. This is primarily important if you only plan to use Windows for a few programs and spend the majority of time on macOS.


What’s new in Parallels Desktop 19
Parallels has been around for a while, but Parallels Desktop 19 includes a few key upgrades that make it the best way to run Windows 11 on Mac. For one, it’s more versatile, and can now do Linux virtualization in addition to Windows 11. In addition, Apple moved to the Internet Printing Protocol (IPP) with macOS Sonoma, and Parallels Desktop 19 supports both. On the technical side of things, Parallels now supports OpenGL 4.1. This makes things like ArcGIS CityEngine 2023, Vectorworks Vision 2023, VariCAD, Deswik.CAD, and more to function properly in virtual machines. Finally, you can use Touch ID to log into Window VMs. In all, it’s a big update, and it’s worth buying or upgrading to Parallels 19 to get the best Windows 11 experience on Mac.
How you can use Windows on your Mac
Although it is definitely disappointing to see that Apple is discontinuing Boot Camp as a native Windows option for Mac, Parallels 19 fills the gap nicely. In some ways, the process of setting up a virtual machine with Parallels is easier than running Boot Camp. By making it easy to access files between operating systems and the flagship Coherence mode feature, Parallels 19 is a really convenient way to install Windows on your Mac. You can also check out our other tutorial on installing Windows on Chrome OS.

Parallels Desktop
Parallels Desktop is the software to use if you want to run virtual machines on your Mac. That means you can run Windows, Linux, and other macOS instances in one place.