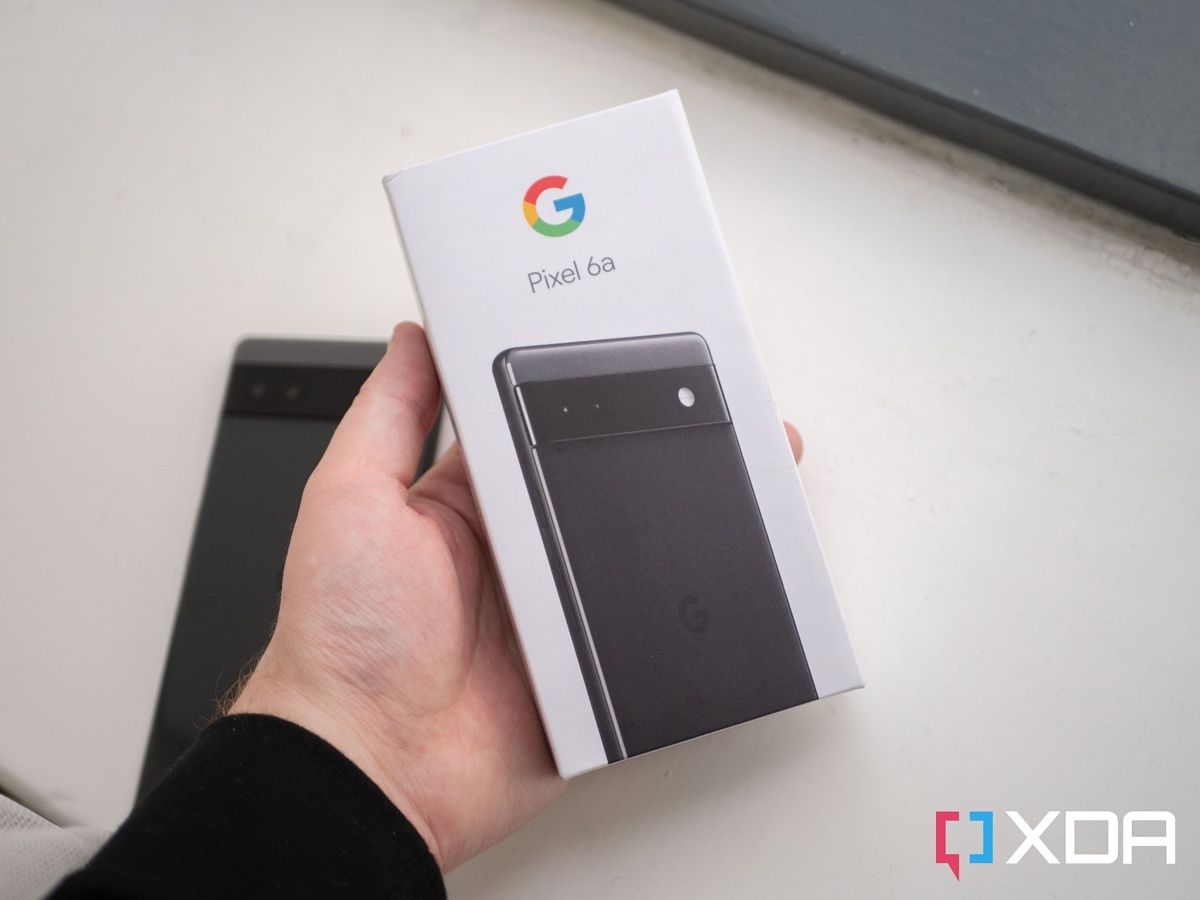
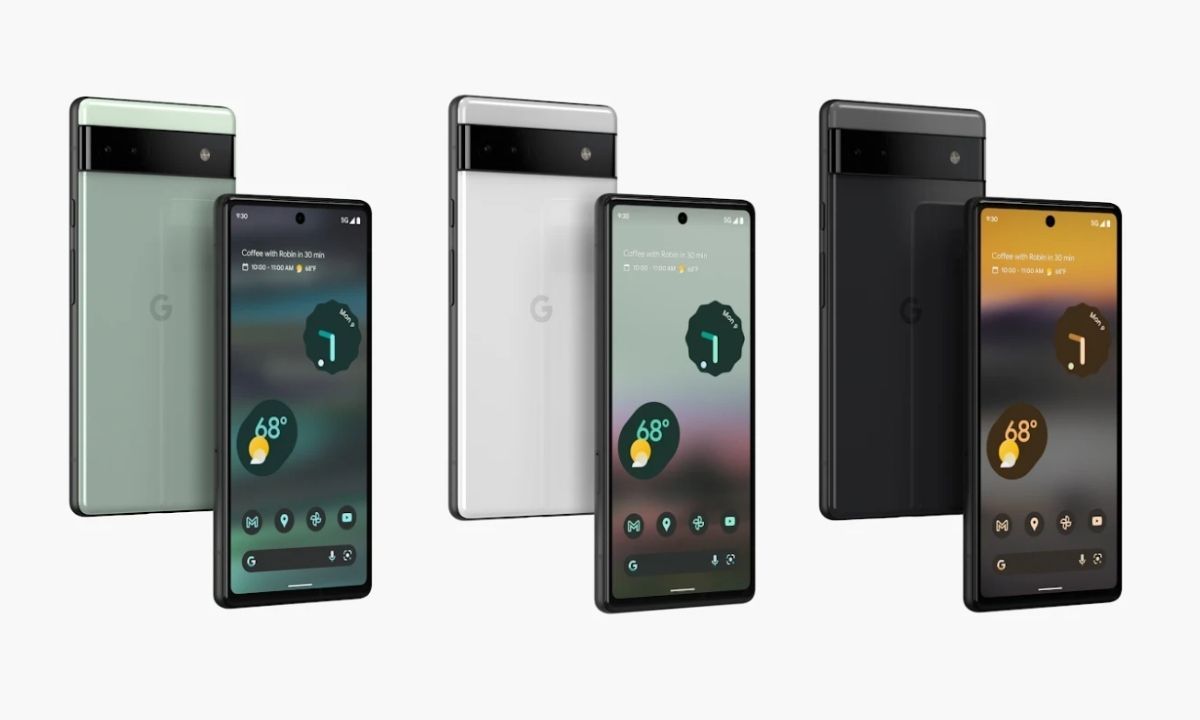
So after reading our Google Pixel 6a review and finding the best deal for the phone, you've decided to purchase it. Congratulations are in order since you've picked up one of the better mid-range Android smartphones on the market. Now all that's left is to buy a case, oh, and to also get it set up. If this is your first time with a Google Pixel smartphone or even an Android device, it might be intimidating to set it up. But, we've got you covered. Let's go ahead and walk through the setup process of your Google Pixel 6a.
The first thing you will need to do is power up your device. The power button is located on the right-hand side of the phone above the volume rocker. Press and hold the power button for a few seconds until the display turns on and you see a bright white screen with the Google logo.
Once you get past the bootup screen, you will be greeted by a "Welcome to your Pixel" screen. This screen will give you the option to choose your phone's language and also whether you want to enable Assistive options. Assistive options will allow you to change Vision settings and also setup the phone with your voice. You can also choose to set up the phone using touch by tapping "Get Started" in the lower right hand corner.
From here you will be asked to connect to a mobile network if you do not have a SIM card inserted into your phone. A SIM card is generally provided by your wireless carrier when purchasing cellular service. You may have to take this out of your old phone and put it in the Google Pixel 6a. If you are not familiar, you can follow our guide. You just have to locate the SIM slot and eject it using a SIM ejection tool, paperclip, or similar tool. If you do not have a physical SIM, then you might be able to work with your wireless carrier to download an eSIM instead.
If you do not have a data connection, the phone will ask you to connect to a Wi-Fi connection for setup. Once you have established a connection, the phone will start getting your phone ready. It may take a few minutes so be patient. When it has finished the process, you will be prompted to either copy your apps and data, or skip the process. If you don't want to transfer any data from your old phone, you can skip this step.
If you choose to transfer your information, you can transfer your data from an iPhone or another Android phone. For the purpose of this tutorial, we are going to skip transferring information, so press "Don't copy." Once this is complete, you'll be prompted to sign into your Google account or to create a Google account. You can also skip this option if you are not sure. For the sake of this tutorial, we will be skipping the creation and sign in process.
From here, you are going to be asked to set up Google Services that you might use. You will have options like location settings, Wi-Fi scanning settings, sending diagnostic data, and more. Read through each option and select carefully. Once you are satisfied with your choices, you can choose to "Accept." After this, you'll have to agree to some additional legal terms to proceed.
At this point, you'll be given the option to set up a security code for your lock screen. By default, you will choose a four-digit PIN, by pressing "Screen lock options", you will also be given the option of entering in a pattern, PIN, or password. You can skip this step, but if you choose to enter a security code, you will be asked to verify it by re-entering it.
If you've entered a security code, you'll next to prompted to register a fingerprint to easily unlock your device. You can choose to accept by tapping I Agree or skip the process by tapping No Thanks. Next, you'll be given an option to install additional Google apps, if you choose to do so press Ok, if not, uncheck the All of the following apps box.
As a final step, you will be greeted with instructions on how to use the phone. If you want a tutorial on gesture navigation, select Try it, otherwise Skip. That's it, you've finally completed the setup process. Swipe up and you'll be greeted with your default homescreen for your Google Pixel 6a.


