Samsung has finally unleashed its latest lineup of flagship tablets upon the world -- the Galaxy Tab S8 Series. These three devices come in different sizes and specifications to match various needs and budgets. They're some of the best available options in this department right now. Though, if you buy one, make sure to check out our best cases for the Galaxy Tab S8, Galaxy Tab S8 Plus, and Galaxy Tab S8 Ultra. They're delicate tablets, and it's always better to be safe than sorry. Now, you must be wondering how to go through the initial boot after unboxing the device. All three tablets share the same process -- here's how to set up the Samsung Galaxy Tab S8 Series.
How to set up the Samsung Galaxy Tab S8 Series

- When you first turn on your Samsung Galaxy Tab S8 device, click the arrow right above the big blue button to change the language -- if you want to set it to a language other than the default one.

- Scroll through the languages and select the one of your choice, then click the big blue Start button shown in the first screenshot.

- Agree to the End User License Agreement and the Privacy Policy -- otherwise, you won't be able to proceed and use your Galaxy Tab S8. If you’d like Samsung to collect diagnostic data to improve their products, you can enable the third option -- you're not forced to, though.

- Choose which of the sensors and data Samsung can access to personalize your experience. Note that denying access to some of these could cause certain stock apps to function in a limited manner. The company explains briefly why it needs access to each of them, so you can decide accordingly -- depending on the relevance of the features to you.

- Find your home network and click on it. Your device needs internet access to communicate with Samsung and Google servers to complete the setup. In some regions, you do get Cellular options for the Tab S8 series, so you may be able to pop in your SIM card and use data. But for the most part, you'd need to connect to a WiFi network. We'd advise a WiFi connection anyway since the setup process can chew through your data limit.

- Type the password of your Wi-Fi password and click the Connect button when you're done.

- Give your Galaxy Tab S8 a few minutes. Don't attempt to turn the tablet off or click any buttons -- just wait for the process to complete on its own.

- Decide if you want to copy apps and data from a device you're already using. If you want to start fresh, click on Don't copy. Otherwise, hit Next.

- If you decide to copy your data, choose whether you have access to it or not. If you don't, you will need to restore an old backup from the cloud. Otherwise, follow the steps below.

- Select whether your current device runs Android or iOS/iPadOS. If it's an Android device, you will be able to copy more of your personal data, including paid app purchases from the Google Play Store.

- Sign in to your Google account to use the company's services, such as the Google Play Store to download apps and games. Start by typing your Gmail address, followed by its password.

- Go through the authentication process as instructed. This is to confirm that it's indeed the account owner signing in.

- Agree to Google's Terms of Service and Privacy Policy after thoroughly reading them. If they sound fishy to you, you can simply skip adding your Google account to the Galaxy Tab S8. You will miss out on some of the company's features and services, though.

- Give your tablet a few moments to communicate with Google servers after agreeing to the terms.

- Choose which sensors and data Google is permitted to access. You can also enable Google Drive backups to secure your data in the cloud and make moving to a new device in the future a faster process.

- Optionally protect your tablet with a password, PIN, pattern, or through biometric authentication. Going for fingerprint or face recognition protection will require you to set another non-biometric protection method. Note that the base Galaxy Tab S8 comes with a side-mounted fingerprint scanner, while the Tab S8 Plus and Ultra have an in-display fingerprint sensor.

- Choose your desired password or PIN and confirm it. Make sure it's not too easy to prevent potential thieves or snoopers from accessing your data if they gain physical access to your Galaxy Tab S8.

- Optionally enable the Hey Google hot word. This would allow you to control your tablet and ask for information by using your voice only.

- Decide if Google Assistant is permitted to work when your device is locked. If you leave your tablet at home at all times, there's no harm in enabling that if you trust the people you live with.

- Give your Galaxy Tab S8 a few minutes. Again, don't click any buttons or attempt to turn it off at this stage.

- You can optionally sign in with your Samsung account to take advantage of more of the company's services, such as the Galaxy Store and Samsung Members -- which can be used to run device diagnostic tests.

- Voila! Once you’re done with the previous step, you’re ready to start using your new tablet! You can either click Finish to use your Galaxy Tab S8 or tap on Explore your Galaxy to read through more tips.

- After clicking Finish, you're taken to the familiar home screen -- where you can start personalizing and using your new device.

Samsung Galaxy Tab S8
The Samsung Galaxy Tab S8 is the entry level tablet of the company's latest flagship lineup, featuring an 11-inch screen.

Samsung Galaxy Tab S8 Plus
The Samsung Galaxy Tab S8 Plus is the middle-range tablet of the company's latest flagship lineup, featuring a 12.4-inch screen.

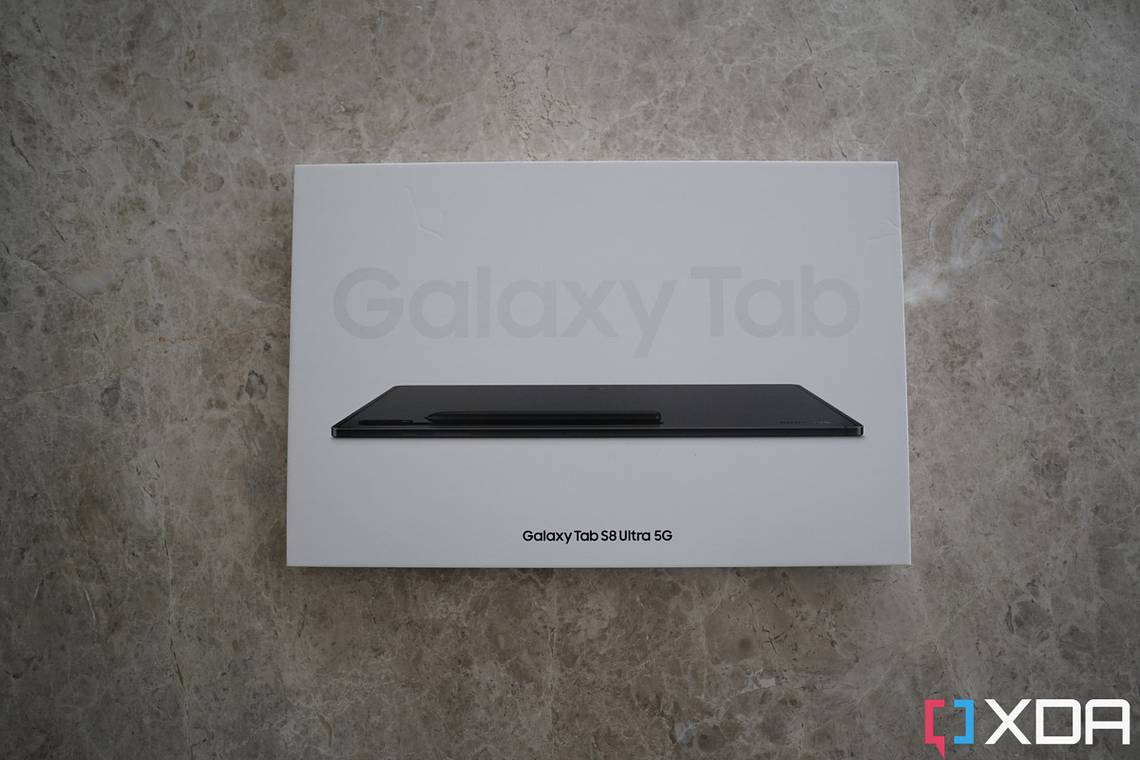
Samsung Galaxy Tab S8 Ultra
The Samsung Galaxy Tab S8 Ultra is the highest-end tablet of the company's latest flagship lineup, featuring a 14.6-inch screen.
Which Samsung Galaxy Tab S8 model did you buy, and why? Let us know in the comments section below.