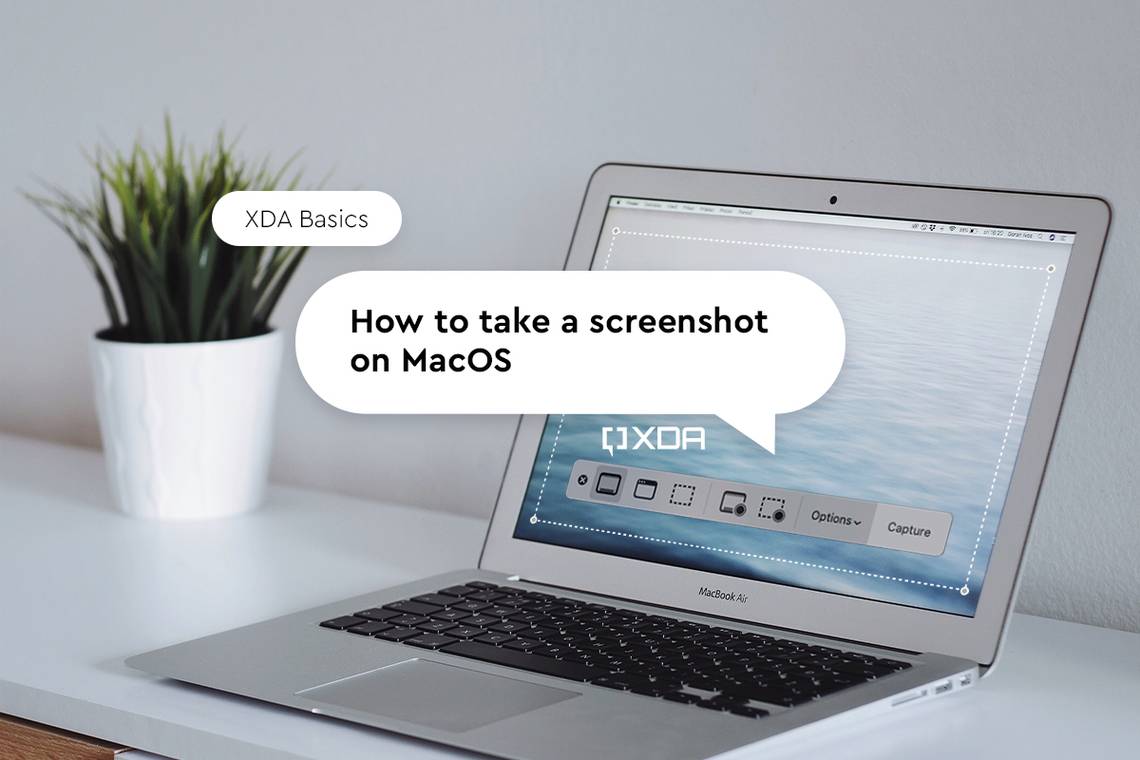
Taking a screenshot is one of the essential features that many users rely on when using their devices. While this functionality is pretty straightforward on most recent phones, utilizing it on macOS Sonoma can be more tricky. Though, worry not, because once you get the hang of it, you likely won't struggle using it.
In this article, we'll take a look at how to take a basic screenshot, as well as some more advanced options. For those comfortable with Terminal commands, we'll also see how to take a screenshot on Mac using this method. Lastly, we will take a brief look at how to store your screenshots in a custom folder for organizational purposes.
How to take a screenshot on Mac using keyboard shortcuts
The simplest way to take a screenshot on your Mac is to use the built-in keyboard shortcuts. All of our favorite Macs have this functionality built-in. If you're interested in capturing the entire screen on your Mac, simply press Shift + Command + 3 (all buttons simultaneously). This will capture everything on your desktop and save the picture to your desktop as a PNG file.
Often you may want to take a screenshot of a particular portion of your screen, to do this press Shift + Command + 4. This command brings up a set of crosshairs that allow you to choose a portion of your screen with a quick mouse click. After highlighting the desired portion, simply release the mouse click and the screenshot saves to your desktop.
There are also other screenshot-related keyboard shortcuts that we've highlighted in our guide to recording the screen on a Mac, including:
- Capture a window or menu: Shift + Command + 4 + Spacebar
- Launch the Screenshot app: Shift + Command + 5
By default, macOS will name your screenshot using the date and time it was taken. If you are interested in changing the name or file format of your screenshot, see the section below covering Terminal commands.
How to take a screenshot on Mac with third-party apps
There are also a number of solid third-party apps that can take and edit screenshots on your Mac. All of these apps offer basic screenshot functionality and add additional advanced tools based on your particular use case. Below are some of our favorite picks if you want to check out third-party options.
-

Lightshot
Lightshot is a free third-party app that offers a fast and easy way to use interface. After capturing your screenshot, you can easily share to social media or save to your favorite cloud platform.
-

SnapNDrag
SnapNDrag is a paid app, with a price of $10, but it's well worth it. The ability to organize, annotate, and share screenshots is seamless. If you need to sync screenshots across devices or social channels, this is the app for you.
-
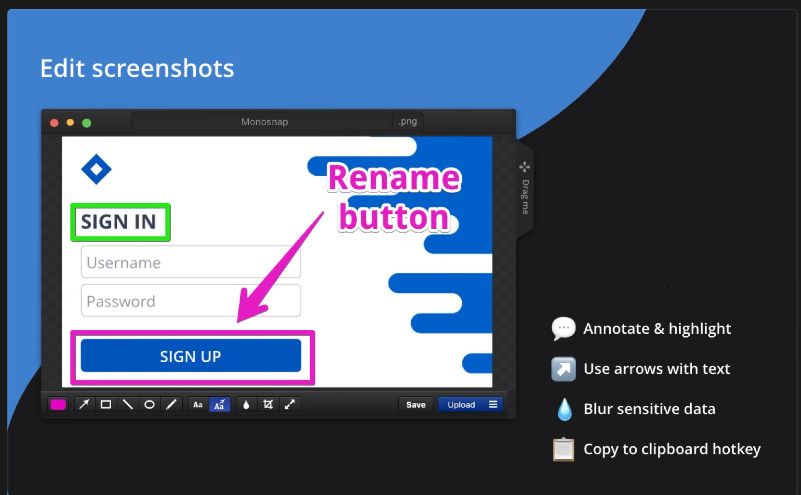
Monosnap
Monosnap offers a free version with a robust feature set. Featuring an 8x magnifier window, this is the app for pixel-perfect screenshots. In addition, you can set custom hotkeys and take delayed screenshots. There's a paid version with additional commercial features.


How to take and rename screenshots on Mac using Terminal
If you're an advanced macOS user, you've likely used Terminal at some point. Terminal commands allow you to control your Mac on a more granular level, and also avoid using the mouse so much. The Terminal app is located within the Utilities folder on your Mac. Opening Terminal will display a simple command-line interface to enter text. To take an interactive screenshot using Terminal, type the following command, and then press Return:
screencapture -i ~/Downloads/myScreenCapture1.jpg
This command will bring up the set of crosshairs to select the desired portion of the screen. After selecting the portion you wish to include, Terminal saves the file to your Downloads folder as a JPG file with the name "myScreenCapture1." The main benefits of using Terminal for screenshots are clear: It is easy to change the file name, format, or saved location.

It's worth noting that the "-i" extension in the Terminal command above tells your Mac to take an interactive screenshot. This is the portion of the command that enables the crosshair selection tool. There are a number of other extensions you may want to use with this command in Terminal. For instance, adding the "-x" command will take a screenshot with no animation sound, and "-C" will force the screenshot to show the cursor. It's also possible to combine several command extensions simultaneously.
screencapture -ixC ~/Dropbox/myScreenCapture3.png
The command above saves your interactive screenshot to the Dropbox folder, the screenshot animation doesn't make sound, and your screenshot will include the cursor. With Terminal commands, control over the screenshot function is much more precise, and you can even change default settings.
How to change the default file format or folder for screenshots using Terminal
After using Terminal to take a few screenshots, you may decide you want to manage your screenshots even more carefully by changing your default preferences. To change the default save location for screenshots use the following command, with the desired folder in place of "Dropbox/Screenshots."
defaults write com.apple.screencapture location ~/Dropbox/Screenshots

This is a very convenient option for automatically saving your screenshots to a folder in the cloud, as I've done in this instance. In addition to the default folder, you may also wish to change the default file format for screenshots. The default format can be easily modified to PDF, JPG, TIFF, or GIF format. For example, to change the default screenshot format to JPG, use the following command:
defaults write com.apple.screencapture type jpg
Replacing the JPG extension with any of the other formats will generate a similar result. As you can see, it's quite simple to take full control of your screenshot output using Terminal on Mac.

There are many ways to take a screenshot on Mac. If you're simply after basic functionality, you're fine sticking with the built-in keyboard shortcuts. For those looking for a dedicated tool for work, many of the third-party apps offer excellent annotation and sharing features for social media and cloud integration. Using the Snagit app, you can even add picture-in-picture to a tutorial using one of our favorite webcams for Mac. Advanced users will love taking control of every aspect of the screenshot experience using Terminal commands. Whichever method you choose to use, you are now fully prepared for any task that requires screenshots on your Mac.