Quick Links
Samsung's Galaxy S23 family represents the best that the Korean OEM has to offer this year. For the first time, all three devices in the lineup feature a custom flagship processor from Qualcomm across the globe, alongside the usual great camera hardware and stunning displays. There's also been a growing number of S23 fans brewing within the developer community since it was launched, which is evident from the rather swift TWRP release. If you have purchased one of the phones and have yet to root it with Magisk, here's a tutorial to guide you through the process.
Whether you're new to the world of aftermarket tinkering or a veteran root user, this in-depth guide will walk you through the entire process from start to finish and take care of all device-specific issues. After you've unlocked the bootloader and flashed a Magisk-patched boot image, you can start taking advantage of a wide variety of Magisk modules available on our forums. You can also utilize several powerful root apps and Xposed modules, which should give you all of the customization you would ever need without needing a custom ROM.
- You need to have a bootloader-unlockable Galaxy S23 unit in order to root.
- The bootloader unlock process will completely wipe your Galaxy S23.
- Unlocking the bootloader will irreversibly trip Knox, disable a bunch of software features, and stop your device from receiving OTA updates.
How to root the Samsung Galaxy S23 with Magisk
Many enthusiasts expected that achieving root access on the Galaxy S23 would be just as easy as rooting Samsung's older Galaxy devices, but that didn't turn out to be the case. Due to the fact that the phones run Android 13 out of the box, Samsung has to follow Google guidelines for generic boot partitions, which means the ramdisk now resides under the "init_boot" partition instead of the plain old "boot" one. But luckily, the modding scene seems to be moving along just fine.
Although Magisk's current stable channel release doesn't work, XDA Recognized Contributor BlackMesa123 stepped in and submitted the required patch routines. As a result, you can now use the latest bleeding-edge build of Magisk to perform the necessary modification for rooting the Galaxy S23 series.
Keep in mind that there is no known way to unlock the bootloader of the North American (Canada and the USA) editions of the Galaxy S23. In spite of the unified hardware base, cross-flashing the unlockable bootloader from other regional variants to the US (model numbers ending with 'U' and 'U1') or Canadian (model number ending with 'W') models isn't possible. Thus you can't root them using a Magisk-patched init_boot image.

Here's how to get started:
Step 1 - Enable OEM unlocking
- Open the Settings app on your Galaxy S23.
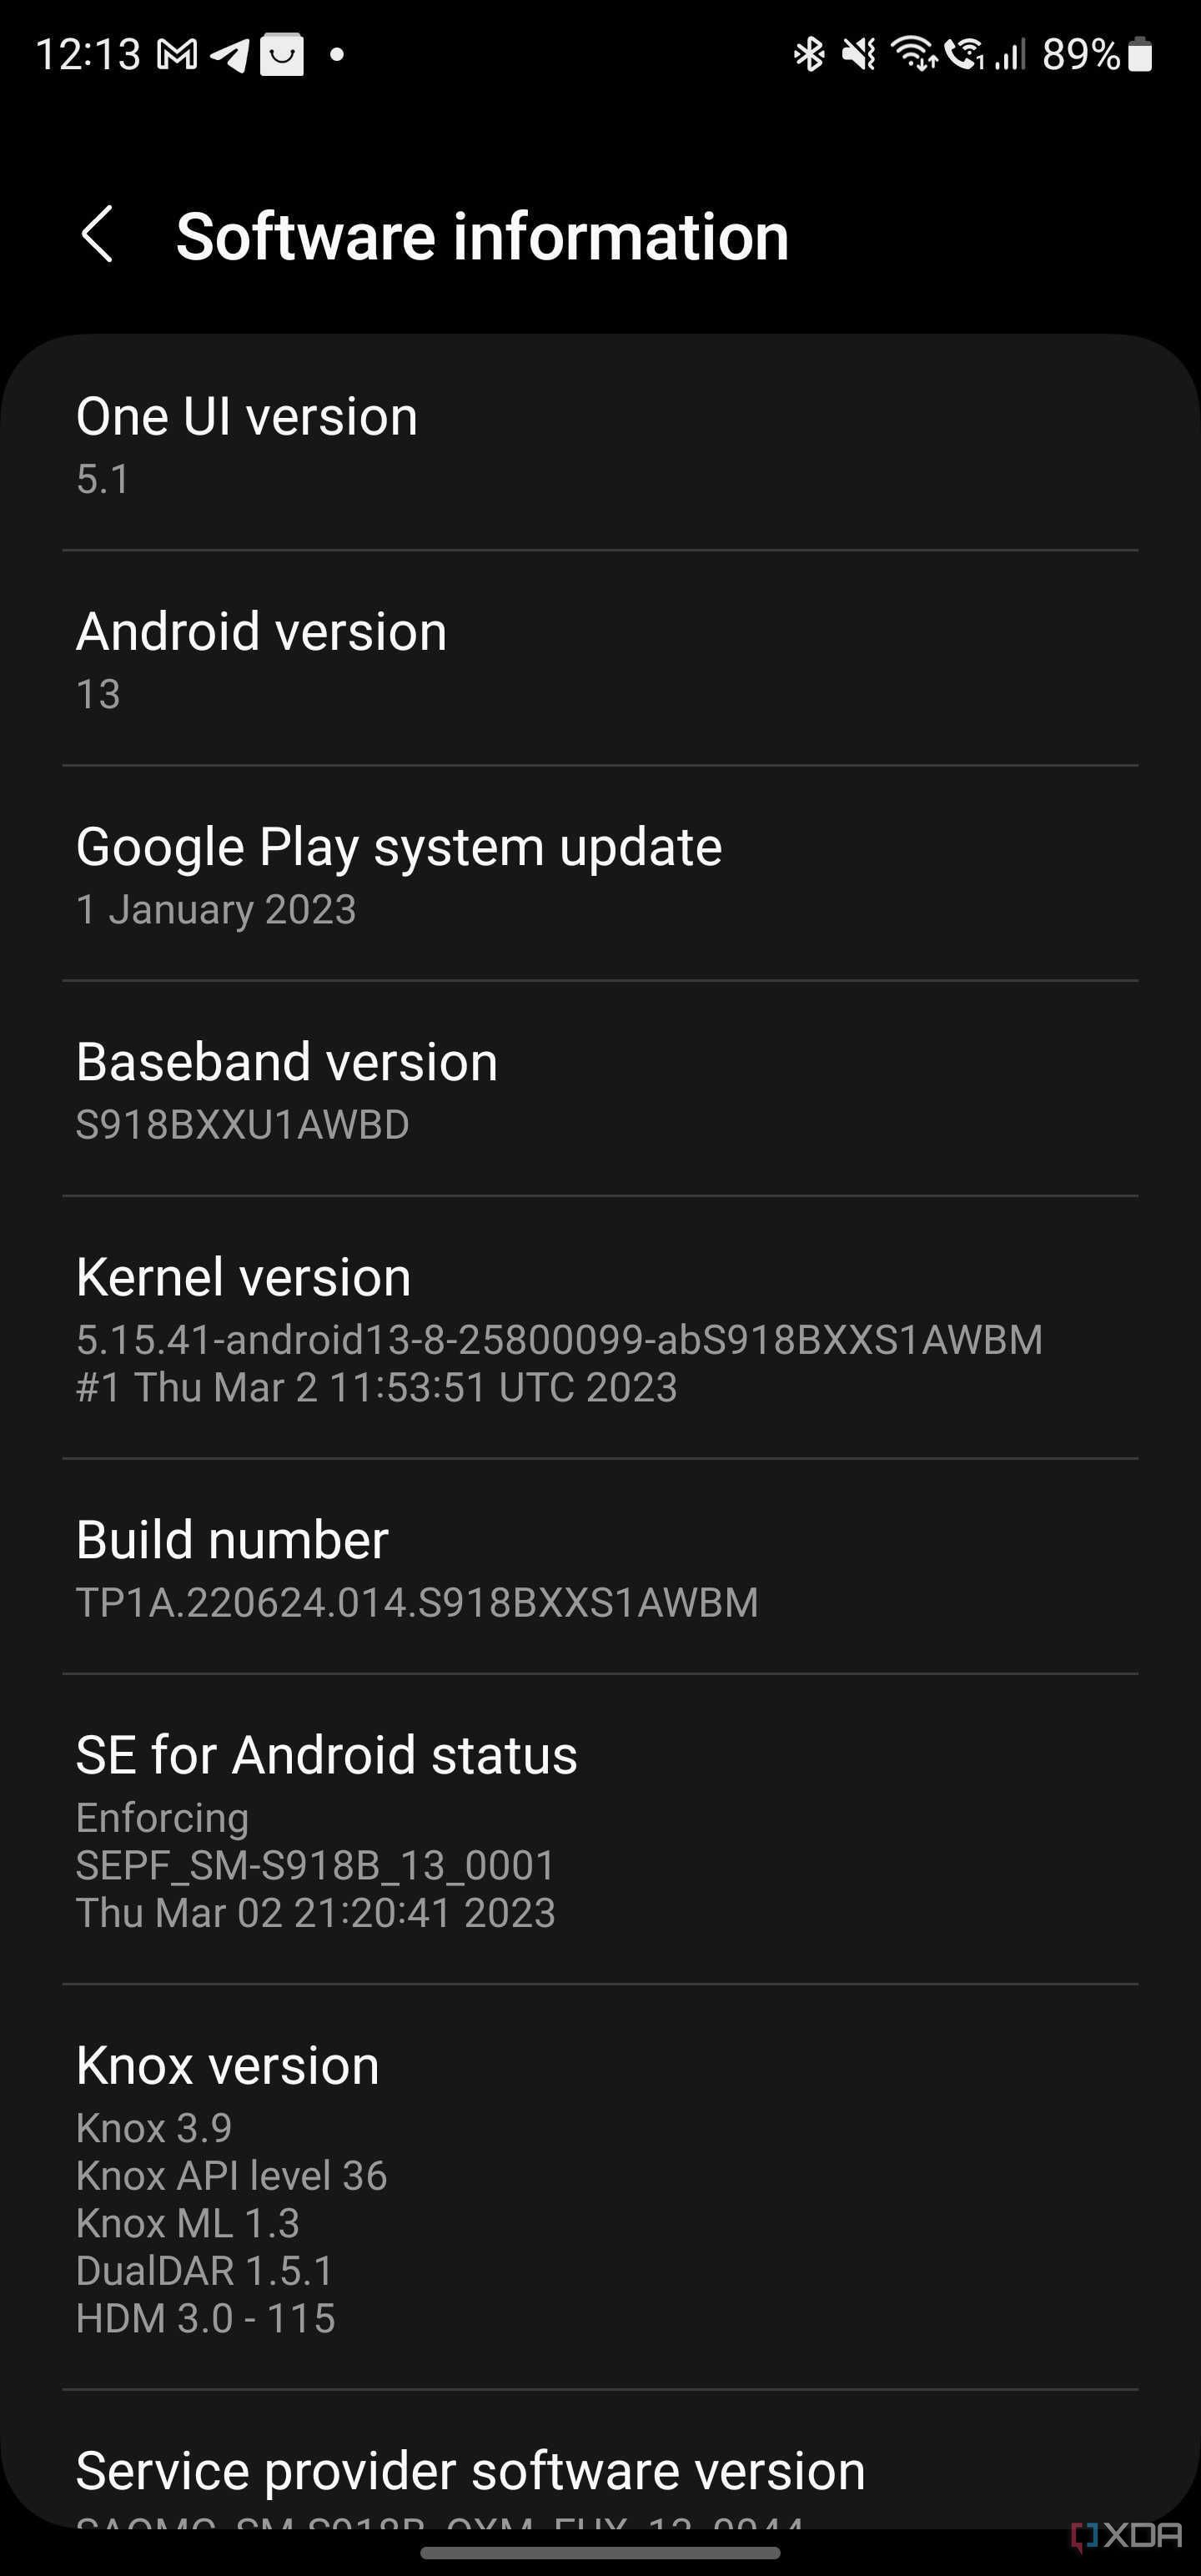
- Navigate to About phone > Software information.
- Now tap on Build number section seven times to enable the developer options.
- Go back to the main page of the Settings app.
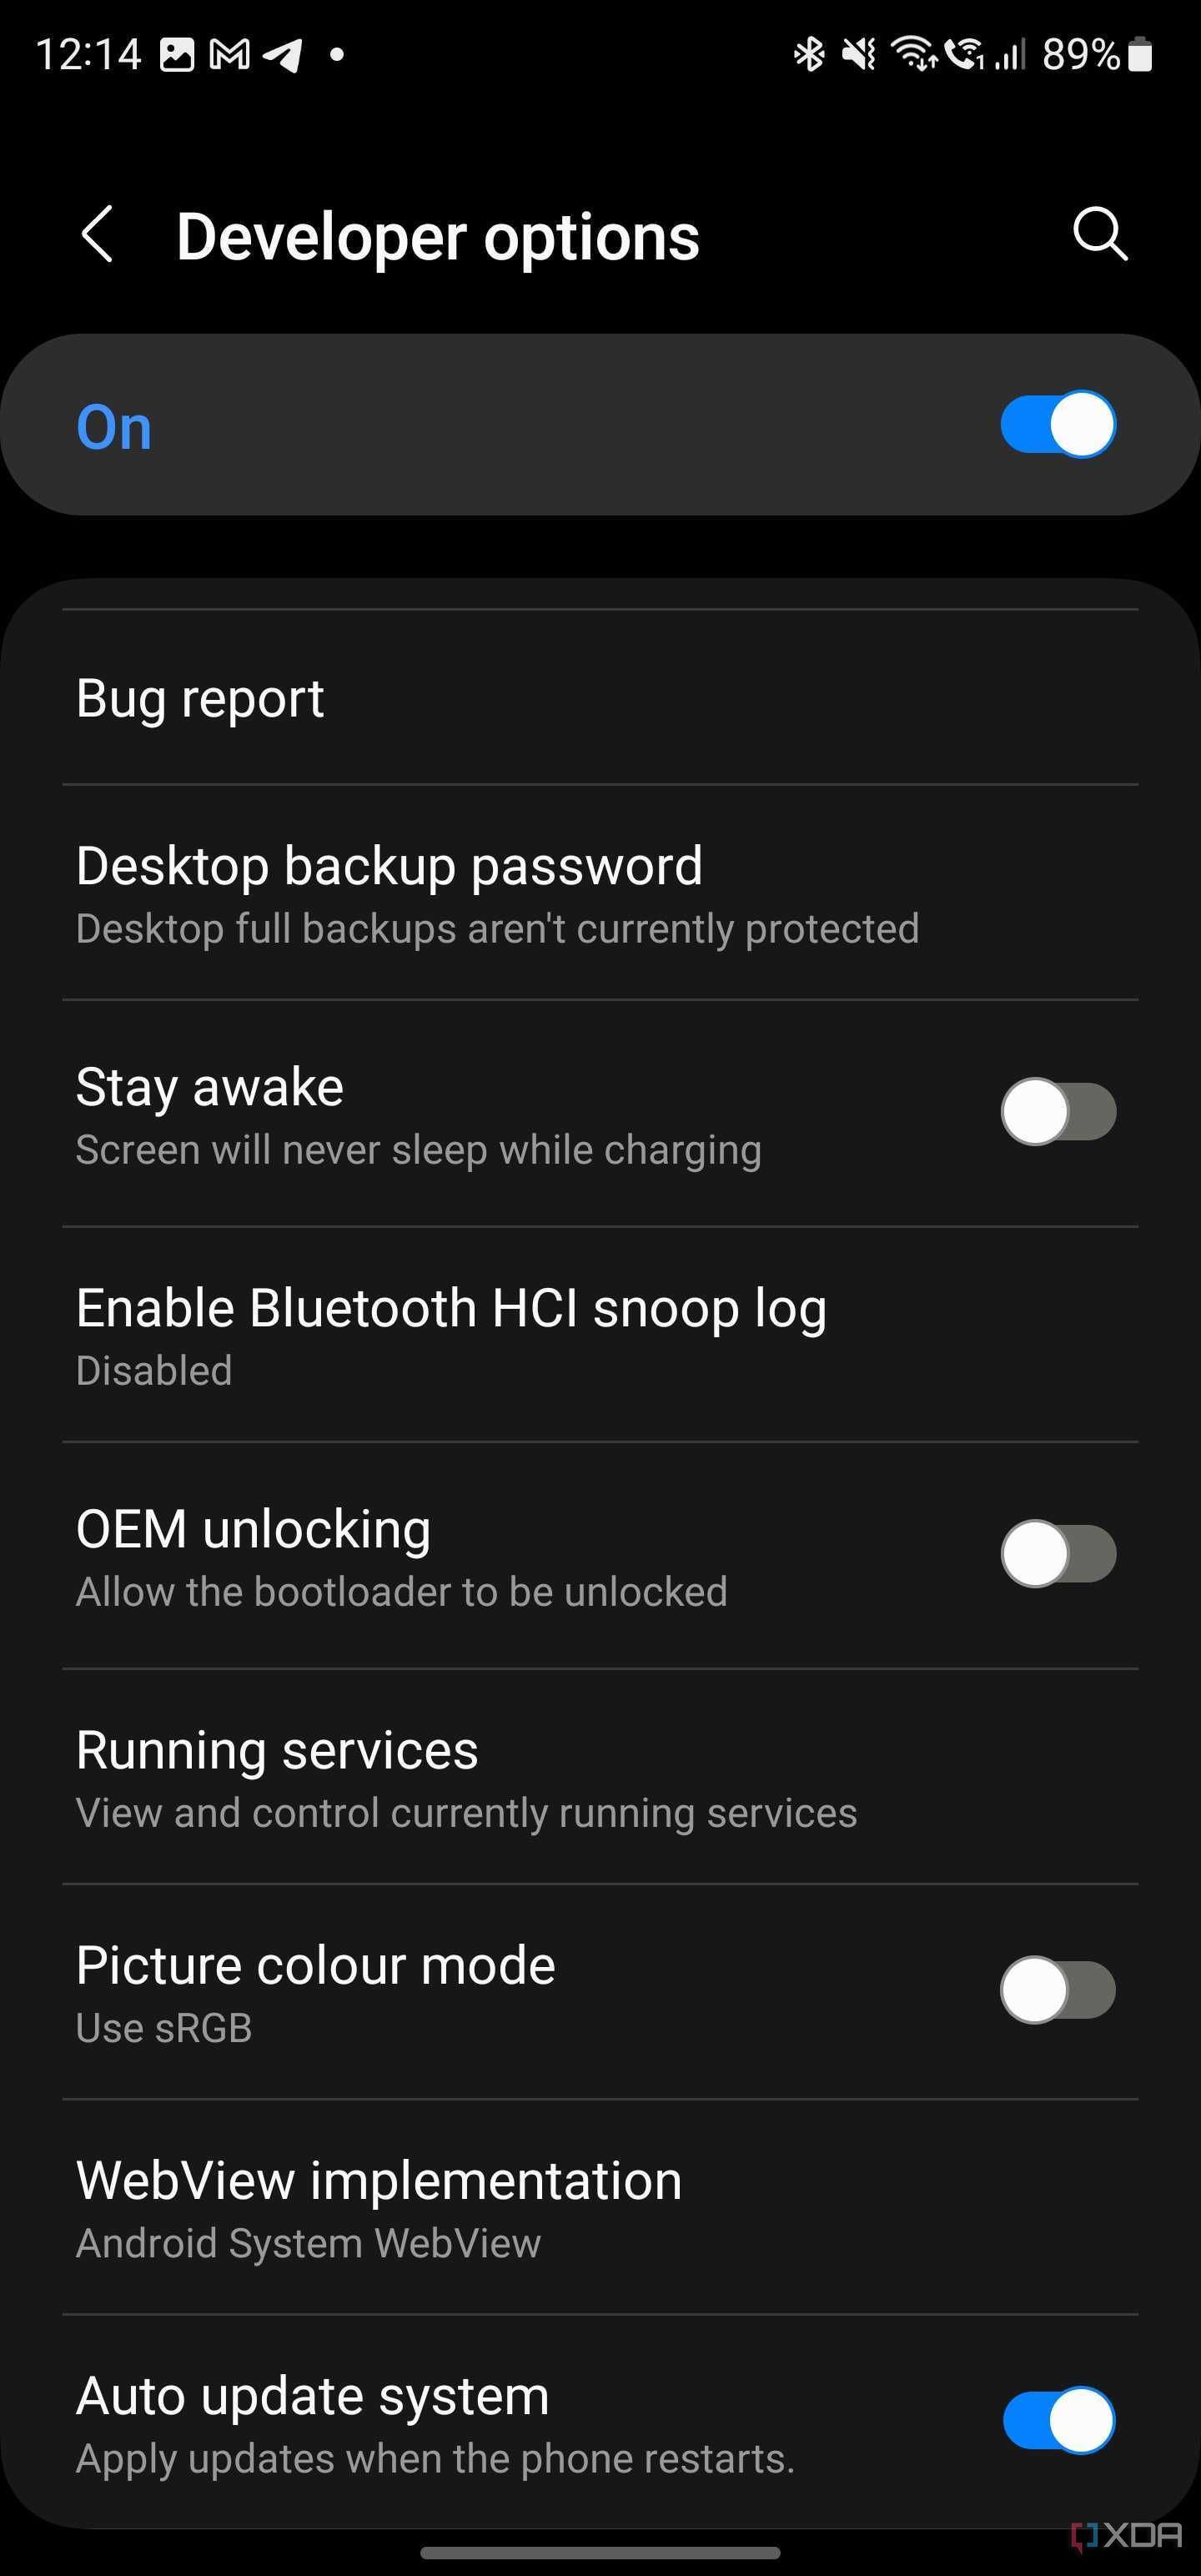
- Locate the new Developer options section and open it.
- Enable the toggle next to OEM unlocking.

Notably, you might need to enter your password/pattern/PIN to validate some of the actions.
Step 2 - Unlock the bootloader of your phone
For Galaxy devices, the bootloader unlock is a one-way trip. Even if you restore the stock OS and re-lock the bootloader, you will lose a plethora of Samsung Knox-related features. There is no way to restore the Knox warranty bit other than by replacing the motherboard. Moreover, the regular OTA mechanism will cease working, so you have to flash subsequent software updates on your own. In a nutshell, only attempt to perform the unlocking procedure if you know what you're doing.
- Turn off the phone, press and hold both volume up and volume down buttons simultaneously, and connect the device to your PC/Mac using the USB cable.
- Release the buttons when you see the warning about custom OS appear.
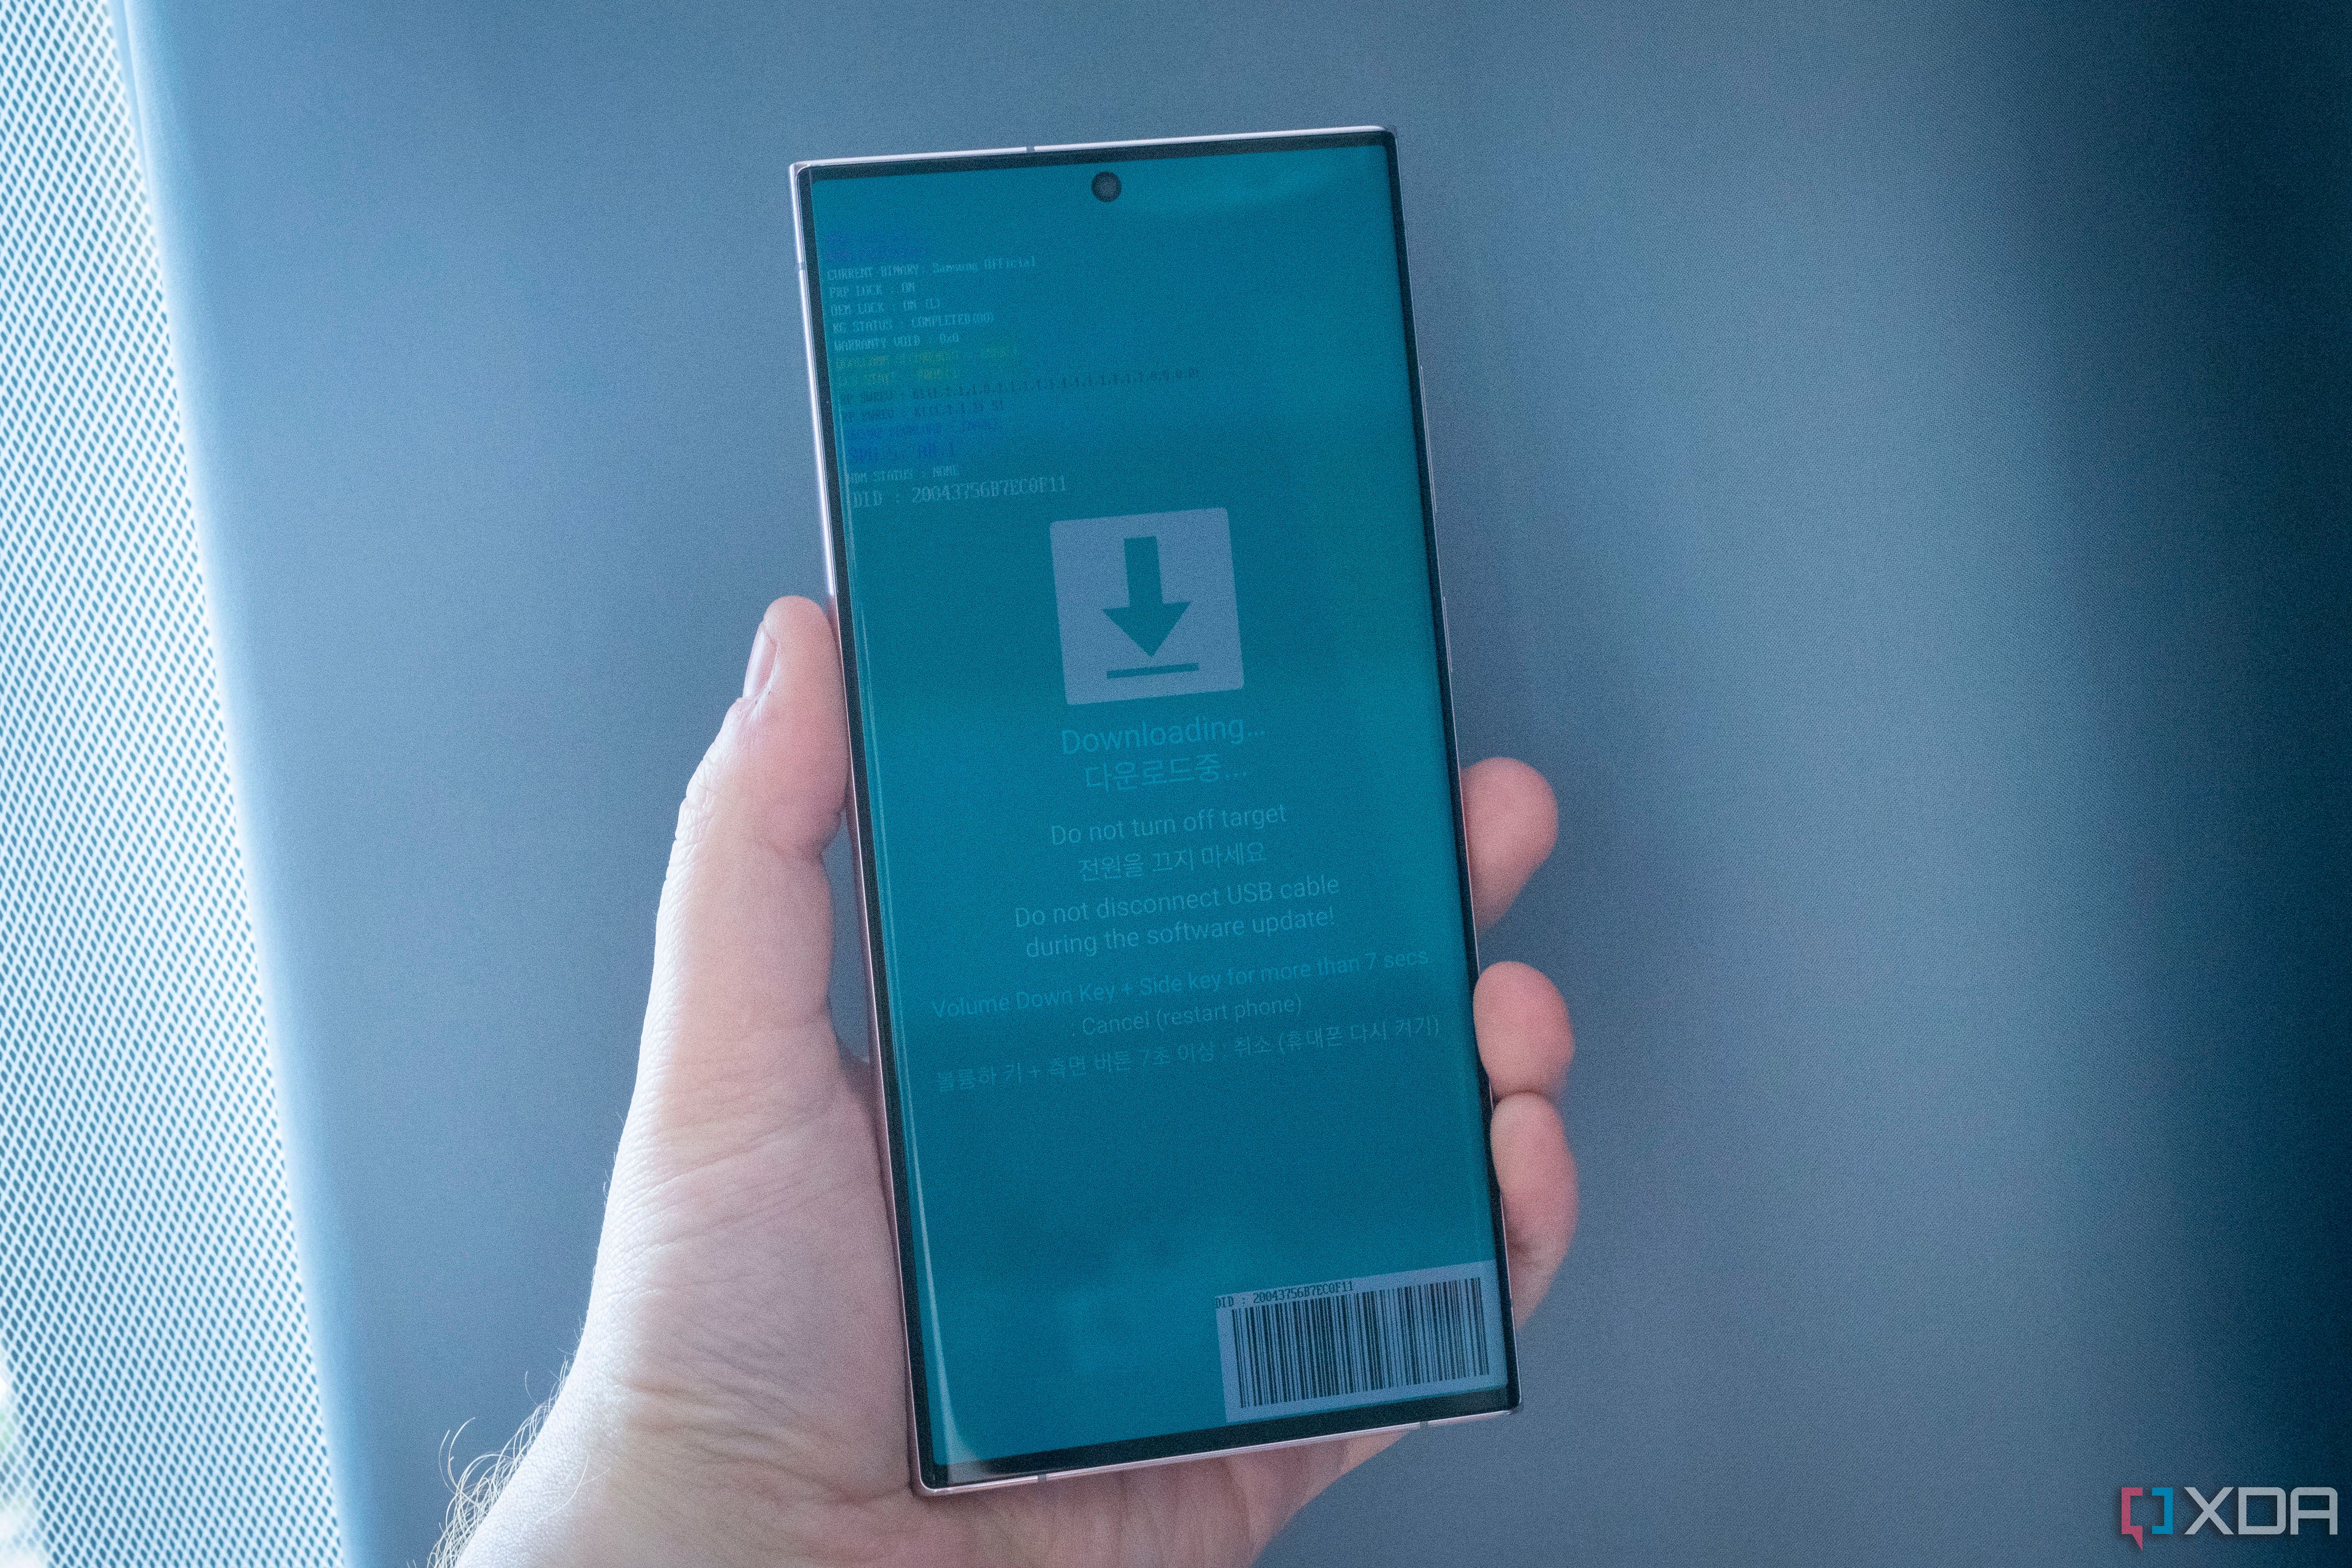
- Press the volume up key once to boot into Download Mode. At this stage, you should see an option to unlock the bootloader.
- Now, press and hold the volume up button for a few seconds, and the bootloader unlocking wizard will begin.
-
Use the volume up button to confirm the unlocking process.
- To reiterate, this step will wipe all the data on your phone, so make sure you back up your data before proceeding.
- Once completed, your device will automatically boot up to the OS.
Step 3 - Use Magisk to patch the init_boot image
- Download the latest firmware for your device variant directly from Samsung servers. To know more, take a look at our tutorial.
-
Extract the firmware archive and copy the AP tar file to your device. The naming scheme should be
AP_[build number and other identifiers].tar.md5. -
Download the latest bleeding-edge build of Magisk and install the APK on your phone. You can also use the testing version from BlackMesa123.
- It is possible to perform the patching part on a different Android device as well.
- Tap the Install button in the Magisk card.
- Choose Select and Patch a File in method and choose the AP tar package.
-
After successfully patching the file, copy the patched file (named as
magisk_patched_xxx.tar) from the Download folder of the phone to your PC. - Reboot your Galaxy S23 to the download mode.
-
Grab a copy of Odin from our Samsung flashing tutorial (refer to the first point) and open it on your PC. Next, flash the
magisk_patched_xxx.taras AP, together with BL, CP, and CSC from the original firmware package.- Don't choose the HOME_CSC module because a data wipe is necessary.
-
The target device should reboot automatically once Odin finished flashing.
- In case the phone asks you to perform a factory reset, do so.
- Provided you installed the Magisk app on the target S23 unit earlier, launch it once you reach the home screen. It should show a dialog asking for additional setup.
- Allow the app to execute the additional routines and automatically reboot the device.
- If everything goes right, your device should be rooted.
For those of you who are reading this tutorial a few weeks or months down the road, take note that support for init_boot image patching may be available on the stable channel of Magisk. If that's the case, just replace the bleeding edge build with the stable release.
(Bonus) Step 4 - Install subsequent software updates and keep root access
As mentioned earlier, once you have rooted your Samsung device, you can no longer upgrade your Android OS through OTA. To upgrade your device’s OS, you have to manually download the new firmware package and go through the same AP patching process written in the previous section. The only difference here is in the Odin flashing step: instead of the CSC tar, use the HOME_CSC tar file since we want to perform an upgrade without wiping the data.
It is worth mentioning that flashing only the AP slot isn't recommended, as Odin might alter the partition map and shrink your userdata partition. This is why you should always flash the patched AP, BL, CP, and HOME_CSC when upgrading.
Wondering what you should do after unlocking the bootloader and rooting your Samsung Galaxy S23? Join our forums for all the mods, custom kernels, and custom ROMs when they're available!
XDA forums: Samsung Galaxy S23 || Galaxy S23 Plus || Galaxy S23 Ultra


