Most of us have suffered from a broken screen or a battery with diminished capacity after too many cycles. Thankfully many of us who frequent XDA also have the ability to replace or repair minor hardware faults such as these, and when purchasing a device we will take repairability into consideration.
Join us as we teardown an LG G6 to show you how it is done correctly and which parts you can replace at home if needed.
Tools required
- Heat gun
- Suction cup
- Pry tool
- Screwdriver
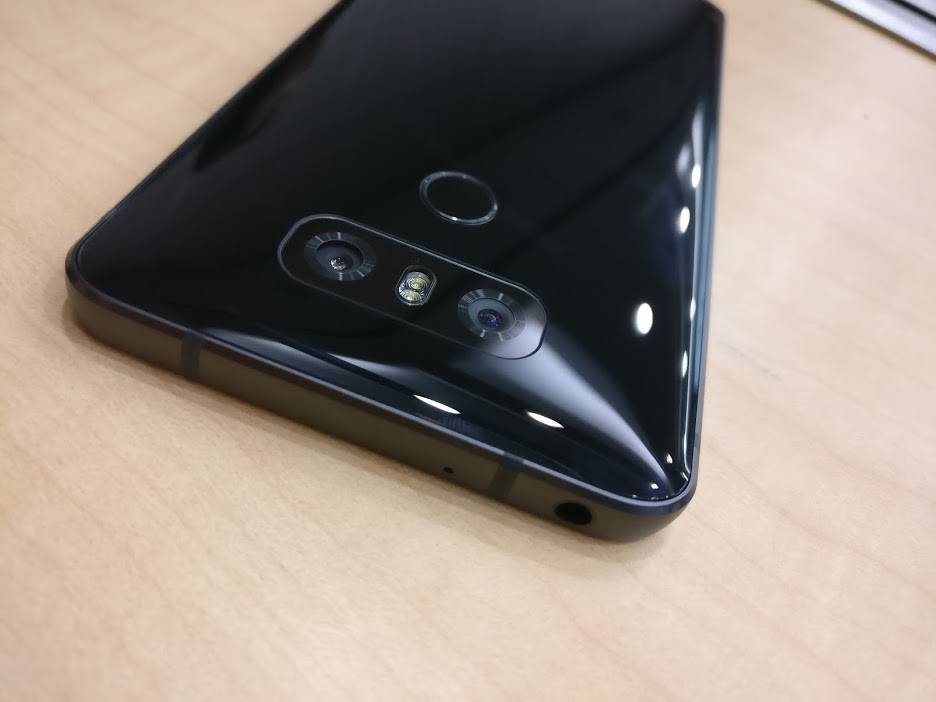
Disassembly of the G6 is an easy process, the back of the unit can be removed with a little heat, a small suction cup and pry tool. The rest of the unit is held together with 11 easily-accessible screws and several ribbon cable connectors which can be taken apart with ease. As we mentioned in our coverage of the device's launch only the US model will receive wireless charging, although if you can find a charging coil with the connectors in the right place, you should be able to add it yourself with little difficulty in the same manner as the Samsung Galaxy Note 2 and many other phones (if you try this let us know how it goes!). Unfortunately, the battery is held in place with strong tape -- this means that removing it is extremely difficult without risking the battery or damaging the main body of the phone to which it is mounted. The final note here is that due to the lengths LG took to waterproof the device, the screen is not replaceable. Strong bond and a metal frame hold the display firmly in place meaning that a screen replacement does involve the use of machinery that the vast majority of the population simply have no access to.
Key Points
- Disassembly is very easy
- Waterproofing is not ensured after reassembling
- Battery is non-removable
- Display is non-removable
- Adding a wireless charging coil yourself is actually a possibility!

Do you ever repair your phone's hardware? Leave a comment below!