The Nintendo Account service can be needlessly complicated. I'm not sure what it is about Nintendo, but their online services always seem to have some strange oddities to deal with that you wouldn't have to worry about on other consoles or PC. One of these strange practices is how a Nintendo Online account works when on multiple Switches at once, and how to deal with save data across two (or more) consoles. You would think it'd be straightforward, but it isn't, as I learned when testing for my Nintendo Switch vs Nintendo Switch Lite piece. Here, I'll break down how to properly have one Nintendo Account across multiple systems, the differences between primary and secondary consoles and how to account for that, and more.
Getting Started
The very first step to getting your Nintendo Account on multiple Switches is really easy--simply sign in! While the rest of the process is a little convoluted, you won't run into any errors or anything by simply signing into another Switch.
However, there are two designations for the Switch in terms of how your account is viewed on it. The first Switch you've signed into is the Primary Switch, while any subsequent Switch will be a Secondary Switch. There are ways to change that, but first, it's important to know the difference between the Primary and Secondary Switches in order to pick the correct one for your primary account.
Primary Switch vs Secondary Switch
Unfortunately, you can't sign on to the same Nintendo Account on multiple systems and get the exact same functionality on each console. Primary Switch consoles get all the normal functions you come to expect from the Switch, but secondary Switches can only access and play games from your account when connected to the internet. If your secondary Switch cannot connect to the internet, you simply can't play games on it, which hurts its portability a fair bit.
Additionally, Primary Switches will always take priority over Secondary Switches in terms of playing content. If I boot up Super Mario Odyssey on my Secondary Switch, and then try to boot it up on my Primary Switch, it will boot up on the Primary without problems. The Secondary Switch, however, will be booted off the game and back to the Switch menu. That's a little rude! This even applies to situations where I'm playing an entirely different game on the Secondary Switch. In short, if the Primary Switch is being used, the Secondaries are cut out of access. This is problematic if you're sharing accounts between family members, less so if you're the sole person using both Switches.
Thankfully, it's not that difficult to switch (hah!) between Primary consoles. It's just a little hidden.
Changing your Primary Switch

In order to change the Primary Switch, you need to have physical access to it. Then, do the following:
- Go to the eShop
- Navigate right so it highlights your avatar in the upper right-hand corner and select it
- In the main area of Account Information, scroll down until you reach the Primary Console section (it's near the end)
- Hit the 'Deregister' button, and enter your password to confirm the deregistration.
You'll then get a notice that the next Switch to log into the eShop will be designated the Primary console going forward. Do so on the Switch you want to be the Primary one!
Which one should I make the Primary Switch?
Which Switch you make the Primary Switch will depend on your situation. But, the general rule of thumb is that whichever Switch you'll be taking outside the house will be best served by becoming the Primary Switch. Even if you happen to play the Switch that's at home more, it will probably be connected to the internet at all (or most) times.
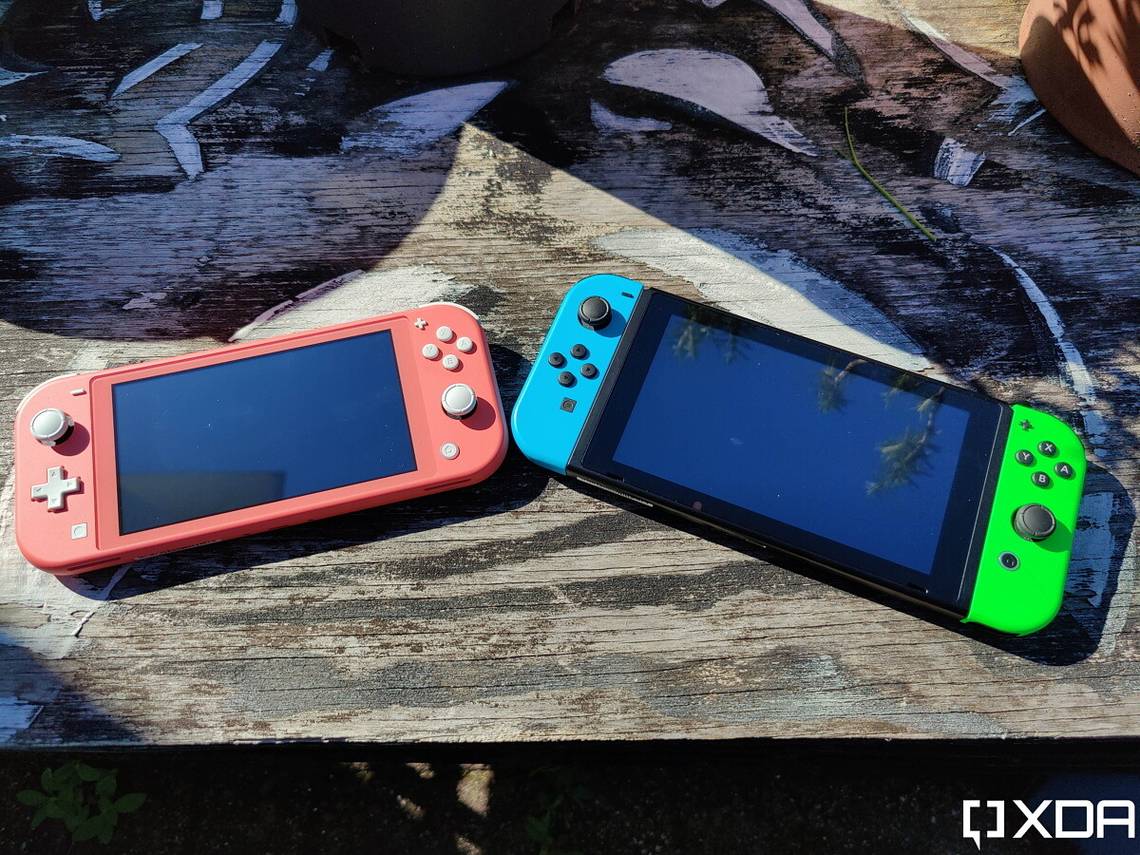
In the most common situation, where you have both a normal Nintendo Switch and a Switch Lite, you'll want to make the Switch Lite the Primary console. The Switch Lite is purely a portable console, with no ability to dock to your TV, so it's pretty likely that will be the Switch you're taking outside the house.
Understanding Switch Save Data

Once you've connected your Nintendo Account to each Switch, your job is unfortunately not done yet. If you have the Switch Online subscription service, your save data will automatically be uploaded from the cloud after you complete playing, with some exceptions listed below.
However, this cloud save doesn't work similarly to, say, Steam. On Steam, once a save is uploaded to a cloud, you can move to another computer and, provided you're logged in, resume play right where you left off. You can do something similar on the Switch, but it's not so seamless. For starters, it isn't even turned on by default! In order to turn this feature on:
- Go to Settings, then down to Data Management
- In that subsection, scroll down to the Save Data Cloud and click on it
- Go to settings, and you'll see Automatic Save Data Backup, and Automatic Save Data Download. Turn them both on.
With that, your cloud saves should upload and download from your Switch Online cloud whenever you're connected to the internet. But, this only works for games downloaded to both systems! If you're downloading software from the eShop, your Switch will not automatically pull the save data from the cloud.
If you need to move a cloud save that didn't have software downloaded on the Switch, you'll have to do it manually the first time. Here is how:
- Close and exit the game on the Switch you were playing on, so the cloud save updates.
- On the Switch you want to continue playing from, head to System Settings, then Data Management.
- From here, you can go to the Save Data Cloud option, find the game you're looking for, and download it.
There are some first-party Nintendo games, like the Pokemon titles and Super Smash Bros., that do not allow cloud save data. Nintendo's reason for this is to prevent save manipulation or corruption, but in the end, it's just a big pain for consumers as some of these titles involve a fair bit of farming and grinding.
You can still move save data for these games between Switches, but it can only be on one Switch at a time. While in the "Data Management" subsection of System Settings, you can choose to "Transfer Your Save Data" to move saves for those games around. Also, if you do not have Switch Online, you'll need to use this same method to move any Switch save data between consoles.
Dealing with your Nintendo Account on multiple Switches is not the most confusing thing, but the settings for working out which Switch is the Primary one and where your latest save data is stored is just hidden enough to cause anyone problems. Now, get to gaming and enjoying both your Nintendo Switch and Nintendo Switch Lite!