The OnePlus 10 Pro is a flagship that will receive a lot of attention from the company and from users all through this year. Even though one may argue that the value it provides after a good deal is comparable to that of the OnePlus 9 Pro, the OnePlus 9 Pro is bound to go out of stock before. Thus for many users, the OnePlus 10 Pro will be the flagship that they will buy. And it's a good device on its own, and so it makes sense. If you have bought the OnePlus 10 Pro and have gone through your first setup, we recommend a few settings you should change for a better experience. We present some explanations for these settings, so make a decision if you are convinced with the tradeoffs!
Navigate this article:
- Edit your Quick Settings
- Set up Status Bar icons
-
Set up Display and Brightness for a comfortable experience
- Dark Mode
- Eye Comfort Mode
- Screen Refresh Rate
- Screen Resolution
-
Review your Battery Settings
- Power Savings Mode
- Optimize Battery Use
- Sleep Standby Optimization
- Optimized Night Charging
- Wireless Charging Settings
- High Performance Mode
- Enable Auto Launch for your IM apps
- Set up Work-Life Balance
- Enable / Disable OnePlus Shelf
- Change Ringtones
- Set up Do Not Disturb
- Set up Private DNS for Adblock
- Extra for Experienced Users: Root your OnePlus 10 Pro
Edit your Quick Settings
Once you have your smartphone setup, we recommend setting up Quick Settings tiles to surface your most accessed settings:
- Swipe down once on the homescreen to access the notification center.
- Swipe down once again on the notification center to expand the Quick Settings tiles.
- Click on the Pencil icon next to the cogwheel "settings" icon to enter Edit mode for Quick Settings.
- Add, remove and reposition tiles as needed.
The first six tiles appear for quick access from the Notifications shade, so ensure that you keep your most accessed settings here. I personally do not toggle my WiFi, Data, Bluetooth, and Location off, so having those tiles in this row makes little sense to me. What works for me is to have Flashlight, Do Not Disturb, Hotspot, Nearby Share, and Screencast in these positions. You can pick and choose which settings matter more to you and in which order. This is a small setting that a lot of people forget, but something that makes a nice difference over the years of owning and using the phone.
Set up Status Bar icons
Here's something that bugged me for a while: Some icons like VoLTE and VoWifi don't make sense in their persistent format. You only really need the icons for settings whose change in state you need to be aware of -- so if you live in a region that has seen wide VoLTE and VoWifi rollout, those persistent icons would just be occupying space. Similarly, it also doesn't make sense to have a battery icon alongside a percentage indicator.
- Go to Settings > Notifications & Status Bar > Status Bar.
-
Change settings as best suited:
- You can switch off Battery Icon and use percentage only.
- You can enable Real-time network speed.
- You can disable icons for VoLTE and VoWiFi.
- You can disable icon for High Performance Mode (more on this in the later sections of this article).
Set up Display and Brightness for a comfortable experience
The settings below are from personal preference, but I've found them to be the most comfortable for me for long-term, extensive smartphone use. If you plan to use your smartphone for plenty of hours every day, you can consider opting for some of the settings below.
- Go to Settings > Display and Brightness.
-
Set up Dark Mode to Auto Switch from Sunset to Sunrise.
- This will switch the phone to use Dark Mode at night when there is a higher probability of you being in darker environments. Causes lower strain on the eyes in such scenarios.
- The OnePlus 10 Pro will switch to Light Mode during the day, making it easier to read content when you are out in broad sunlight.
- A new setting will appear when you switch to Dark Mode. Enable Adaptive Contrast in this setting. You can choose the Style of Dark Mode according to your preference.
-
Set up Eye Comfort mode to Schedule, and set it based on nighttime.
- Eye Comfort mode reduces the blue light from your phone's display. This in turn will help cause lesser disruption to your body's circadian rhythm and make it easier to sleep even if you keep using your phone late at night.
- For some reason, OnePlus removed the Sunset to Sunrise setting under this option.
- You can set the timing to be approximate nighttime settings for your area, to coincide with the Dark Mode settings above.
- This setting can be used independently of the Dark Mode schedule.
-
Set up your Screen Refresh Rate:
- High (120Hz Maximum) - This will make your phone functions appear perceivably smoother, but will cost some battery in the process. This is my preferred setting as the OnePlus 10 Pro has good enough battery life and is very quick to charge anyway.
- Standard (60Hz Maximum) - This will restrict the maximum refresh rate to 60Hz, like phones in the past used to be. This will save you some battery, but your phone experience will be a little choppy and jarring.
-
Set up your Screen Resolution:
- By default, the phone will be set to Auto, switching between FHD+ and QHD+ as needed.
- I would recommend running the phone on QHD+ for a few days and then on FHD+ for a few days, and then assess if you notice the difference in display quality. I personally can only notice the difference when I minutely pixel peep the phone display -- FHD+ remains indistinguishable from QHD+ when I normally use the phone and am not actively looking out for it.
- If you would prioritize some more battery life, stick to FHD+. The OnePlus 10 Pro has a good display, and you should be just fine with FHD+ too.
I find 120Hz with FHD+ to be the sweet spot for my use cases, giving me the best fluidity without compromising the experience. The other settings make it comfortable for me to keep using the phone across a variety of conditions without causing strain.
Review your Battery Settings
OnePlus has been notorious for some of its battery-oriented measures in past versions of OxygenOS, with aggressive settings that would impact your ability to let apps run in the background and send notifications to your phone. While the situation has improved with the codebase integration with ColorOS, it is still worth reviewing your battery settings on the OnePlus 10 Pro, especially since there is a High Performance Mode snuck in there.
- Go to Settings > Battery.
-
Set Power Savings Mode to automatically trigger on and off:
- Turn on Power Savings Mode once to surface the "Default Optimizations" setting. Review the options within and then you can turn off Power Savings Mode.
- Set Power Savings Mode to turn on automatically at an option of your choosing (I prefer 10%).
- Set Power Savings Mode to turn off automatically, once you reach 90% charging.
-
Go to Advanced Settings:
- Under "Optimise Battery Use", set your most commonly used IM apps to "Don't Optimize". If you rely on an app to send you a timely notification when you are not using your phone, set it to "Don't Optimize" too. You can leave the other apps as is. This optimization setting is primarily blamed for apps missing their notifications when the phone is not in active use.
- If your apps still continue to miss their notifications, you can toggle "Sleep Standby Optimization" to off too. This setting lets the phone learn when you are usually asleep and let it toggle data and WiFi periodically. So you may miss urgent notifications, or receive a flood of notifications right when you wake up. Toggle this setting according to your usage and requirement.
- "Optimized Night Charging" feature fast charges your battery to 80% when you plug it in at night, and then trickle-charges the phone so that it reaches 100% closer to the time you usually wake up. This setting is recommended for people who plug in their OnePlus 10 Pro at night on a somewhat regular schedule. The phone will learn your usage pattern and ensure you have a full charge when you pick up the phone while balancing out optimal charging habits for better long-term battery health. We recommend leaving this setting on unless you have irregular usage patterns or you find yourself waking up often with a not-full charged phone.
- Review "Wireless Charging Settings", if you use a wireless charger and especially if you use the OnePlus Warp Charge 50 Wireless Charger.
-
High Performance Mode:
- As we spotted in our OnePlus 10 Pro review, OnePlus has generally throttled the Qualcomm Snapdragon 8 Gen 1 across all apps, meaning the chip barely touches its full capabilities even when you are gaming or using benchmark apps. This is done to prevent excessive heat buildup and consequent thermal throttling, and the phone remains perfectly usable even in this lower performance mode.
- But just in case you really need the extra power, you can head over to Settings > Battery > Advanced Settings, and toggle High Performance Mode on. This will present one persistent notification (along with its own notification icon; swipe right on it and click the "trash" icon to remove the notification) and another persistent status bar icon (which you can then disable using the setting we mention in the early parts of this guide).
- For average users, this setting will barely make a positive difference in their daily usage but will use more battery, so we recommend keeping the High Performance Mode switched off.
Enable Auto Launch for your IM apps
Similar to the "Optimise Battery Use" and "Sleep Standby Optimization" settings, this setting also comes in the way of reliable notifications from your apps. It's a double-edged sword though, as you should be limiting auto-launching from unnecessary apps while taking care to grant the same to important apps.
- Go to Settings > Apps > Auto launch
- Select important apps from whom you want to receive timely notifications and other content in the background. This can include IM apps, email apps, weather apps, and any other apps that have a time-scheduled task or background refreshing assigned to them. Enable Auto Launch for them, so that the apps can start up on boot and in the background.
- Unselect any extra apps that don't really need to run in the background. These can include food delivery apps, games, and so on.
Set up Work-Life Balance
If you use the OnePlus 10 Pro as your singular device for both work and personal needs, then this feature is a boon for maintaining a good work-life balance. I've extensively used this on past OnePlus devices, and it certainly helps maintain healthier boundaries, especially during work-from-home periods.
What Work-Life Balance does is allow you to set triggers for Work Mode and Life Mode, select apps that qualify within each section, and show you notifications from those apps only when it is under that mode. For example, I can have Work Mode set up for 9 am to 5 pm every weekday, or on the basis of my office location, and have only work-related apps like Asana, Airtable, etc be allowed to send me notifications. I can then have Life Mode set up for, say, when I connect to my home WiFi and have my social media apps like Instagram and Twitter and media apps like Netflix be allowed to send me notifications.
Notifications from the app not from the current mode will be "paused" and delivered once you enter the correct mode (you can override and view the hidden notifications). And if you try to enter that app, a prompt will dissuade you from opening the app (which you can also override and enter if you really need to). You can also just set up one mode if you don't need the other.
To set up Work Life Balance:
- Go to Settings > Special Features > Work Life Balance.
-
Set up Work mode:
- Select your triggers on the basis of time, WiFi, or Location.
- Select Gmail accounts from which you want to continue receiving notifications in Work Mode.
- Select other Work apps from which you want to continue receiving notifications.
- Set up Life mode, same as above.
The "restrictions" that Work Life Mode places are very soft and easy to bypass. But the idea with these is to just give you the nudge needed to work with concentration and to enjoy life, as needed, while still giving you the flexibility and control needed over using your phone in the moment. I've used this with great success: I can limit my Asana, Airtable, and work Gmail notifications for when I am on the desk, while apps like Instagram can stay muted. It's a small feature, but something I miss when I jump to other non-OnePlus devices.
Enable / Disable OnePlus Shelf
OnePlus Shelf started its life as a feature that customizes one of the homescreen panels on the launcher. I've never grown too fond of the feature, and somehow, it has gotten even clunkier on the OnePlus 10 Pro. You can no longer set it up to be a Google Feed replacement on the -1 screen on the launcher homescreen (very likely due to GMS requirements, so blame Google for that). So as a recourse, OnePlus has mapped it to the pull-down action for the notification tray from the top-right corner. And now OnePlus Shelf is its own app that gets launched with this trigger action. When you pull the shade back up (since you pulled it down to access Shelf), you land back on the homescreen since you technically jumped to the homescreen from the OnePlus Shelf app -- instead of going back to your previous app. You need to swipe right/left to go back to your previous app, which is not intuitive at all. It's a clunky experience, and the app itself provides limited utility to me, so I turn it off. But I do recognize that some users may find it useful, so you can keep it enabled if needed.
- Go to Settings > Special Features > Shelf.
- Enable/disable the feature, as needed.
- Set up other parameters as needed.
Change Ringtones and Alert Tones
This may come off as funny advice, but people really need to change their ringtones out from the defaults. There's plenty you can do with ringtones that can alert you of incoming calls and notifications without needing to pick up your device.
For instance, I set my default alert tones for messages to be a very short tune. This is the tone that third-party apps will pick up by default when they send a notification that I did not readily consent to or am expecting. This minimizes disturbance from the app, though a cleaner solution is to disable notifications from offending apps. I then set up notification sounds for some of my IM apps individually, assigning them as clear and distinct sounds as I can without confusing myself. So my Slack notifications sound different from my Telegram notifications, which sound different from my WhatsApp DMs, while my WhatsApp group chats make no sound.
To change alert tones:
- Go to Settings > Sound and Vibration > Notification Sound. Set your default alert tone here. I recommend choosing something light and short.
-
For individual apps, you need to navigate their respective in-app settings. Here are a few common ones:
- WhatsApp: 3-dot menu in the top right corner of the app > Settings > Notifications.
- Telegram: Hamburger menu in the top left corner in the app > Settings > Notifications and Sounds > Notifications for chats > Sound.
- Slack: "You" tab in bottom right corner > Notifications > System Options > Sound.
Similarly, I also set up ringtones individually for my close family and a different one for friends.
- To set the default ringtone: Go to Settings > Sound and Vibration > Ringtone.
- To set ringtones for individual contacts: Open the Phone app > Open the contact card for the contact you want to change > 3-dot menu in the top right corner of the app > Set ringtone.
Of course, none of this applies if you keep your phone in silent mode forever. But just in case you don't, and you plan to use the phone for a while, spending some time setting up ringtones will enhance your phone experience.
Set up Do Not Disturb
With the elaborate alert tone settings and the elaborate Work-Life Balance settings, I still feel the need to enforce some basic Do Not Disturb settings, primarily during nighttime when I am sleeping. It's important for me since my phone otherwise keeps buzzing through the day and night due to the global nature of my work. If you find yourself getting disturbed with stray notifications at night, I would advise setting up Do Not Disturb.
- Go to Settings > Sound and Vibration > Do Not Disturb.
- Set up a Schedule. You can set different schedules for different days.
-
Set up Exceptions:
- Allowed Notifications: Where do you want the notification to be displayed? You can set it up so that you don't get notified through Edge Lighting, and your lock screen does not light up when a new notification arrives.
- Allow Messages From: Set who you want to allow disturbances from. I set it to my Contacts, but you can further restrict it down to Starred Contacts only.
- Allow Calls From: Set who you want to allow calls from. The only calls I get at night are from emergencies, so I set it to Anyone. If you're setting your DND for meetings, you can set it to Starred Contacts only.
- Enable "Ring for repeated callers". With this enabled, if someone tries to call you multiple times in quick succession, the phone will notify you.
Set up Private DNS for Adblock
There are many ways to set up adblocking on your Android device. But one of the quickest, easiest, and surprisingly effective way is through the Private DNS setting.
- Go to Settings > Connection and Sharing > Private DNS
- Toggle from Off to Designated Private DNS.
- Enter "dns.adguard.com" in the field and click on the checkmark.
- You should now be connected to the private DNS. This will block a good majority of ads on your smartphone, except under certain apps like YouTube.
Extra for Experienced Users: Root your OnePlus 10 Pro
This isn't a step that is recommended to average users, and most of you reading this don't need to do this. But rooting a smartphone has its own benefits. If you'd like to indulge in some of those, our forums have good resources on rooting your OnePlus 10 Pro. There is a world beyond with custom ROMs too, and the OnePlus 10 Pro is just getting started.

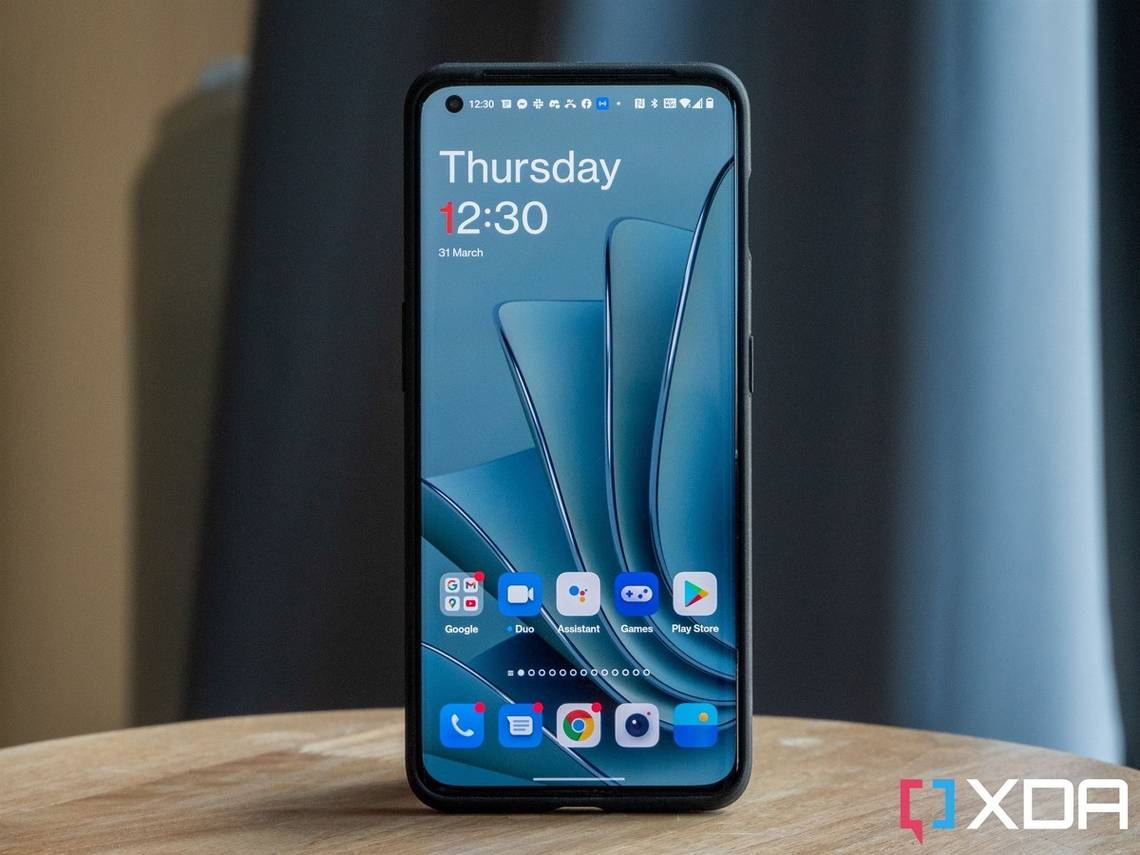
OnePlus 10 Pro
The OnePlus 10 Pro is the latest and greatest flagship smartphone from OnePlus, and packs some of the best performing hardware into one package. It's got a great chipset, good camera, and super fast charging all inside of a unique design.
We hope this guide is useful in setting up your OnePlus 10 Pro to get the best possible use out of it. There are some more minor adjustments that you can do, such as reverting the power button to shut down the phone, and tweaking the screenshot and screen recording settings. You can also explore some recommended cases and screen protectors for your phone. This should set up your OnePlus 10 Pro to provide a good experience suited to your needs. Enjoy your phone!