Almost anyone who has used a computer will likely be familiar with .zip files, which can created right within Windows without third-party software. They can help you save space on your PC by making your files smaller, which also makes them easier to share.
However, did you know that you can add password protection to .zip files so their contents are safe from prying eyes? Windows 11 doesn't natively offer a way to do this, but there are multiple third-party apps that can protect your .zip files with a password, so we're going to be taking a look at two options.
How to password-protect a .zip file with WinRAR
One of the apps you can use to protect your .zip files with a password is WinRAR, which is a general-purpose tool for compressing and extracting files, whether that's in .zip, .rar, or any of the myriad of other formats available. It's mostly a free app, too, with occasional pop-ups asking you to buy a license. It's a personal favorite, and we'll start there.
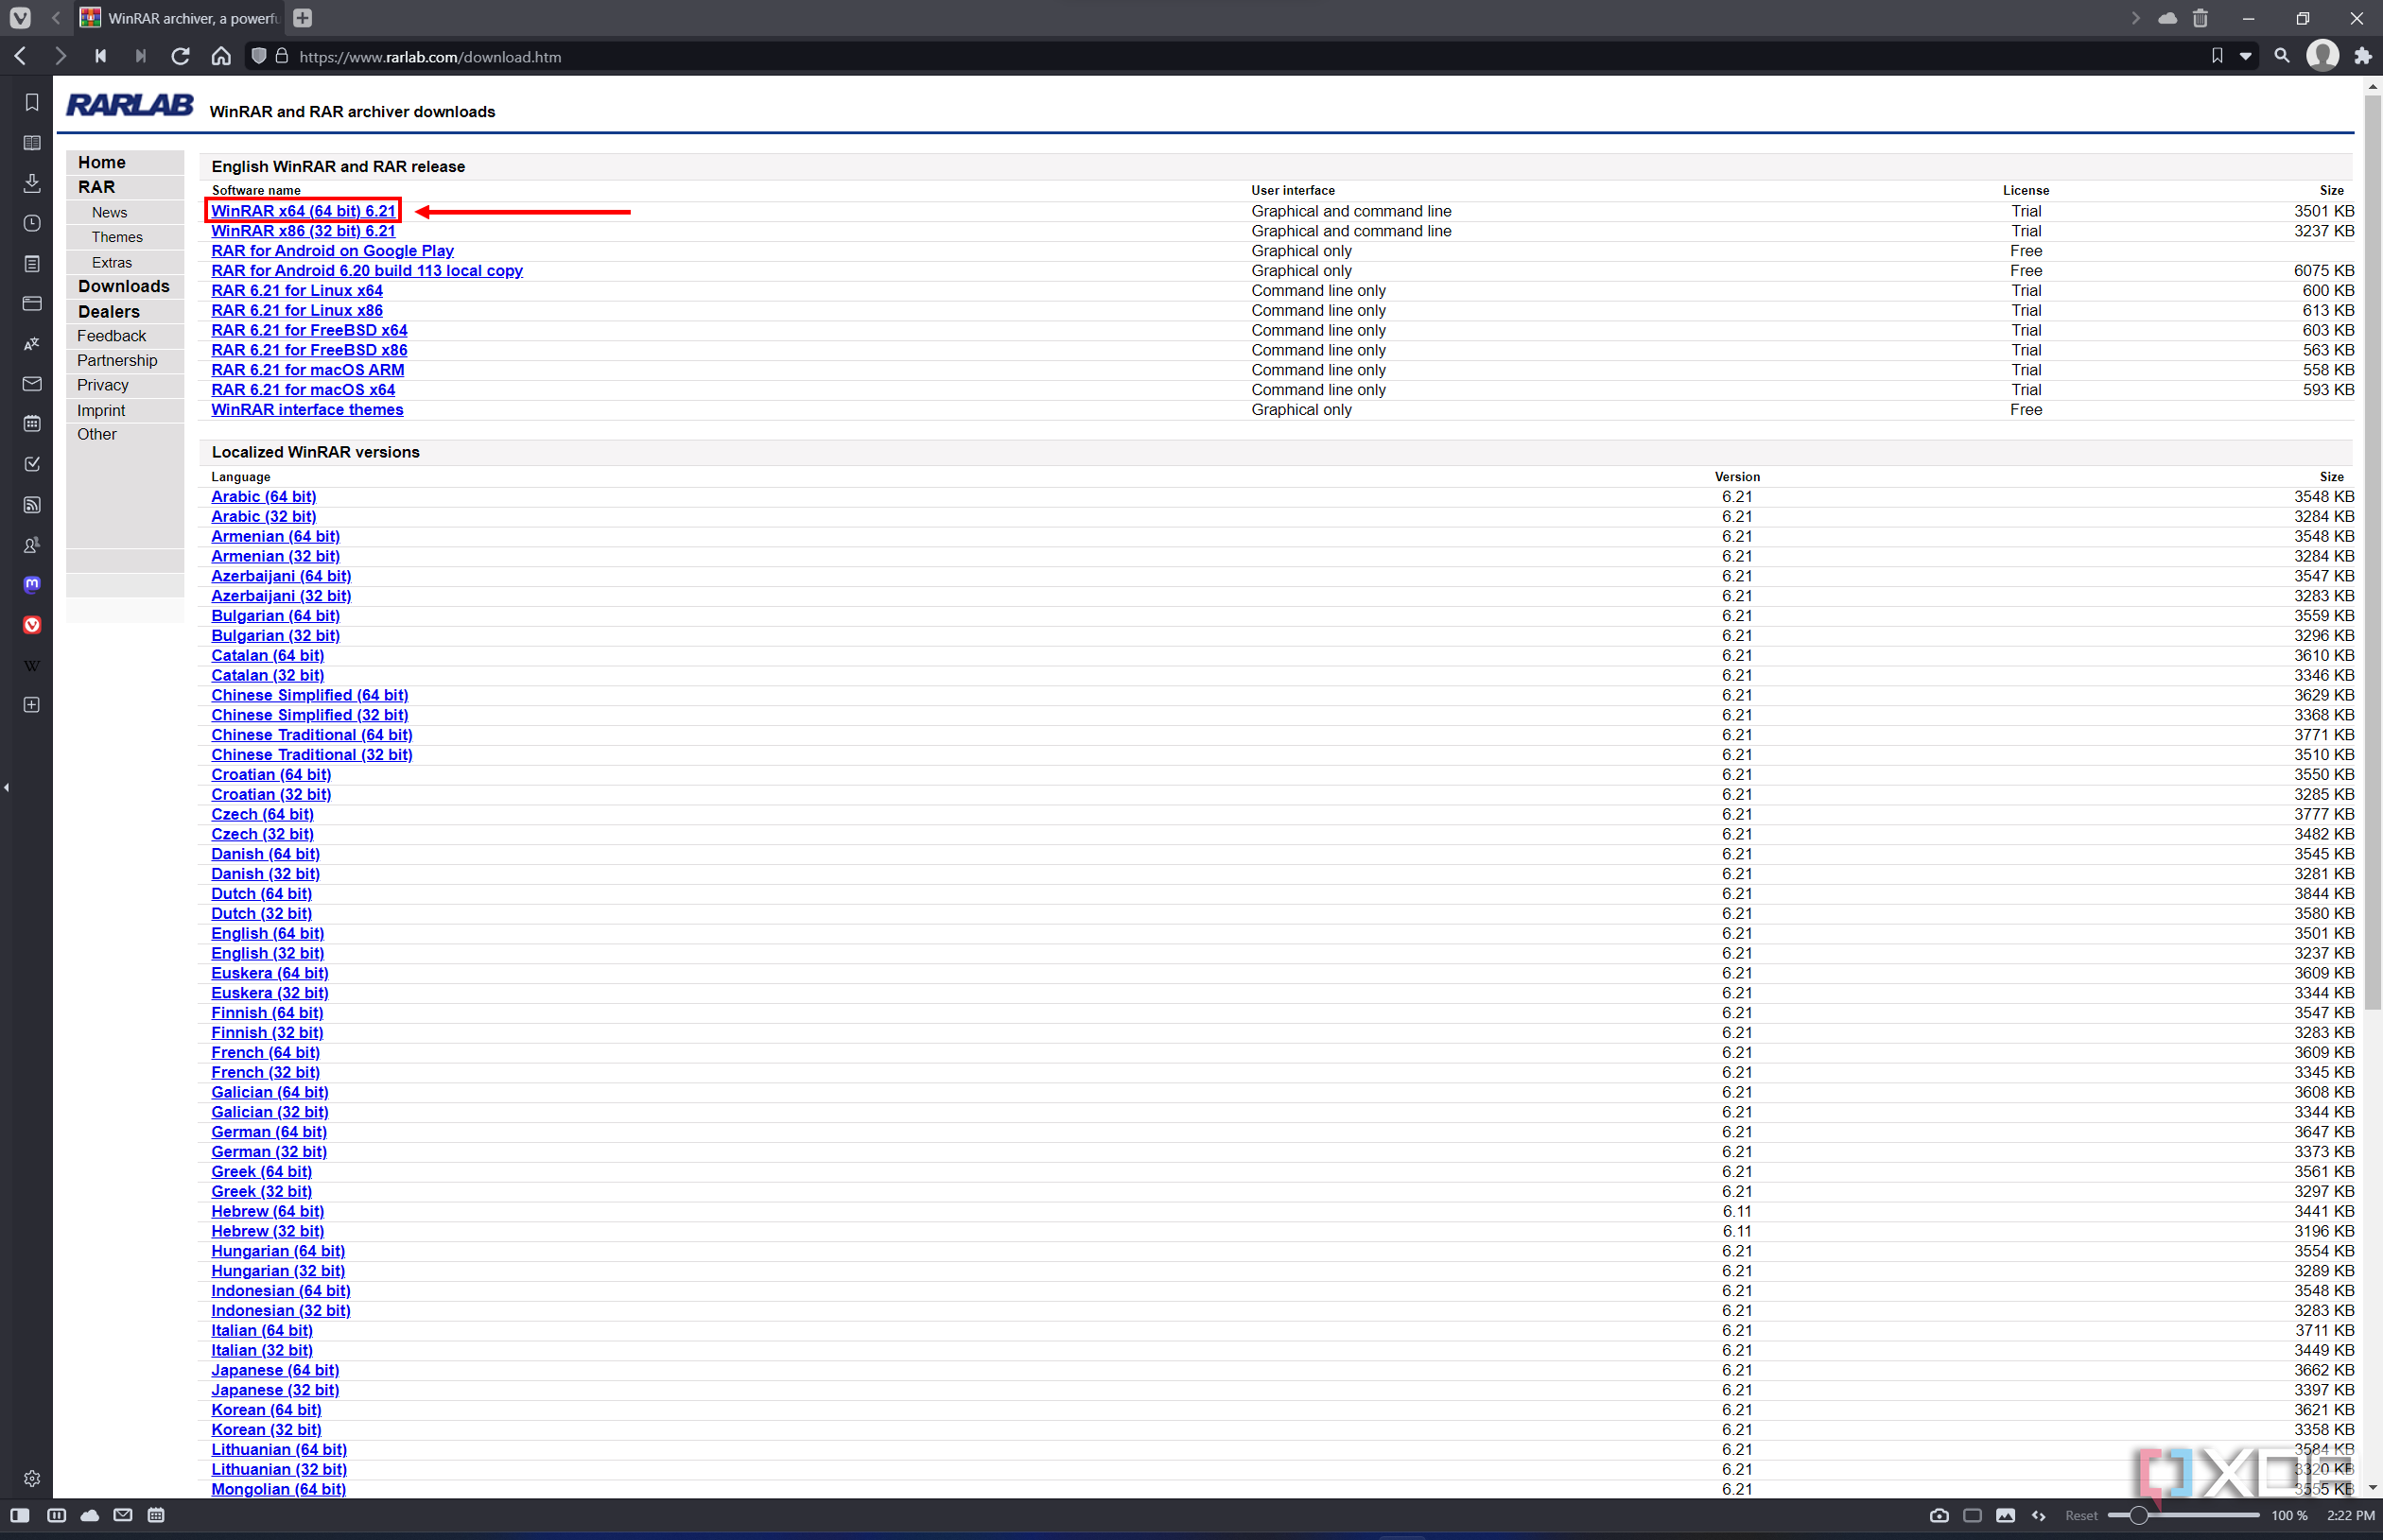
- Head to the downloads page for WinRAR.
-
Download the latest x64 version available (the version number will change from the screenshot below).
- Run the installer and click through it with the default settings.
- Once WinRAR is installed, use File Explorer to navigate to the folder or files you want to compress.
-
Right-click the files and choose WinRAR > Add to archive...

-
Set the Archive format field to ZIP.
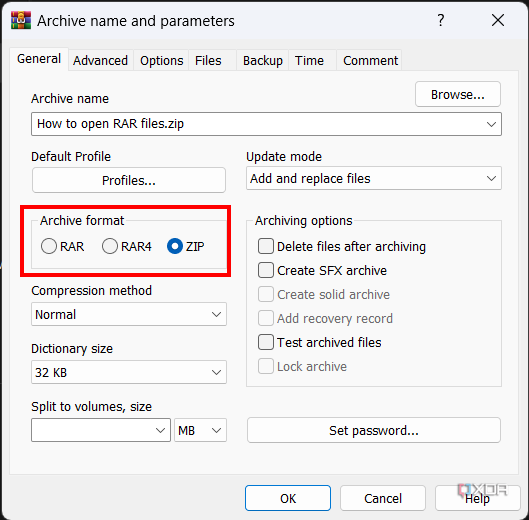
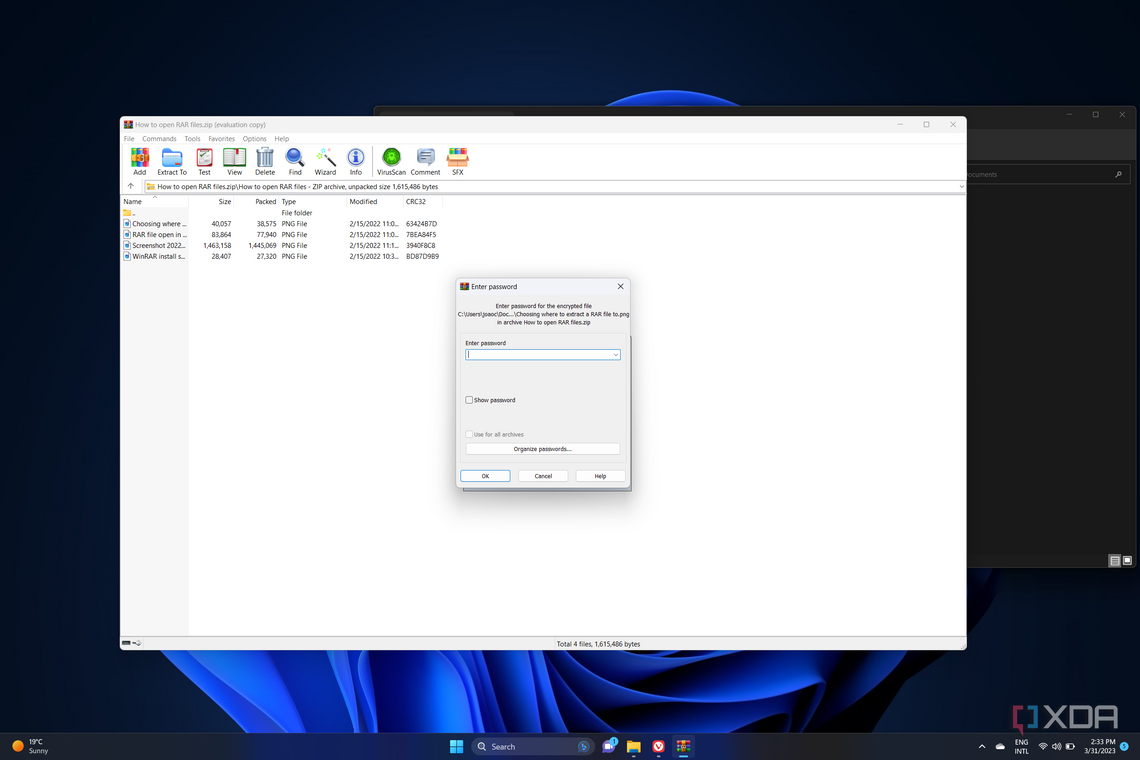
- Click Set password.
-
Enter the password you want to use in the respective fields.
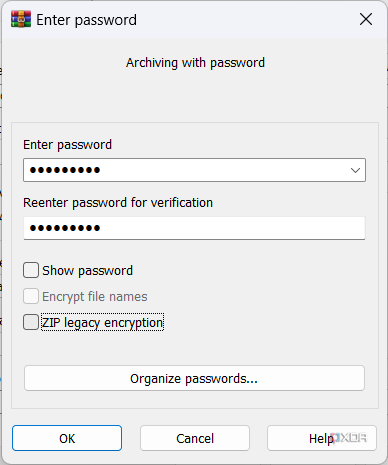
- (Optional) Check the ZIP legacy compression option to improve compatibility with other apps. Windows 11's File Explorer won't be able to open the file otherwise.
- Click OK and then OK again to create the file.


How to password-protect a .zip file with 7-Zip
7-Zip is another extremely popular tool for working with all kinds of archives, including its own proprietary .7z format, and of course, .zip files. The process for protecting your .zip files with a password is very similar, though there are some small differences.
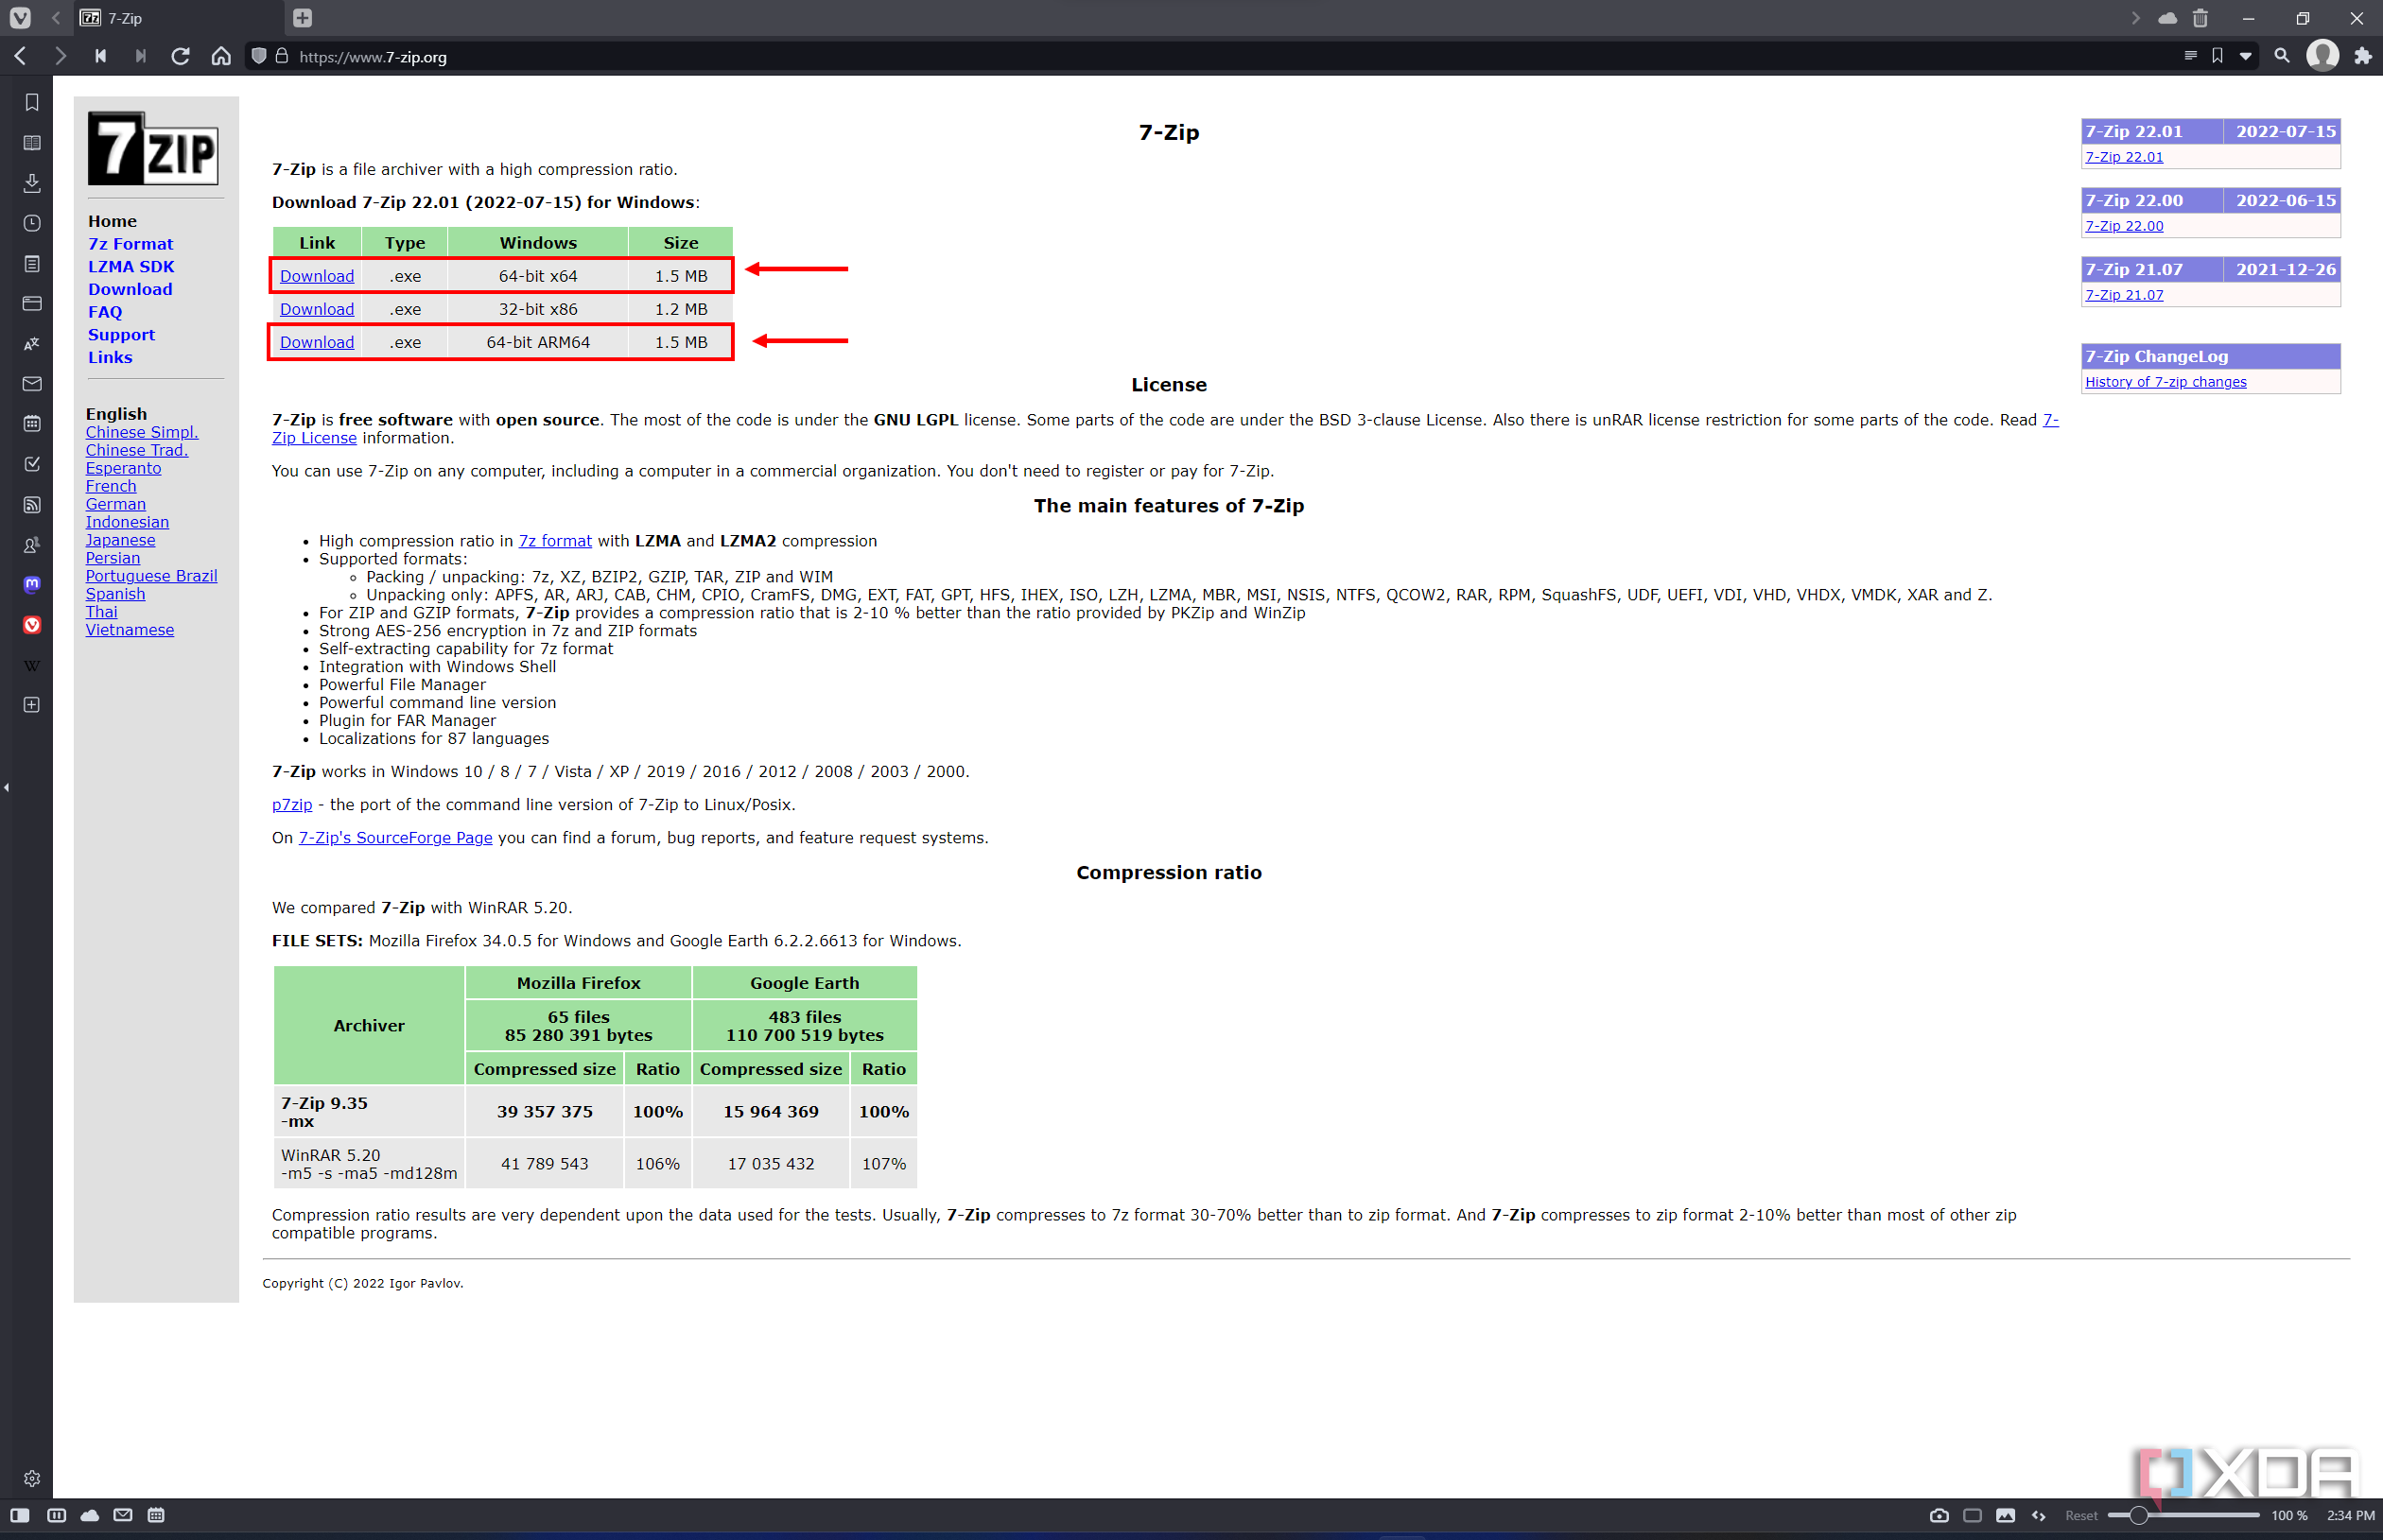
- Head to the 7-Zip website.
-
Download either the latest x64 version (for most PCs) or the Arm64 version (for devices like the Surface Pro 9 with 5G).
- Run the installer and wait for it to finish. Click Close.
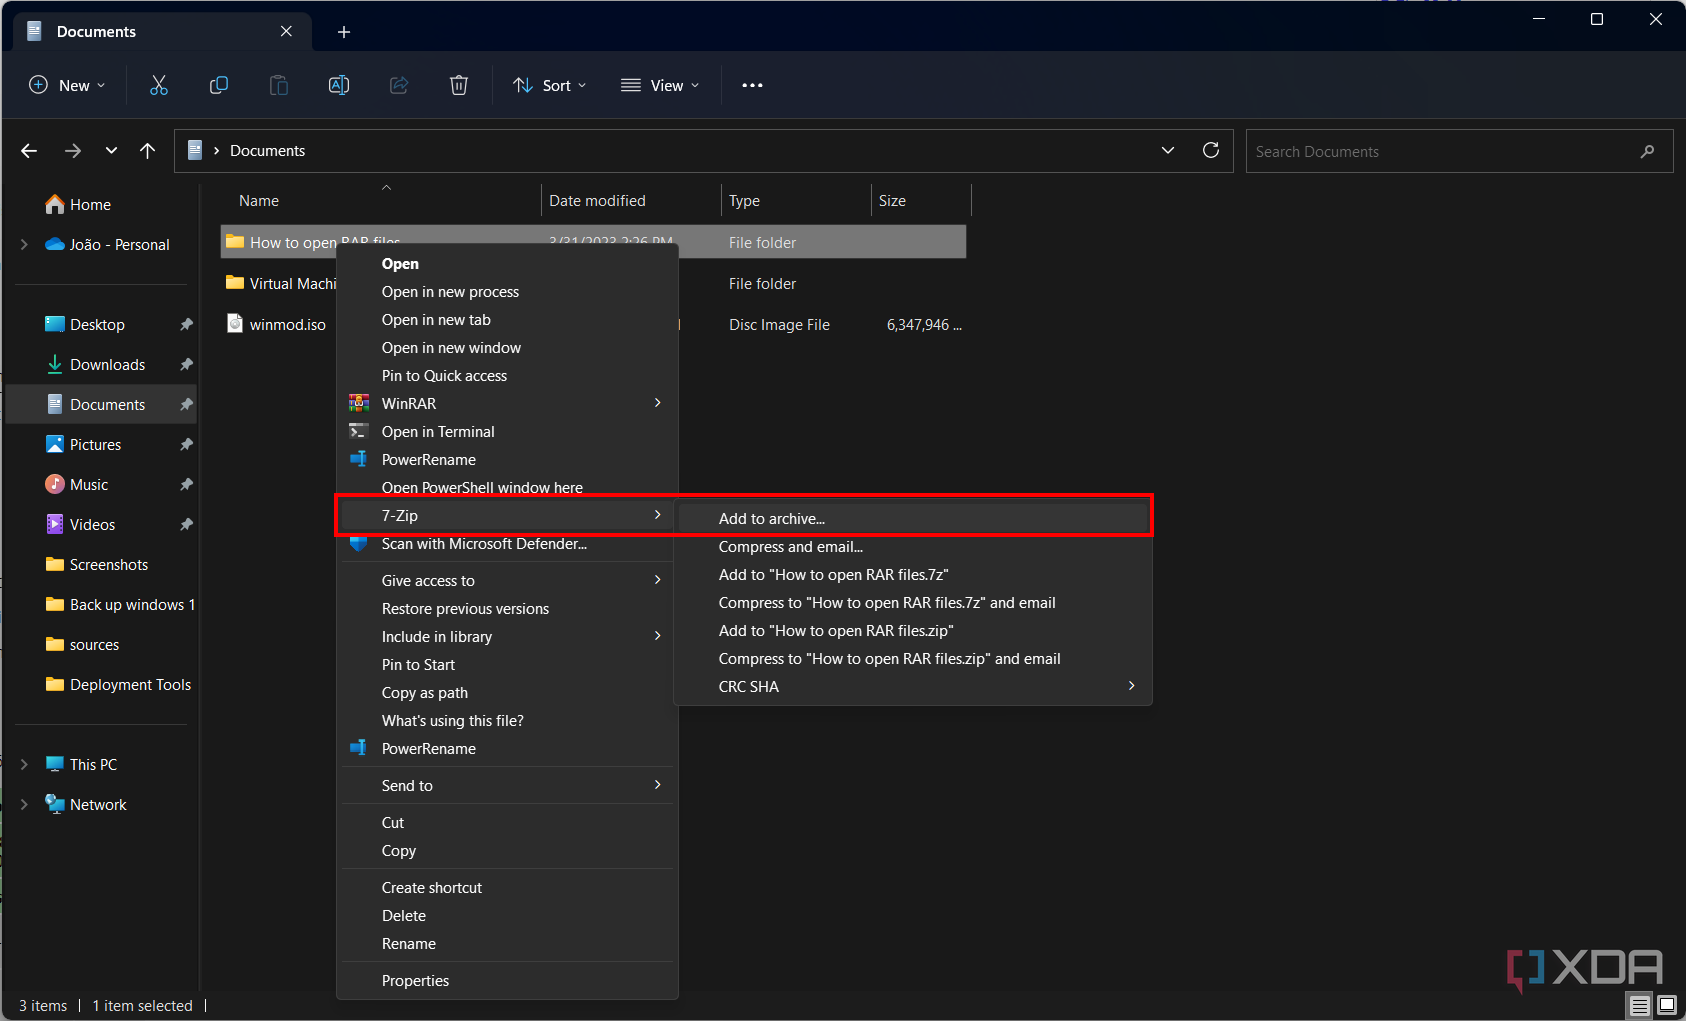
- In File Explorer, navigate to the files or folders you want to add to the .zip file.
-
Right-click the files and choose Show more options to see the legacy context menu.
Alternatively, you can hold Shift while right-clicking the items to open the legacy context menu directly.
-
Choose 7-Zip > Add to archive...
-
Set the Archive format to zip.
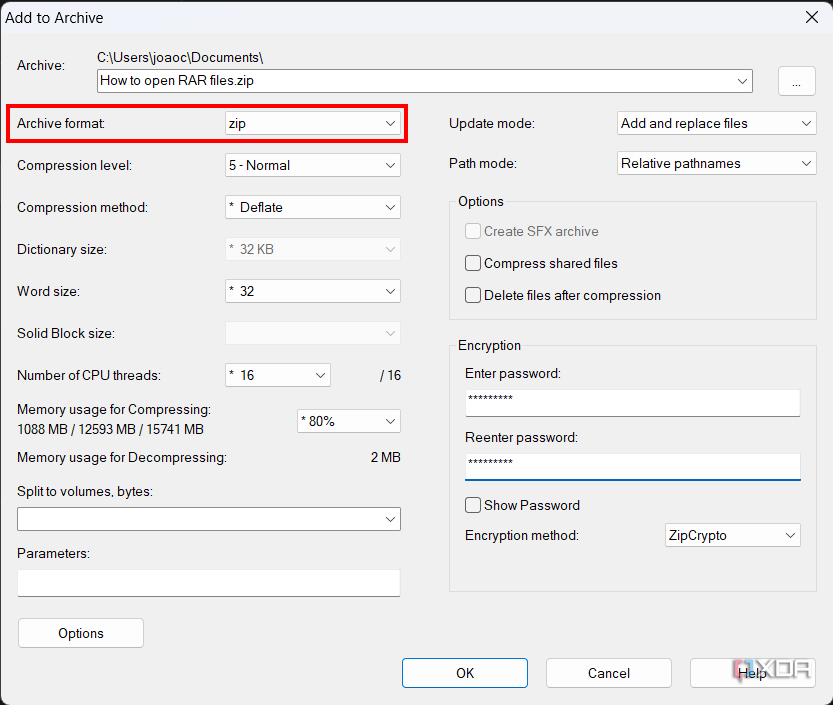
- Enter the password in the bottom right corner of the window.
- Click OK.


Once you've generated the protected .zip file, you can still open it without a password, but you can't extract or open the files inside without it. Any files you add to the archive later on will be protected by the same password, so you can rest assured they'll be safe.
While .zip files are the most common, many compressed archives you find online actually come in the .rar format. If you've run into one and you're not sure how to open it, we have a guide on how to open .rar files, too. You may also be interested in learning how to password-protect a folder without the hassle of creating a .zip file.