We've entered an age where aesthetics, layout and a delightful user experience is almost as important as functionality itself, with user expectations setting a high bar for design standards. How does that apply to tasker? Well, there's two tangents to design in Tasker - theming apps and designing scenes.
Let's have a look at both!
Theming apps
Preferences editing
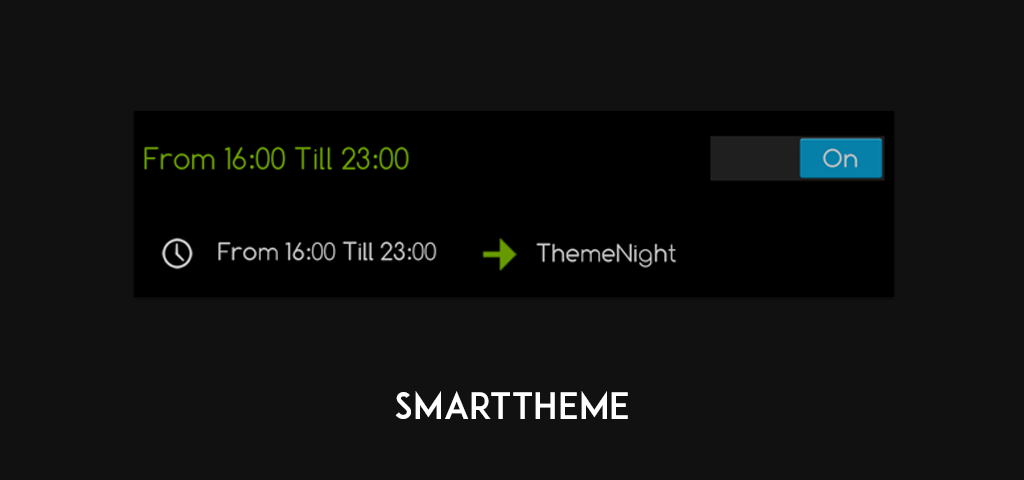
Nowadays, a number of developers provide theming options in their apps, with a majority offering dark/light themes and numerous ones offering color tweaking as well. Each time a user edits one of these inbuilt settings, such as switching between a dark and light theme, or choosing a color for the app, the selected preference is stored in an xml file in the app's data folder, and this method of preference storage is known as SharedPreferences. Using a profile that runs a script, Tasker can be used to edit these preferences on the fly, providing automated theme switches that prove useful under conditions such as switching to an app's dark theme after a certain time of the day. SmartTheme is one such set of scripts, which allows a few preset apps to be themed by the aforementioned method. Since it modified the /data folder, this set of scripts needs root access.
Switching Layers themes with Tasker
Runtime Resource Overlay, a solution developed internally at Sony, was taken on by the community took on the challenge to bringing flawless theming with granular control to the custom ROMs, with stock Marshmallow even supprting it to some extent. Layers themes have tremendous popularity and potential, and the ability to switch them automatically using Tasker furthers that potential. How might one switch Layers using Tasker, you ask? Let's dive in:
The Layers Manager app stores active layers in /system/vendor/overlay (or /vendor/overlay, depending on the device). As such, the task to activate and deactivate layers would look something like this.
- Place all your layer apk files in a folder, such as /sdcard/overlay/inactive/
- Move currently active layer apk from /system/vendor/overlay to /sdcard/overlay/inactive/
- Move required layer from /sdcard/overlay/inactive/ to /system/vendor/overlay/
- Change the permissions of the newly copied layer to 755
- Reboot the device
- Voila, your new layer is now active.
Scenes
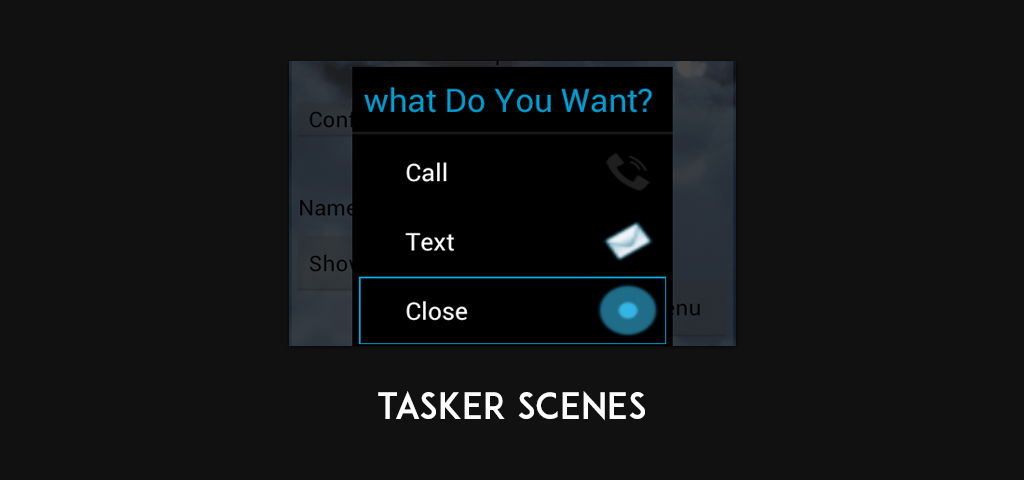
Tasker's scenes are a handy and effective way of creating a user interface tied to tasker commands, and come in a variety of shapes and sizes. Out of the box, creating a standard scene with basic components ends up looking rather dull, but there's a way to pivot that by implementing the increasingly popular Material Design through the usage of shapes, colors, and certain layouts. These two tutorials do just that, walking the viewer through the creation and setup of various Material components such as the toolbar, drawer, Floating Action Button, text fields, et al.
While the above tutorials certainly establish the Material look in a rather well-defined manner, Google's visual language is far from complete without meaningful motion and delightful animations. This tutorial goes over the basics of animating tasker scenes using the element position attribute, and provides a pleasant result.
Material plugin
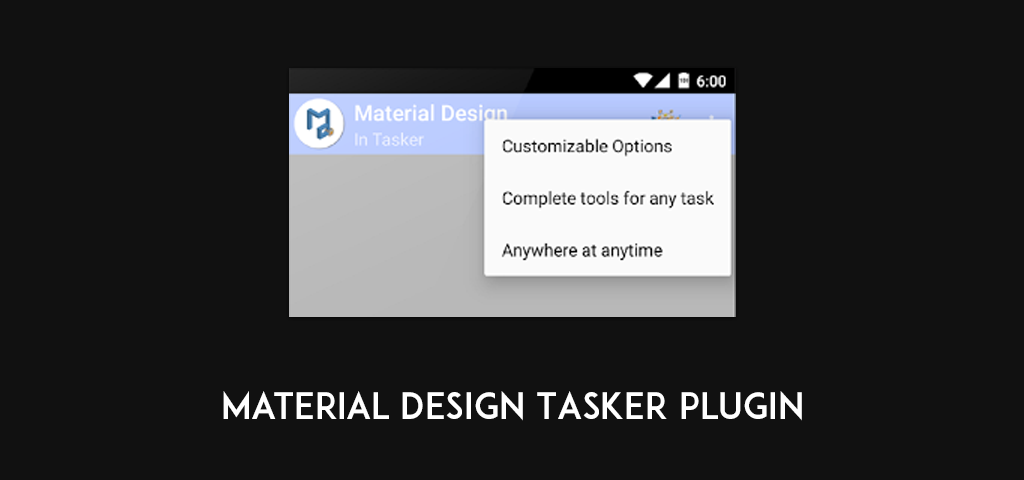
Creating and manipulating shapes and subsequently performing minute adjustments and alterations is tedious and time consuming, defeating the very purpose of Tasker. To prevent the inconvenience and speed up the Material Design scene creation process, the Material Design Tasker Plugin was created which allows users to easily create popular Material components such as the toolbar, drawer, overflow menu and Floating Action Button.
Designing with Tasker is relatively easy and provides pleasing results. Combined with powerful frameworks like Tasker Scenes and RRO Layers, the possibilities are virtually endless. Finally, be sure to check out the Tasker Tips & Tricks member-led forum for more awesome Tasker content, by the community for the community!

