Quick Links
If you need more storage on your Surface Laptop 5, the good news is that you can replace the solid-state drive (SSD) inside. The process of doing so is actually similar to that on the Surface Laptop 4. However, doing so requires a lot of tools and patience, and isn't as simple as what you'd expect with some other great laptops out there.
First off, you'll have to remove the keyboard deck and the feet under the device while taking proper safety precautions. The big reason though is that doing so isn't technically recommended by Microsoft. While you can replace the SSD on your own, and Microsoft considers the part to be a serviceable component, replacement parts like rubber feet might be hard to find. Microsoft lists these as Customer Replaceable Units, which are only available for purchase through Surface Commercial Authorized Device Resellers.
The company also mentions that undertaking a do-it-yourself repair can risk personal injury, and reminds you that any damage you cause to your Surface won't be covered under warranty. It's better to replace the storage through an authorized repair shop. But if you accept the risks, here's how you can do it on your own.
What you'll need
If you want to upgrade the storage on the Surface Laptop 5, you'll need a few things:
- M.2 2230 SSD: This is the type of SSD that the Surface Laptop 5 works with. However, make sure you purchase an M.2 2230, not an M.2 2280 SSD, which will be too large. You need a smaller-sized SSD, and we have a suggestion below.
- T5 Torx Screwdriver: This screwdriver will release the SSD from its housing. Buying a kit is a good idea since it comes with different-sized tips that you can use with your other devices.
- USB Drive with at least 16GB capacity: As part of this process, you'll be creating a recovery drive for reinstalling Windows, which involves downloading Windows 11 and Surface Laptop 5 drivers from Microsoft's website. Make sure you format it as FAT32 or Windows will do it for you automatically.
- Pry tool: We suggest a tool that you can use to pry up your Surface Laptop 5's feet so you can access the screws to remove the base.
- Anti-static wrist strap: You'll want to properly ground yourself using this bracelet to help avoid static electricity that can damage your system.
- Replacement rubber feet (optional): If you end up damaging the feet on your Surface Laptop 5, you'll need a replacement set. Microsoft doesn't sell these directly to consumers, but there are many third-party options on Amazon.
-
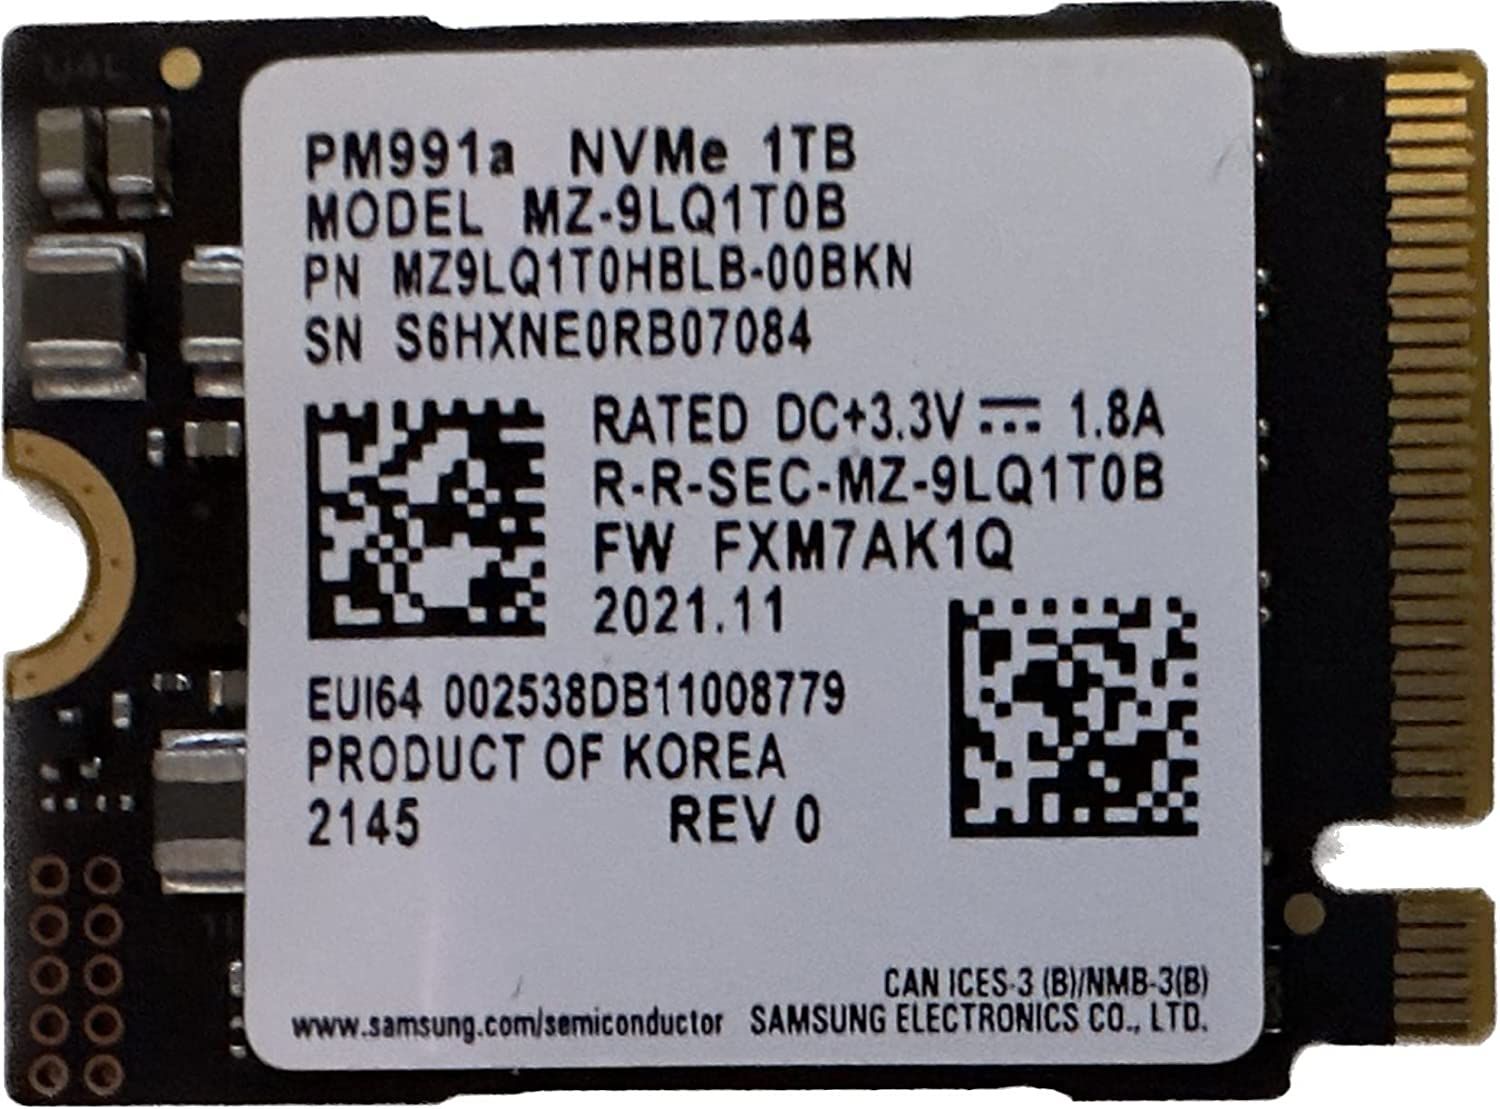
Samsung 1TB M.2 2230 SSD for Surface
This is an M.2 2230 SSD with 1TB storage capacity that'll work with the Surface Laptop 5.
-

Samsung DUO Plus USB Type-C Drive
This USB drive can be used to create a Windows recovery image for your Surface Laptop 5.
-
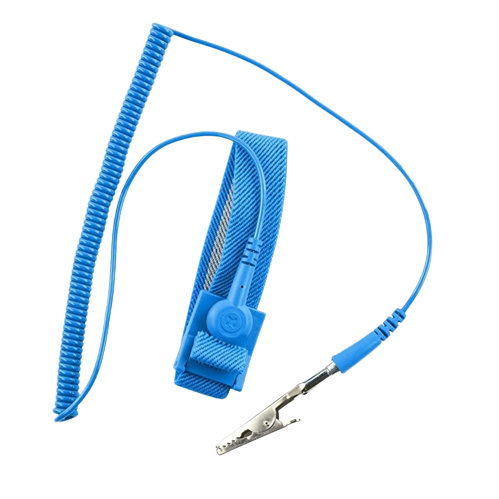
iFixit Anti-Static Wrist Strap
Use this anti-static wrist strap to protect you and your electronic devices while doing repairs.
-

Stick Spudger Opening Pry Tool Kit
With this tool, you can pry up and remove the feet on the bottom of the Surface Laptop 5 to upgrade the SSD.
-
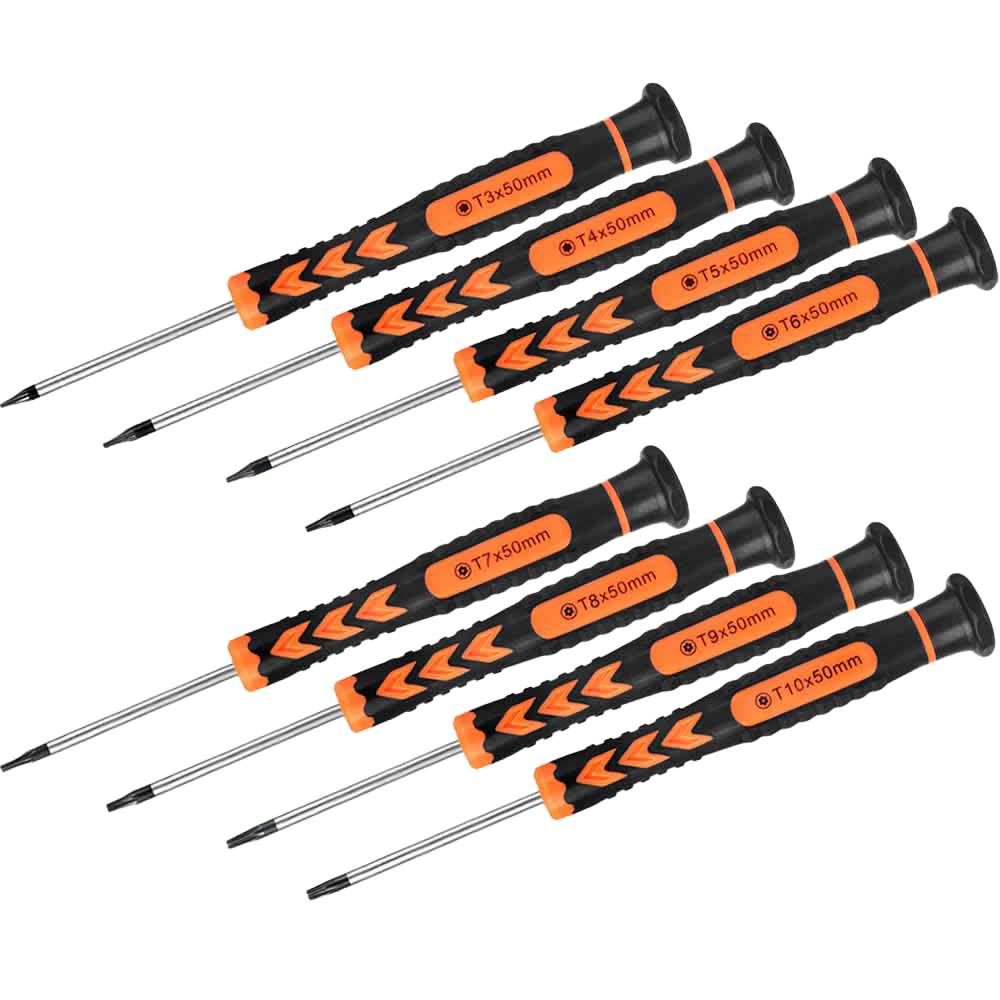
Tekprem Torx Screwdriver Set
This screwdriver set has the size screwdriver you need to remove the screws on the bottom of your Surface Laptop 5.
-

8 Pcs Laptop Rubber Feet
If you damage the feet on your Surface Laptop 5, these can be good replacements. These aren't official feet, but they'll still work just as fine as the originals from Microsoft.


Step 1: Back up your data

To begin the replacement process, you'll want to prepare your Surface Laptop 5. The most important thing is to back up all your data. We suggest using a service like OneDrive or using an offline solution like an external SSD or hard drive. You'll be installing a new SSD and a clean version of Windows. When the process is finished, you can copy and restore these files back to your Surface Laptop 5.
If you're looking for external storage for backups, the Samsung T5 Portable SSD is a great option.

Samsung T5 Portable SSD
This Samsung SSD can be used to back up your Surface Laptop 5. It can connect either via USB-C, or USB-A. Both cables are included in the box.
Step 2: Download the Surface Laptop 5 recovery media

In this next step, you'll be creating a recovery drive for your Surface Laptop 5. You can use this to boot into Windows 11 after you put in the new SSD. Here's what to do.
- Visit the Surface Recovery page.
- Scroll down to Select your Surface, select the Surface Laptop 5, and enter your serial number.
- Click Continue.
- Click the Download image link that is listed next to your device on the list.
- Wait for it to download. The file downloaded will be a .ZIP file.
- Insert the USB Drive you're using into the USB port of your Surface Laptop 5.
- In the search box on the taskbar, type "recovery drive," then select Create a recovery drive or Recovery Drive from the results.
- Click Yes, then select your USB drive from the list.
- Then hit Create. Follow the directions on the screen, then click Finish.
- Find the file you just downloaded, and double-click the .ZIP file that you previously downloaded to open it.
- Select all the files from the recovery image folder by hitting CTRL+A on your keyboard. Then, hit CTRL + C to copy it.
- Open a new File Explorer window. Go to This PC in the sidebar, and double-click on the icon for the USB drive you're using.
- Hit CTRL+V to paste the files into the USB recovery drive you created.
- When prompted, select Choose to replace the files in the destination.
- Wait for the files to copy over.
Once you finish these steps, you should have a fresh copy of Windows 11 to reinstall to your Surface, as well as the proper drivers for the Surface Laptop 5.
Step 3: Remove the SSD in the Surface Laptop 5

With backups and recovery drives ready, you can now replace the SSD on the Surface Laptop 5. It's a very intricate process. Here's what to do.
- Turn your Surface Laptop 5 over.
- Look for the four rubber feet in the corners.
-
Remove the rubber feet. This is best done with an opening tool.
- The feet are glued into place and have prongs that secure them, so be careful not to damage the feet with your tool. Try sliding the tool under the feet.
- There are two different feet. The front feet have three plastic prongs, and the rear feet don't have prongs. The rear feet are also deeper, so be careful you note which feet go where.
- With the feet free, remove the four Torx screws using your Torx 5 screwdriver. Keep the screws safe, preferably orienting them on a separate surface, so you remember how to put them back later.
- Turn the Surface Laptop 5 over, and open it like you normally would.
- Going from front to back, slide an opening tool (or your fingernails) to remove the keyboard deck from the base. The deck is magnetically attached.
- Put on your anti-static wrist strap and connect it to the side of the laptop's chassis to ground yourself.
- Detach the ribbon that connects the keyboard to the base. We suggest taking a picture, so you know how it's placed.
- Using the Torx 5 Screwdriver, remove the screw in front of the SSD.
- Slide the SSD out from the slot.
Those are the steps to removing the original SSD on the Surface Laptop 5. We don't suggest erasing and keeping it safe if you need to send in your device for warranty claims.
Step 4: Install the new SSD

In this step, you'll be installing the new SSD in place of the old one.
- Take out the new SSD from the box.
- Insert it into the same slot that the old one was removed from. Make sure the pins line up.
- Secure the SSD into place by screwing it down with the Torx screw.
- Reattach the ribbon cable for the keyboard. It should snap into place.
- Put the keyboard back onto the bottom base. It'll magnetically latch into place.
- Remove the anti-static wrist strap from your hands.
- Close the laptop, then flip the Surface Laptop 5 back over like you had it to begin.
- Screw the Torx screws back into their place, noting the original locations and orientations you took them out from.
- Snap the rubber feet back into the holes. Make sure the feet with prongs are snapped back in correctly. If you break the rubber feet, try using the replacement feet we suggested. If it doesn't work, you can also try to glue the original feet back into place.
Step 5: Reinstall Windows 11

In this final step, you'll be reinstalling Windows 11. Here are the required steps:
- Connect your Surface Laptop 5 to power.
- Plug in the USB drive you created earlier to your Surface.
- Press and hold the volume down button on the Surface. At the same time, press and release the power button.
- The Microsoft logo will show up. Keep holding the volume down button, then release the button once you see a spinning wheel.
- Select the language and layout.
- Select Troubleshoot.
- Select Recover from a drive.
- Choose your recovery drive, and follow the steps on the screen to reinstall Windows.
And there you have it! You should now have a brand new Windows 11 installation. Feel free to recover your files from the cloud or the external SSD. You'll now have more storage for everything and anything you'll need on one of the best Surface PCs on the market.

Microsoft Surface Laptop 5
The Surface Laptop 5 is the newest Surface from Microsoft. It has 12th gen Intel CPUs, comes in fancy new colors, and has 13 and 15-inch models available.