
With a business laptop like the ThinkPad X1 Yoga Gen 8, you don't always have to stick with the specifications you get at checkout. Lenovo has yet to publish a repair or servicing guide for the ThinkPad X1 Yoga Gen 8, but the overall design of the product hasn't changed between generations. This means, following last year's ThinkPad X1 Yoga Gen 7 service manual, you can replace the SSD on your ThinkPad laptop. As for the RAM, well, there's not much you can do about it to upgrade. You'll have to pick the amount of RAM that you think suits your needs.
Of course, if you want to upgrade storage, you do need to keep in mind that you risk voiding your warranty doing so. You'll also have to back up your data and create a Windows 11 installation media, first since the new SSD will be blank. You'll also need to ensure that you buy the right SSD. We suggest a Samsung 980 Pro PCIe Gen 4 SSD as listed in the section below, so you can get the fastest data transfer speeds.
How much RAM do I need for the ThinkPad X1 Yoga Gen 8?
It's never a bad idea to pack your laptop with as much RAM as possible. There are three options that Lenovo usually offers with ThinkPads: 8GB, 16GB, or 32 GB. But for the first time, this year's ThinkPad X1 Yoga Gen 8 offers a 64GB RAM option.
Now, we think that 8GB RAM is good enough for basic multitasking with web browsers, so if you want to save some money, it's a valid option. 16GB RAM, though, is a safer standard in 2023 for a faster laptop, especially if you plan to have a lot of different apps open on your laptop. On the higher end, 32GB and 64GB are for those who have to do more demanding tasks like video editing, running virtual machines, and so on. These are better to have, but it's expensive to upgrade, so sticking to 8GB or 16GB should be good enough.
How to upgrade the SSD in the ThinkPad X1 Yoga Gen 8
There are a few things you'll want to keep in mind if you want to upgrade the storage on the ThinkPad X1 Yoga Gen 8. We already mentioned the risks that come with voiding your warranty and damaging your new laptop. But other than that, you'll need to take safety precautions like avoiding static electricity and having backups of your data from the original SSD either via the cloud or externally. You'll also need Windows 11 installation media since your new SSD will be blank and with no operating system. Not to forget, a basic Phillips head screwdriver to get into your Yoga Gen 8 laptop. You can buy some of these materials with the links below.
-
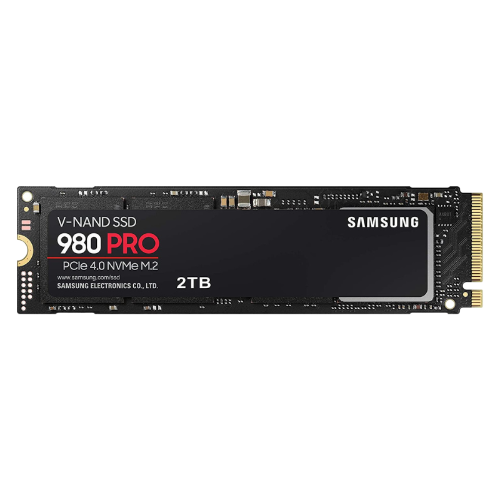
Samsung 980 Pro 2TB
This SSD offers top speeds, and fits great in most PCs and laptops.
-
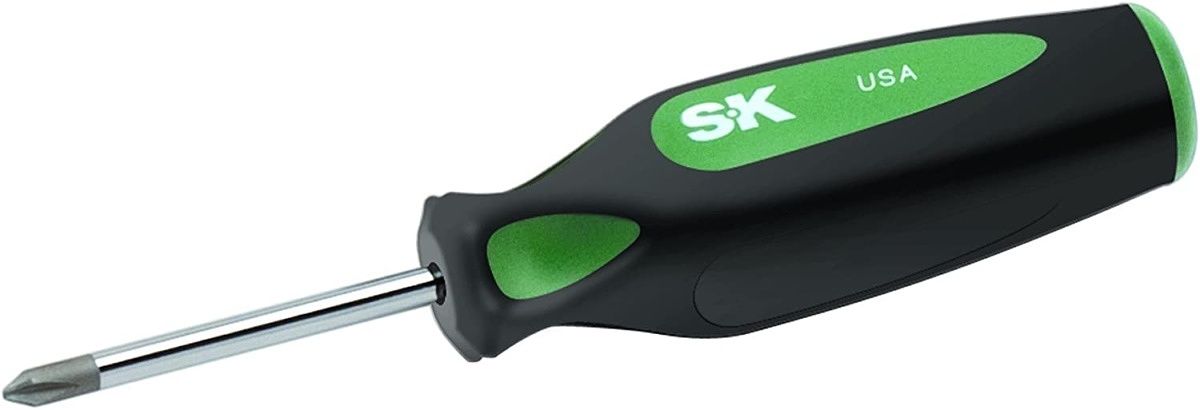
SK Hand Tool 79205 P1 Phillips Cushion Grip Screwdriver
This is a standard Phillips head screwdriver that can get into the back of your Lenovo laptop.
-
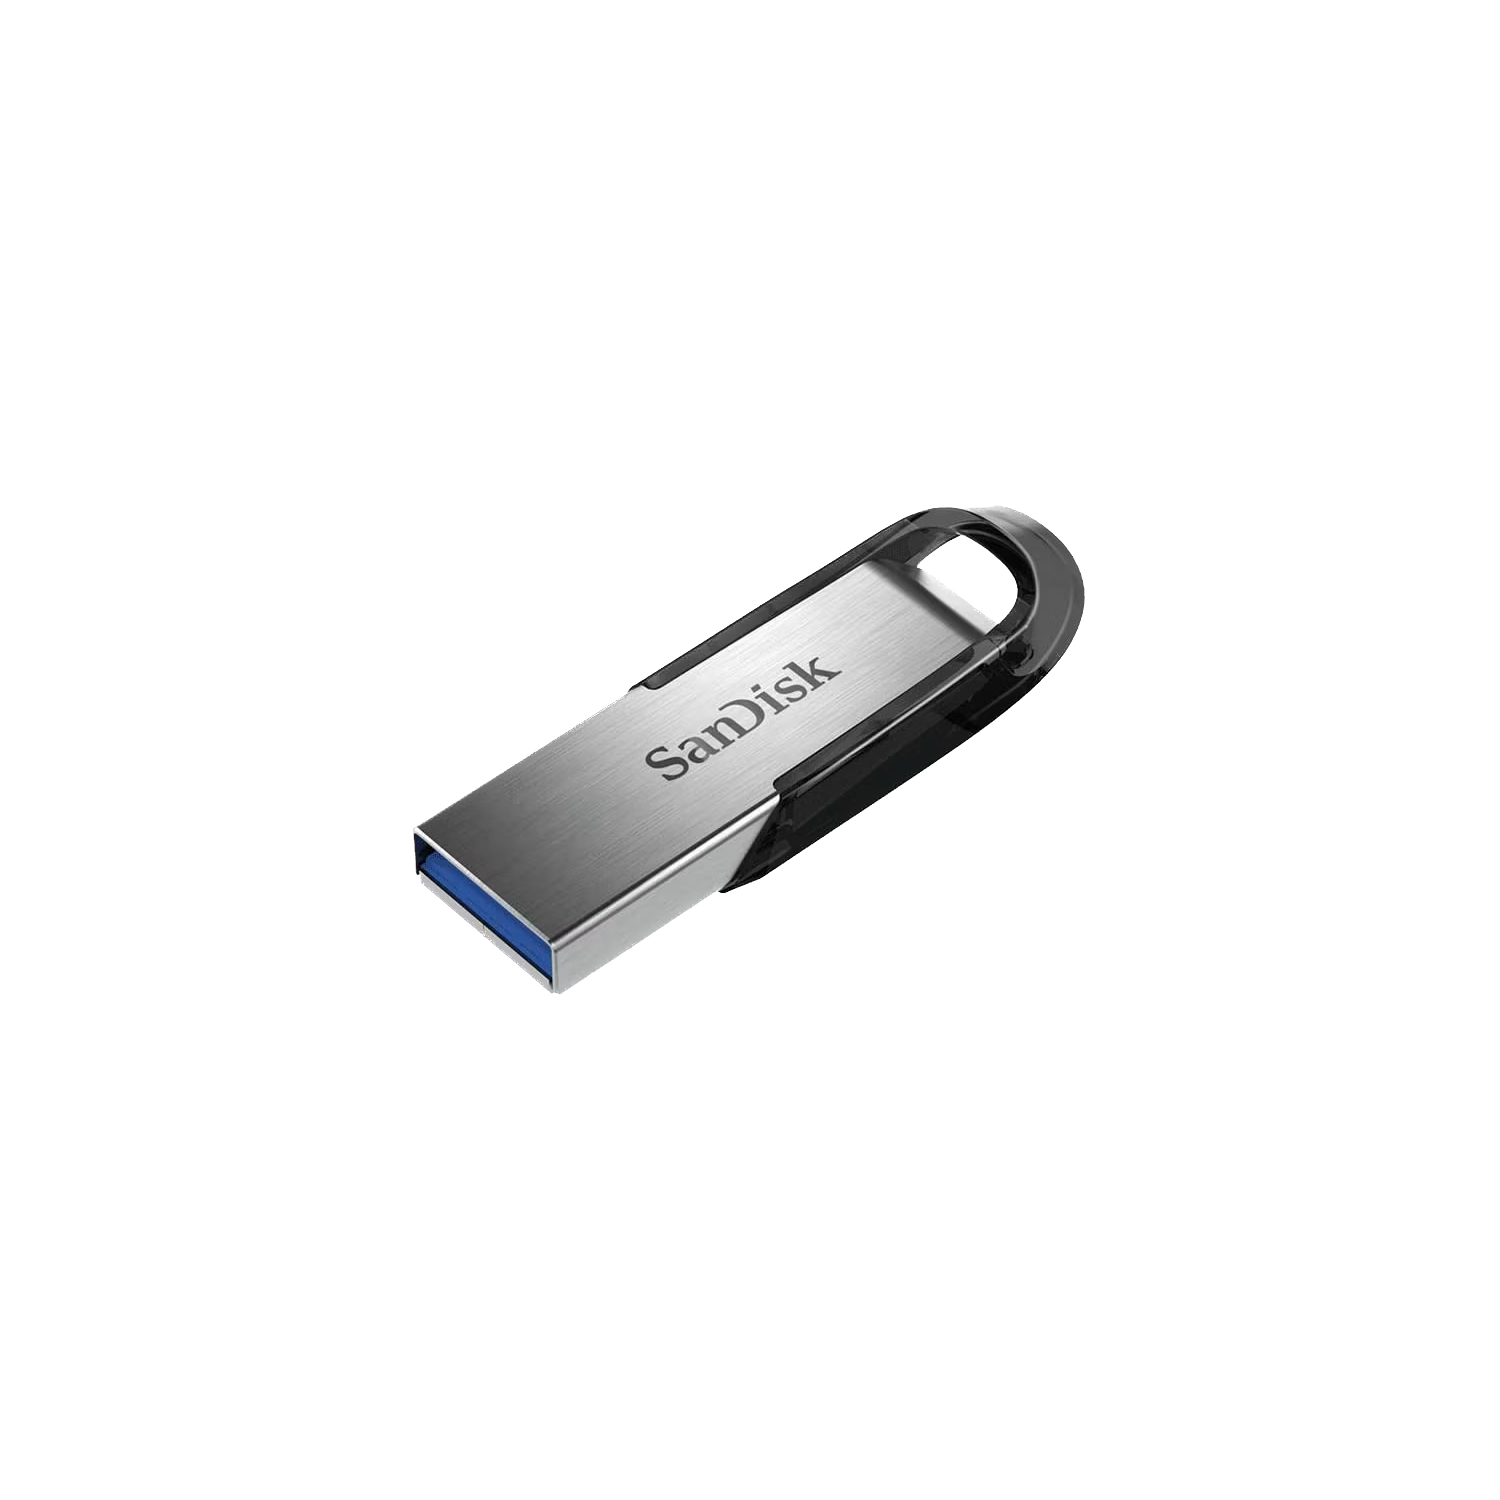
SanDisk Ultra Flair USB 3.0 Flash Drive
The price on this USB Flash Drive is great, which means it's a top choice for creating Windows installation media.


Materials gathered, here's how to get started with replacing the SSD on your ThinkPad X1 Yoga Gen 8. Again, please back up your data first, prepare a Windows 11 installation media, and take the proper safety precautions.
- Make sure your Lenovo laptop is turned off and unplugged from power.
- Turn the laptop over, so the lid is on the table and the bottom of the laptop is up.
- Face the hinge away from you.
- Unscrew each of the five Phillips heads screws. There are two on the left, two on the right, and one in the middle.
- Pry the bottom of the lid off using a credit card or your fingernails. Start from the back near the hinges.
- The SSD should be in the middle of the laptop. Remove the two screws on the bracket that supports the SSD.
-
Lift the bracket up to expose the SSD.
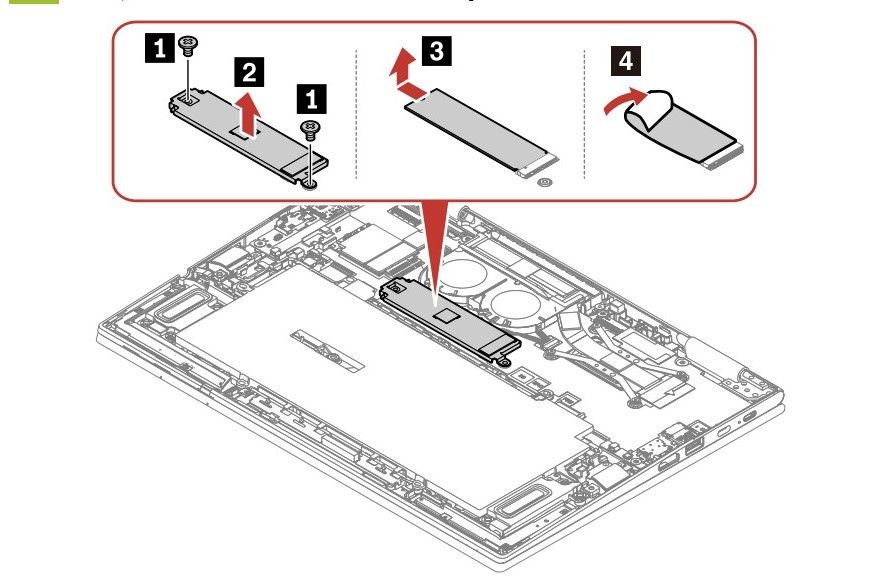
- Slide the SSD out from the slot and remove the thermal pad if you want to reuse it.
- Take your new SSD, reapply the thermal pad to it, align it with the connectors and push it in softly.
- Make sure the label on the SSD is facing up, and then place the bracket on top of the SSD, and tighten the two screws you removed earlier.
- Reattach the bottom cover and replace the screws.

Once you complete the steps above, you can boot your ThinkPad X1 Yoga Gen 8 from the Windows 11 installation media you created earlier, and follow the steps on the screen. Once booted into Windows, restore your files, and you should be good to go! That's all there is to know about upgrading the storage and RAM on your laptop, and we hope you found this guide helpful for when you have your new ThinkPad laptop in your hands.